- A garment or accessory I really want to wear or use
- An idea or thought experiment or that I want to see come to fruition
Wednesday, 30 August 2023
Viscose Scraps Patchwork Trousers
Friday, 4 August 2023
Free Pattern Friday: Siem Shorts for Kids
The Siem shorts pattern is a retro style designed for knit fabrics. The pattern consists of three pieces: front, back and waistband. Plus you need binding (preferably stretchy) to finish the edges.
Sizing info:
This pattern is graded between a generous 98cm (approx. 3 years) and 164cm (approx. 14 years) which I really appreciate it. I made the size 152 this time, going by my daughter's hip measurement as opposed to her height, and the sizing is pretty perfect.
Fabric info:
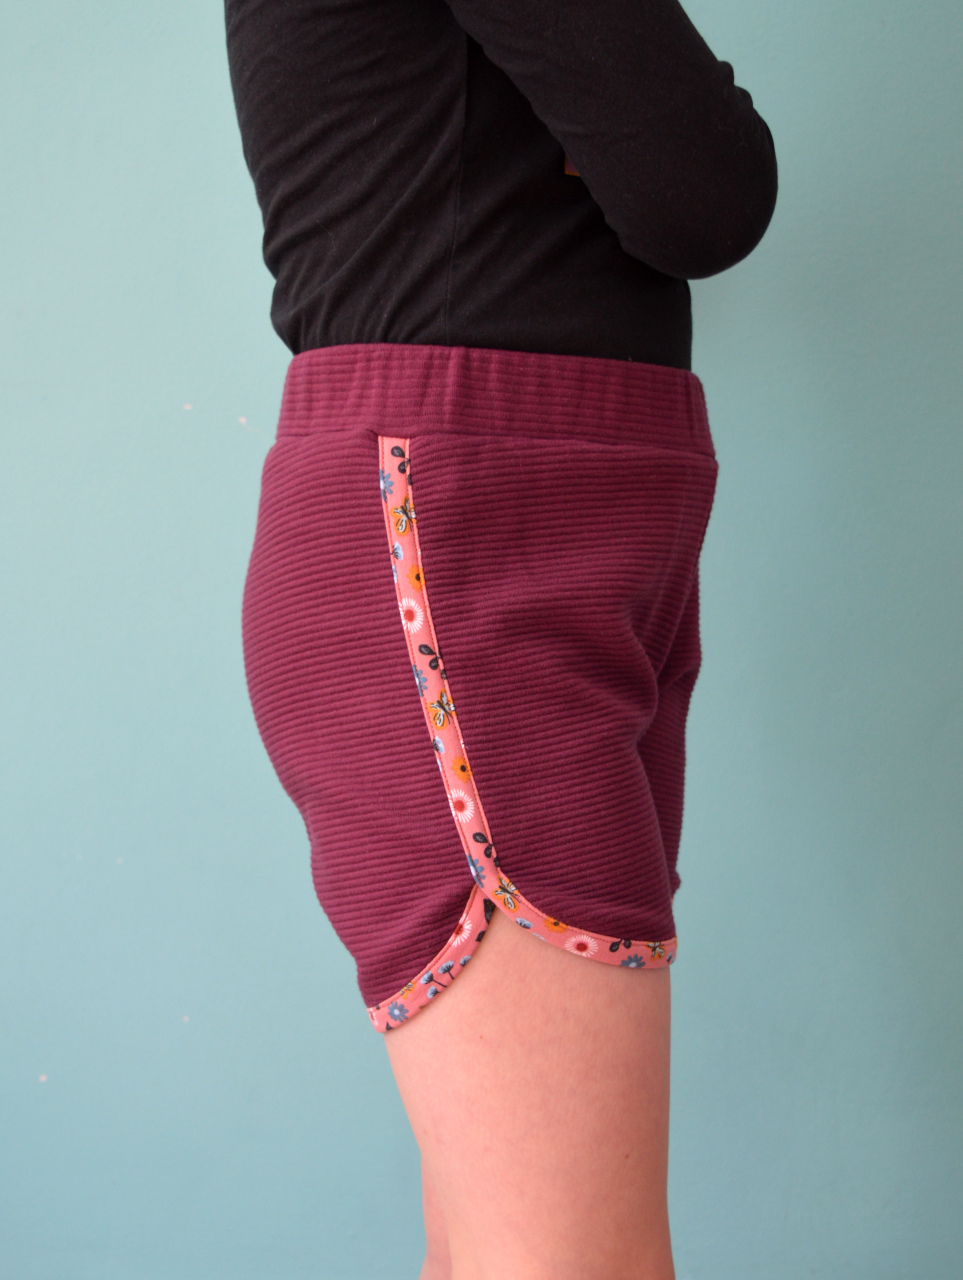
Fabric types that are listed as suitable for this pattern include jersey, ponte roma, french terry and sweatshirt knits. This is such a fantastic pattern for using up scraps and leftovers from other projects, so as long as the knit is pretty stable and isn't too light-weight it's probably worth a try. Last time I made and reviewed this pattern, I declared that I'd love to make these in a classic retro towelling or velour knit. My wish was granted when I found this discarded small remnant of pink velour at work. The burgundy pair are made using scraps of ponte roma that have been hanging around in my stash for a couple of years.
The pattern calls for 'stretch bias binding' for finishing the edges. That's not a super common item to find in fabric shops or haberdashers, plus I'm still participating in the Last Sewist Standing challenge so I can't buy new sewing supplies at the moment anyway. So for the pink pair I used strips of white cotton ribbing (the kind that's sold for cuffs and neckbands). For the burgundy pair, I chanced my arm with something a bit thicker, and used a strips of printed french terry. I cut the strips along the DOGS (direction of greatest stretch) rather than on the bias.
The pattern and the instructions come in separate PDF files. The pattern is easily obtained via the Bel-Etoile website, with no sign-ups to anything required. I was super happy to find that the pattern file includes the layers function which is great for saving ink, particularly when the pattern is graded to such a generous number of sizes.
The instructions document was equally user-friendly. The only thing I felt was missing was some advice on making your own binding. It is an easy enough process to do, but the lack of that step in the instructions may cause a beginner sewer/sewist to have a bit of a head-scratch. This time I did remember that SEAM ALLOWANCE IS NOT INCLUDED IN THIS PATTERN. However, it did take me a while to work out that it's not necessary to add allowance to the curved edges.
So I kind of messed the fit up a bit on these. When I made this pattern for my daughter two years ago, she found them to sit too high on her waist for her liking. This time, I made the burgundy pair as per the pattern and she experienced the same problem again. As before, she kept pulling them down to sit on her hips which resulted in a bunching of excess fabric at the front. So I unpicked the waistband and lowered the waist, particularly at the front. I made the same change to the pattern before cutting out the pink pair (see above for the pattern pieces with the new cutting line drawn in). Except now, as you can see from the picture below, that has resulted in the front rise being too short and a whole world of ugly tightness (*major eye roll*!).
I think I've also stitched the side seam down too far on the burgundy pair as there's some tightness where the curve begins. I'll probably unpick it a bit at some point.
But these things are my mistake! Don't let that put you off this super cute pattern.
Customisation ideas:
Stealing my own ideas from last time:
- Adding patch pockets to the back
- Adding front pockets with curved pocket openings and matching bound edges like these
- Lengthening or shortening the legs if the wearer has a different preference
- Applying a cute patch or decal for extra vintage coolness
Friday, 7 July 2023
Free Pattern Friday: Laminated Toiletry Bag Tutorial
Welcome to my monthly 'Free Pattern Friday' feature, where I road test a free sewing pattern or tutorial: sometimes a children's one, sometimes an adult's one . I publish these posts every first Friday of the month, timed to provide inspiration for those who plan to get their sew on over the weekend. I firmly believe that, if you pick your projects carefully, sewing doesn't have to be a crazy-expensive way to clothe yourself and your family. I also firmly believe that pattern designers deserve to be properly paid for their work, so if you enjoy using a pattern and can afford to do so, make sure you support that designer. Some designers' websites offer the option to make a donation, alternatively you can buy one of their paid-for products. If you can't afford to do so, you can support the designer by sharing your project via social media to help draw more attention to their work. Thanks to all the amazing pattern designers who have offered up their hard work for us to enjoy for free.
Yes!!! I promised that the Free Pattern Friday series would be back around the summer, time and today I'm making good on that promise. Since the last post in the series that I published back in January, I've found a number of free patterns and tutorials that I genuinely wanted to try, to make things that I genuinely think will be useful for my family. Starting with this one!
Whilst prepping for the Travel, Sustainability and Sewing episode that I made for my podcast with return guest Shams el Din Rogers, I decided to wanted to make a couple of toiletry bags for my family to use for upcoming trips. I was inspired by some awesome bags and pouches that another podcast guest, Rachel Kirby, made earlier this year for her trip to the US. Now, I probably could have figured this out myself. But you know, sometimes you just want to be told what to do! So after some sniffing around, I found this post featuring 40+ Zip Pouch Tutorials on Polkadot Chair, which led me to the Laminated Toiletry Bag Tutorial, also by Dolkadot Chair. Big thanks to them for putting this together for free. If you've got some trips coming up and your wash bag, makeup bag, medicine pouch, or anything-else bag situation isn't looking very strong, you could quickly and easily whip yourself up a new one using fabric from your stash.

(image source: Polkadot Chair)
Pattern type:
The tutorial is for making a simple, lined, water-resistant wash bag that closes with a zip.
Sizing info:
If you follow the measurements in the tutorial (which are in inches), the resultant bag will be about 24cm wide X 17cm tall (9 1/2" X 7"). A 12" - 14" zip is also required. This makes a small-to-medium sized wash bag, perfect for one person going away for a few nights to a week if they don't use too many products. If you're going for longer, or you want to fit a couple or a family's supplies in it, you'll want to make it bigger. It'd be super easy to change the size and dimensions by cutting the rectangles to your own specification. You can also make a subtle alteration to the dimensions when it comes to stitching the corners by altering the depth.
Fabric info:
The fabrics used in the tutorial are matte laminated cottons, which are probably A LOT softer and easier to sew than the vinyl scraps I had to hand. But sometimes scrap busters can't be choosers. I'm pretty sure mine will be more robust in the long term anyhow. I used some coated vinyl stuff, the kind that's sometimes used to cover tables when kids are around, that was leftover from my rain coat. (BTW, that raincoat was made nearly eight years ago and is still going strong.) Whilst I was hunting through my stash to find the sailboat vinyl leftovers, I unearthed this kitsch, blossom print vinyl that I bought close to twenty years ago! Which meant I was able to make two that could be easily distinguished from each other. I'm wondering if PUL might also work for the lining of these type of bags.
Findings:
If you're looking for a quick and simple tutorial to hold your hand through making a zip pouch, then this one is for you. However, if you'd like to make something a little more refined, with a more pleasing zip finish such as this, then it probably isn't. I'm not sure how viable that alternative, neater kind of zip finish is for this kind of laminated or vinyl fabric anyway, but I might trial that with some 'regular' fabric. Other options include a washbag with an extended zip tape like a lot of shop bought ones have such as this. Or if you'd like a different shape, then something like this or this might be more up your street.
Generally speaking, the tutorial was easy and pleasant to follow. There was little-to-nothing about this tutorial that made it specific to water-resistant fabrics, other than a link to another post about sewing laminate fabrics, and a link to where you can buy laminate fabrics on Etsy. The one thing I really didn't enjoy about this tutorial, is that it's one of those websites that is dripping in distracting ads. I understand that that is the business model that allows them to offer this content for free, but it still annoys me.
Customisation ideas:
Off the top of my head, you could:
- add internal or external pockets to keep ear plugs or something else that's small
- alter the size, shape and depth
- use a non waterproof fabric on the outside, and a vinyl, laminate or PUL fabric on the inside only, particularly for a makeup case or other pouch that's less likely to sit in a pool of water!
- add a label, name tag, decal or embroidery to personalise it or make it easier to return to its owner lost (you may have guessed that I'm thinking of my kids here)
Would I use this tutorial again?
Yes! And I have. I had some seeds that I wanted to send to a friend, so I made her a smaller version of this to put them in. For that, I used the same kitsch vinyl on the outside to keep the seeds away from moisture, but I used a scrap of gingham cotton for the lining.
Thursday, 22 June 2023
Fabric Godmother's Peony Dress Pattern
Thursday, 25 May 2023
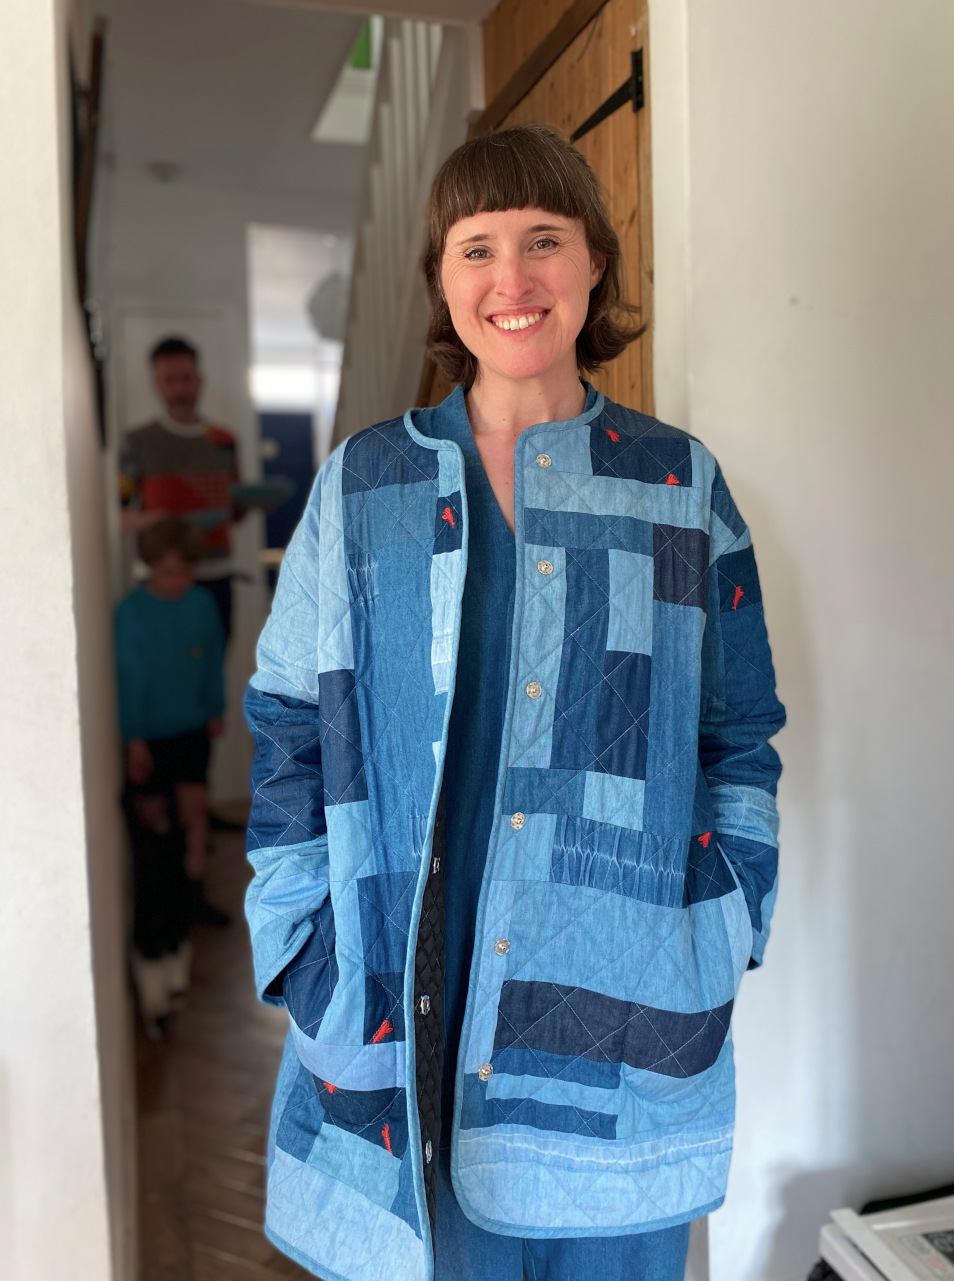
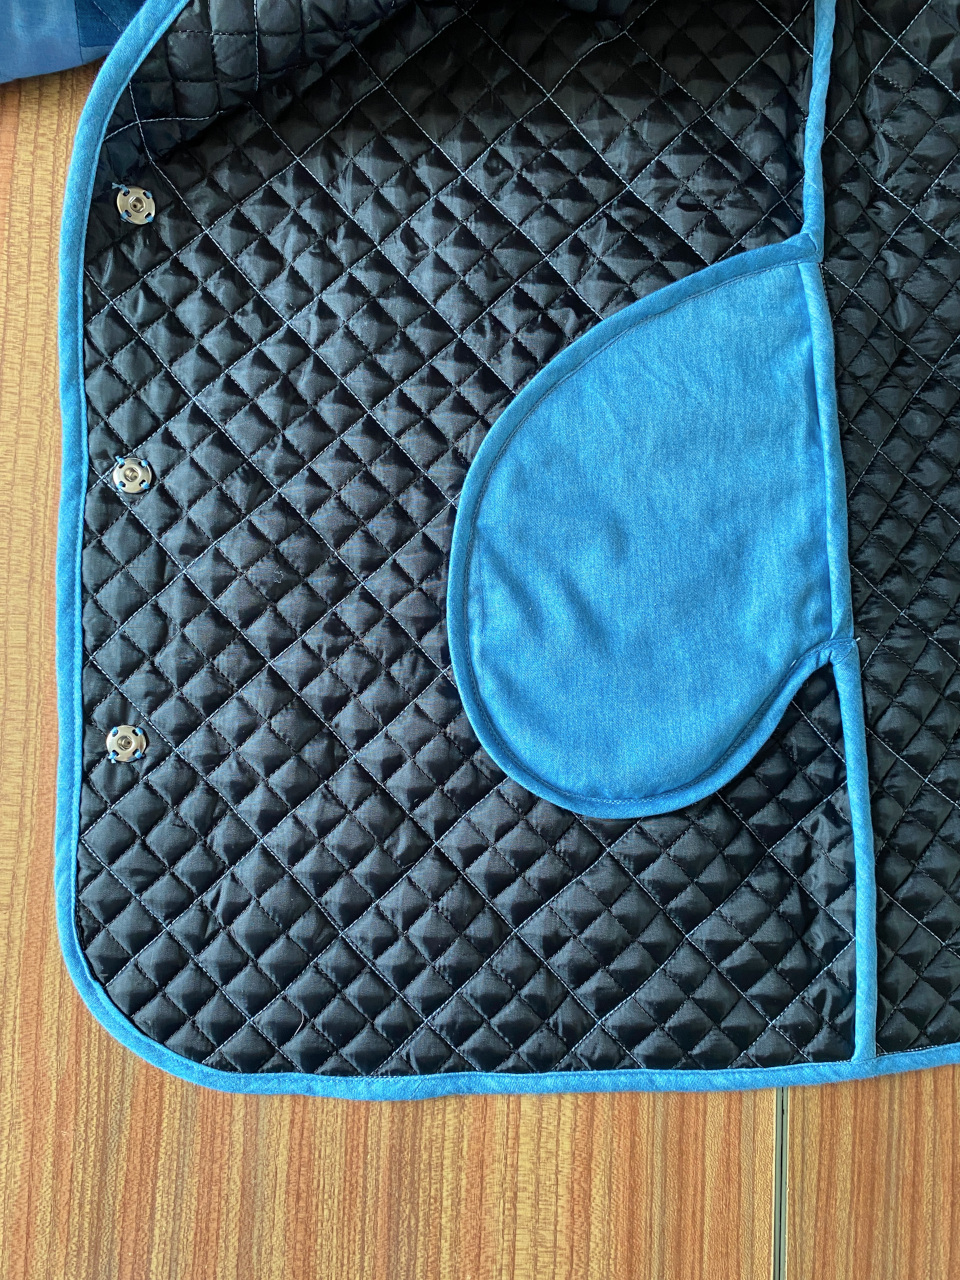
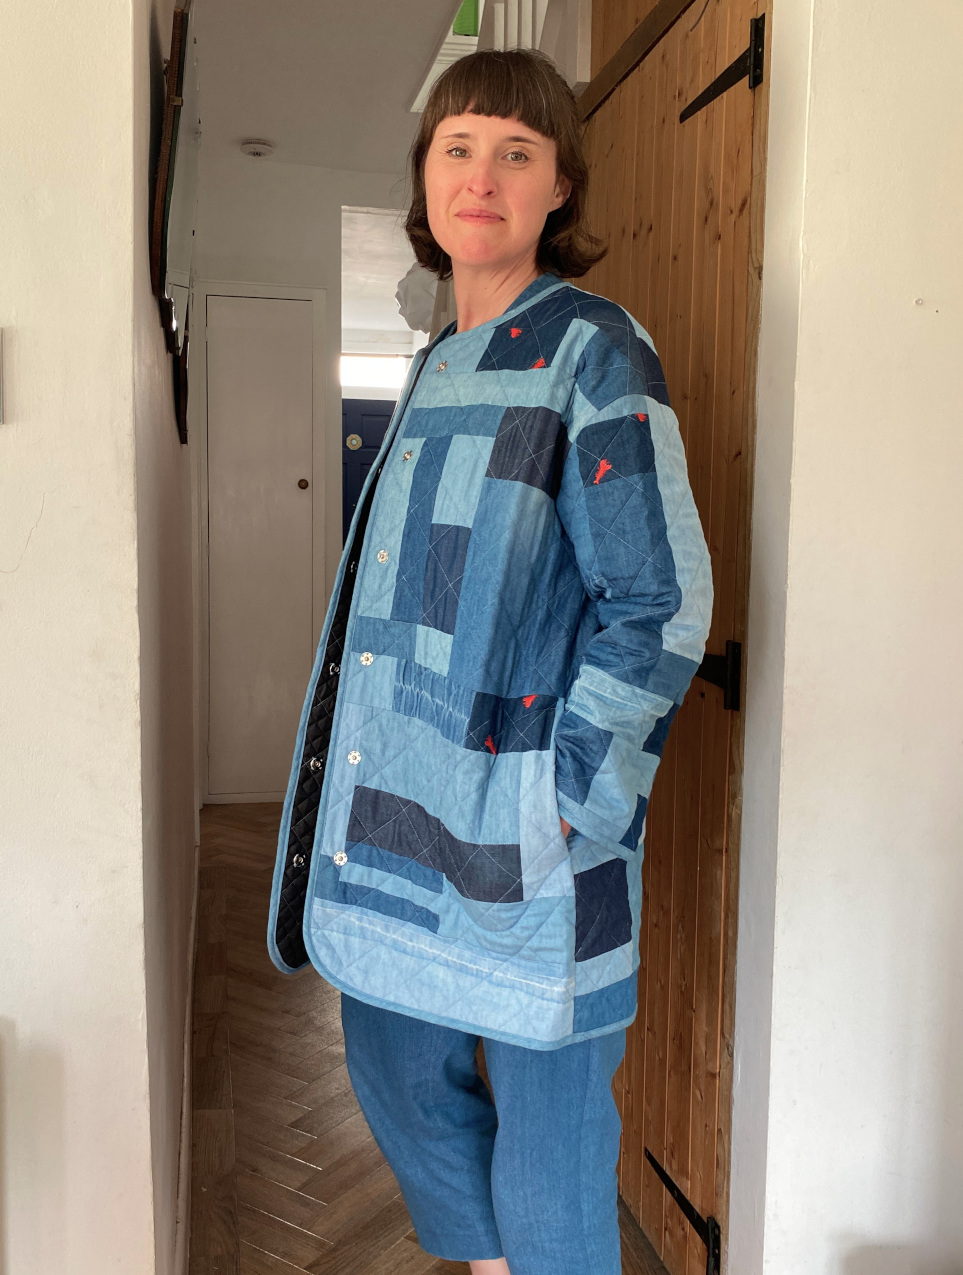
Patchwork Denim Quilted Jacket
Saturday, 1 April 2023
Me-May-May '23!
MMM is not a competition.
MMM is a personal challenge, you’re not competing with anyone. You’ll have made yourself a pledge to focus on throughout the month, and it really doesn’t matter what anyone else is doing, or wearing. If you go on social media where other participants are sharing photos, it’s an opportunity to cheer each other on, and perhaps garner some style inspiration. The enemy of joy is comparison. Remember to stay focused on your own challenge and what you’re trying to achieve.
MMM is not about having heaps of handmade clothes
I honestly can’t stress this enough: you can participate in MMM even if you have just one handmade item. You just have to set a suitable pledge that allows you to wear that item more often or in different ways. However many handmade items you have, your pledge needs to be challenging but do-able.
So who is Me-Made-May for?
I’ve lost count of the amount of posts I’ve read over the years saying ‘I don’t think I have enough me-mades to take part in MMM’. You can participate if you have just one single self-made item, or if you wear head-to-toe me-mades everyday already. It’s about working with what you’ve got, setting a suitable, challenging pledge, learning useful lessons and having fun.
How do I take part?
You will need to intentionally wear your handmade items more and/or in different ways throughout May 2023. Have a think about the handmade items you own, how often you already wear them, and perhaps if there are any areas of your relationship with your wardrobe that know could use some improvement. Then design your own pledge outlining the specifics of your challenge before 1st May.
“I (insert name or username) pledge to wear (insert specifics of your pledge) for throughout May 2023”
You can keep this entirely to yourself, tell friends and family, or share this on social media, whatever you wish.