Welcome to my monthly 'Free Pattern Friday' feature, where I road test a free sewing pattern or tutorial: sometimes a children's one, sometimes an adult's one. I try to publish these posts every first Friday of the month, timed to provide inspiration for those who plan to get their sew on over the weekend. I firmly believe that, if you pick your projects carefully, sewing doesn't have to be a crazy-expensive way to clothe yourself and your family. Thanks to all the amazing pattern designers who have offered up their hard work for us to enjoy for free.
Back in the summer, just before we headed off for a little UK holiday, I realised my son didn't have a suitable bag to carry his bits and bobs in. The perfect opportunity to test a free sewing tutorial! After searching through a load of those '30 free bag tutorials' type lists, I settled on this tutorial by Sew Red Poppy. Big thanks to them for sharing their hard work for free. This tutorial is freely accessible in blog post form, no need to download or sign up to anything.
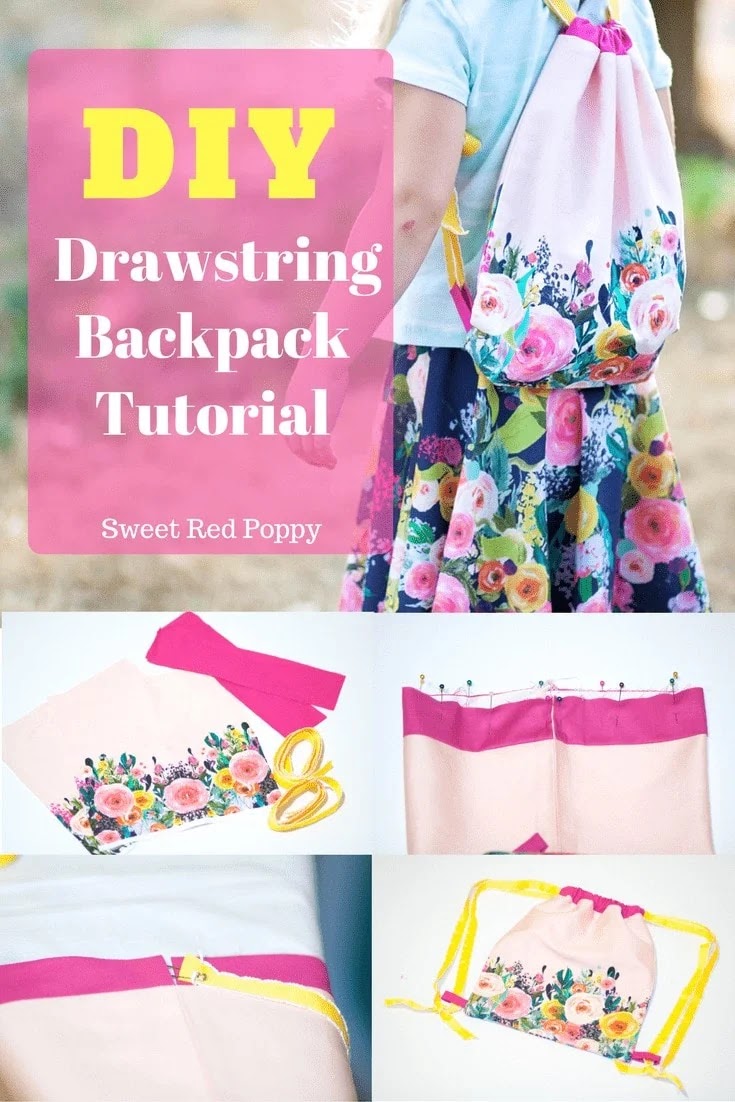
(image source: Sweet Red Poppy)
Pattern type:
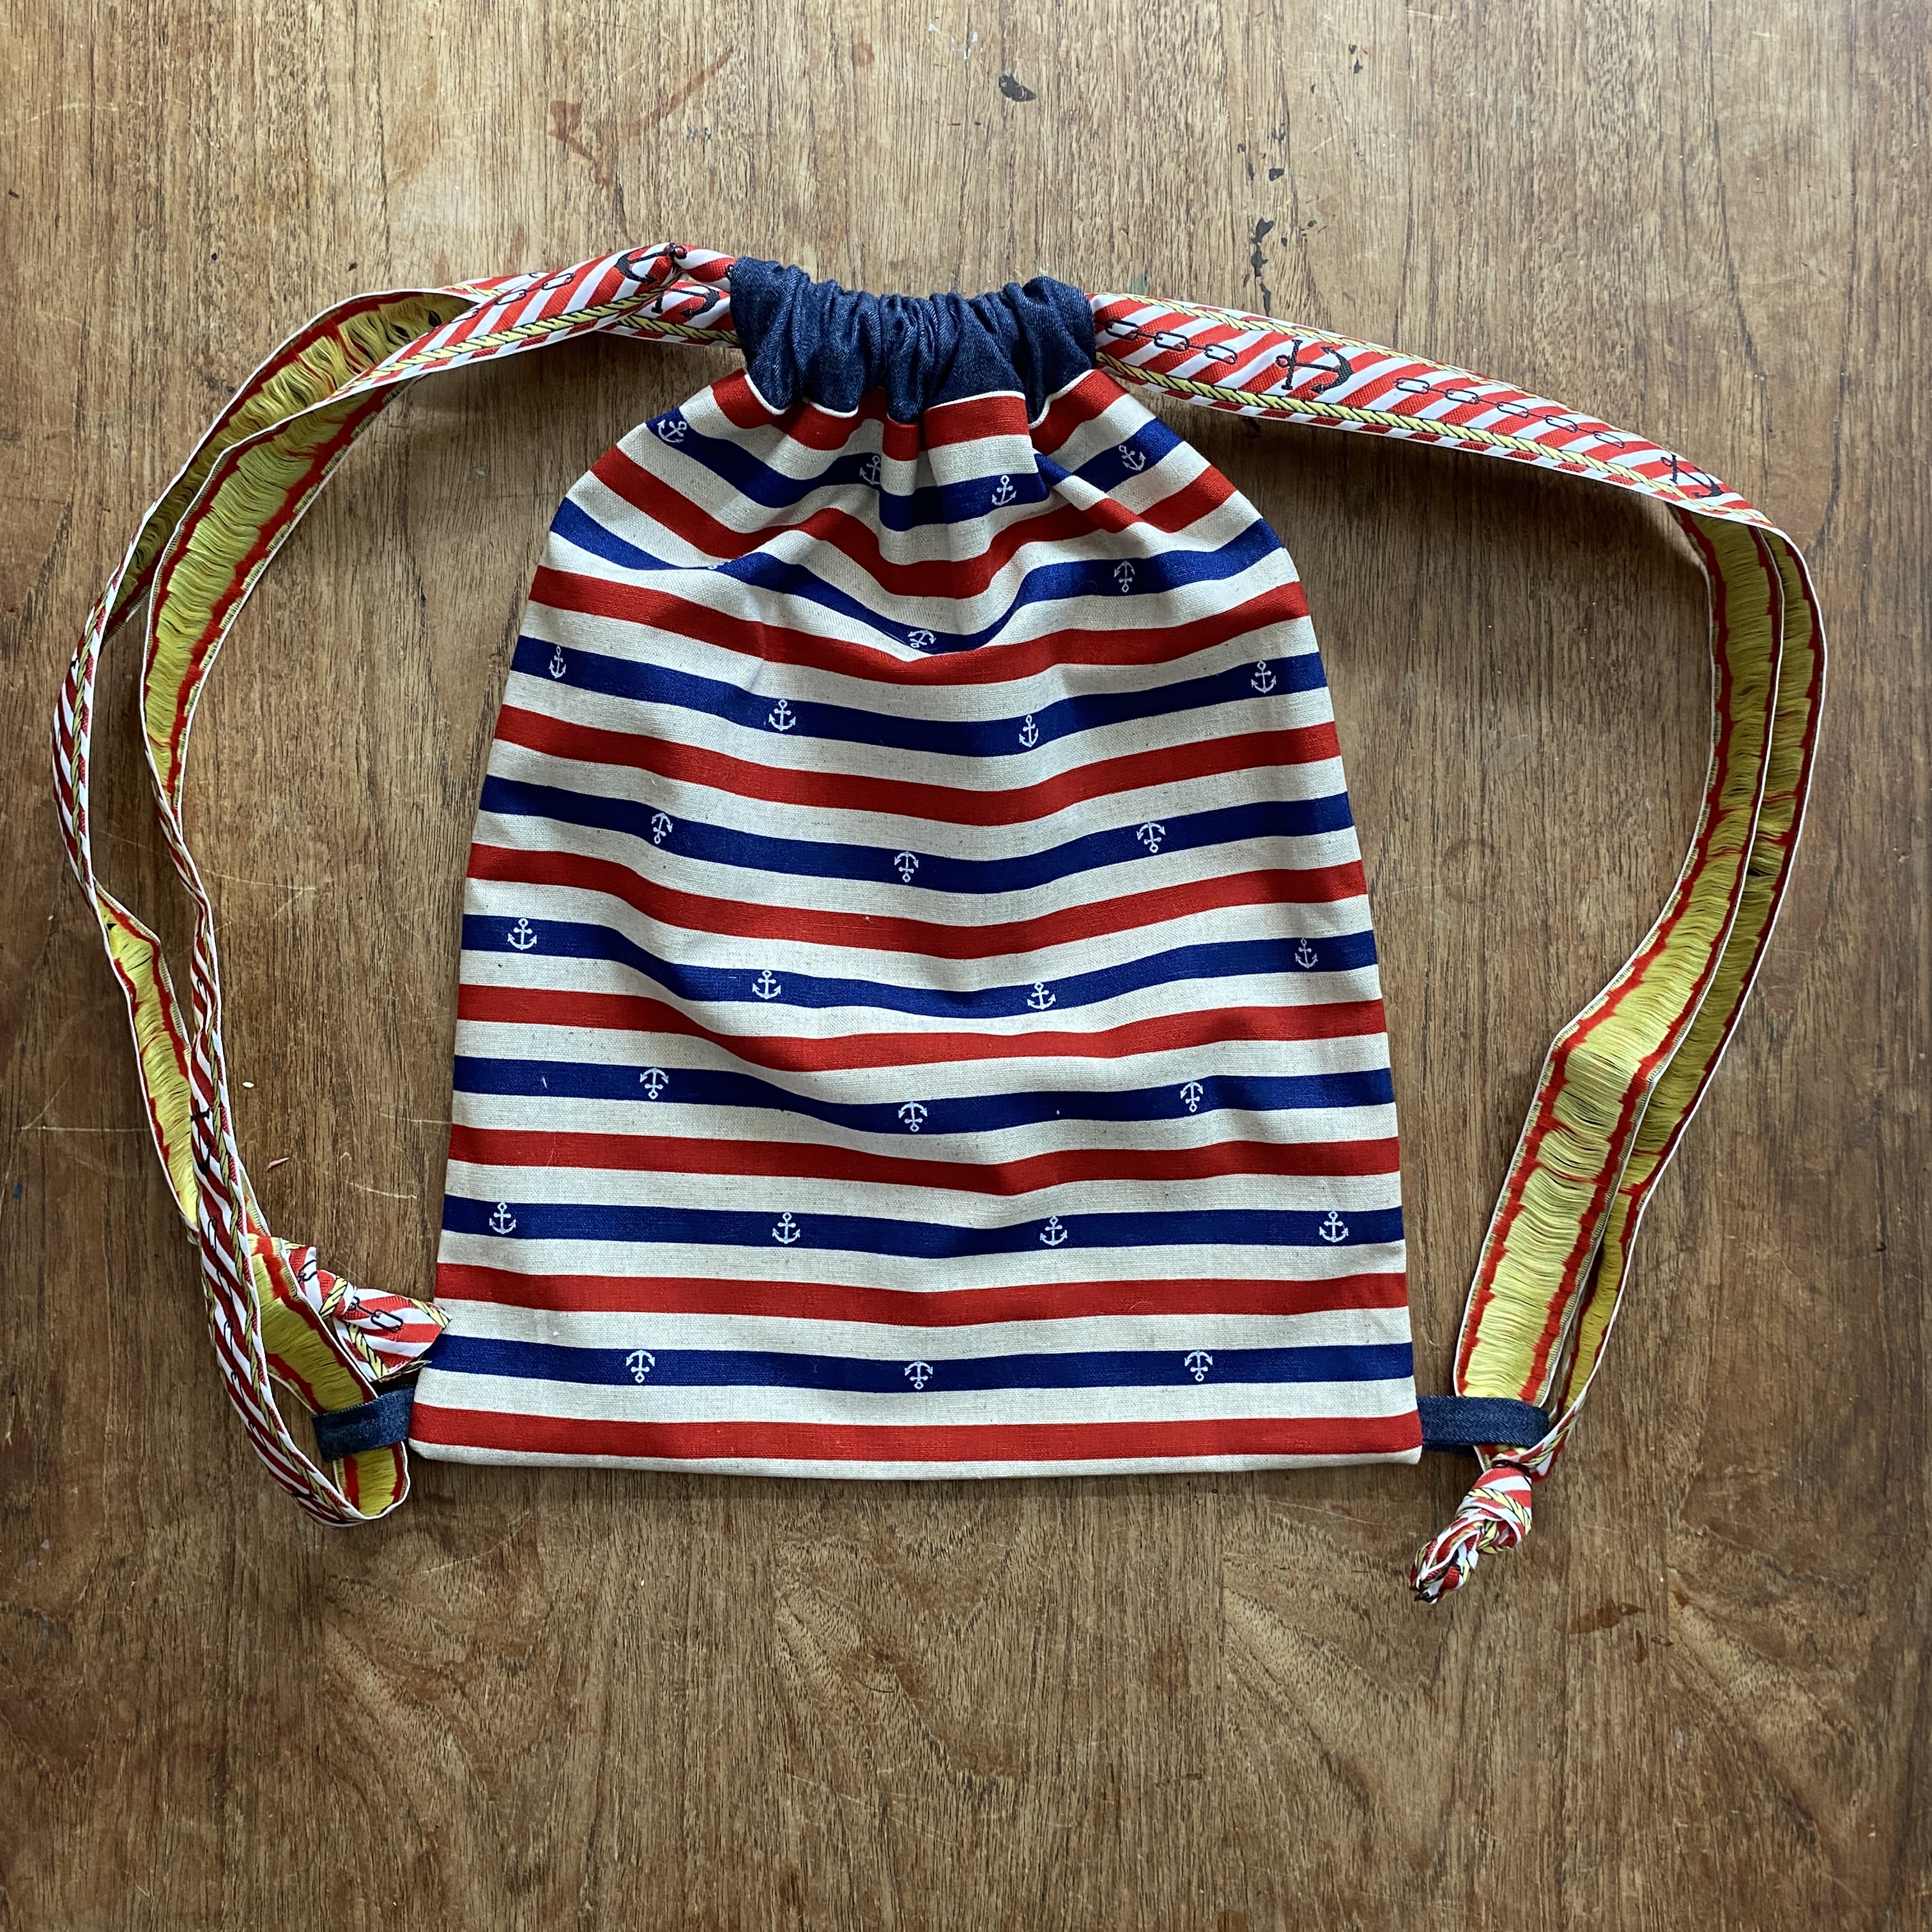
This is a super basic drawstring bag, with the drawstring forming the shoulder straps. The pattern pieces are offered as dimensions, no need to print anything out. It requires you to cut out six rectangles of fabric, plus two lengths of ribbon/cord. The project is suitable for beginners and can be made entirely on a regular sewing machine, no need for an overlocker/serger.

Sizing info:
You can use the pics of my 6-nearly-7-yo son wearing the backpack to get a sense of the scale of the finished bag. That said (spoiler alert) I cut the pieces in the wrong orientation, so mine came out longer and thinner than the intended bag design.

Fabric type:
Little guidance is given regarding fabric choice for this project, however the creator used a printed lightweight twill for the main section of their sample. I would say that sturdiness is important, but don'y go too thick or gathering the bag up might prove tricky. I used some kokka cotton that I bought on Etsy about a decade ago. I reckon you could go a step lighter in weight for the contrast fabric pieces, a chambray, poplin, shirting or quilting cotton perhaps. I used a scrap of lightweight 4oz denim.
The tutorial uses ribbon for the drawstring/straps. It's hard to tell from the photos, but I think the ribbon is something closer to a grosgrain, as opposed to a satin ribbon. You could also use drawstring cord, of course, or twill tape. I couldn't buy any haberdashery because of my participation in the Last Sewist Standing challenge, so I had to do the best with what I had in my limited stash. I used some of this anchor design woven braid that I've had for about twelve years! It's not ideal because it doesn't slide through the channel very smoothly, however it does provide nice, wide straps that stay on the shoulders fairly well.

Findings:
If you've read some of my Free Pattern Friday posts before, you probably already know how much I hate blogs with a million annoying ads everywhere, including animated ones. This is one such blog. I totally understand that this is the business model: that the creators can afford to spend time making tutorials and sharing them with us for free thanks to the ad revenue they earn. But I don't have to enjoy it!
In general, the tutorial was excellent. There's a video version linked in the post also if that is a better format for you to process. The one thing I had an issue with (well, second thing, if you include the ads) is that they didn't specify which way round the the main rectangles were meant to be orientated, and it wasn't clear from the images. I guessed the wrong orientation which caused me some problems.
The final outcome is good though, and the backpack saw a fair bit of action on holiday last summer, and a few times since. Shortly after making this backpack, my son got a very similar drawstring backpack free with a magazine. Clearly he prefers the magazine one because it's got Pokemon printed on it, and its synthetic fibres of the free one make it vaguely rain proof. However, after not much use, the Pokemon one is starting to break where the eyelets perforate the fabric at the bottom corners. It's good to be reminded that handmade items often last longer than their cheap, mass-produced counterparts!


Customisation ideas:
I'm going to leave this to you. It's kind of infinitely customisable in terms of dimensions and embellishment potential.
Would I make this again?
Perhaps, particularly if one of my kids needed a bag to carry a PE kit or something like that. Plus I would consider making another version from a shower-proof fabric, but possibly make it a bit more capacious, for taking to the swimming pool.
