Friday 6 December 2019

Free Pattern Friday: Kids' Ester & Ebbe Top


Welcome to my monthly 'Free Pattern Friday' feature, where I road test a free sewing pattern or tutorial: sometimes a children's one, sometimes a women's one. I publish these posts every first Friday of the month, timed to provide inspiration for those who plan to get their sew on over the weekend. I firmly believe that, if you pick your projects carefully, sewing doesn't have to be a crazy-expensive way to clothe yourself and your family. Thanks to all the amazing pattern designers who have offered up their hard work for us to enjoy for free.

If you're into making kids' clothes, then you're in luck. I've got an awesome and very useful pattern to share with you today. We're talking a unisex pattern in a wide size range that's thoroughly customisable. AND it's available in Swedish as well as English. You're welcome! Obviously, full thanks should actually be extended to the generous designer: Threads by Caroline. If there's a scamp in your life that likes comfy clothes, do read on...

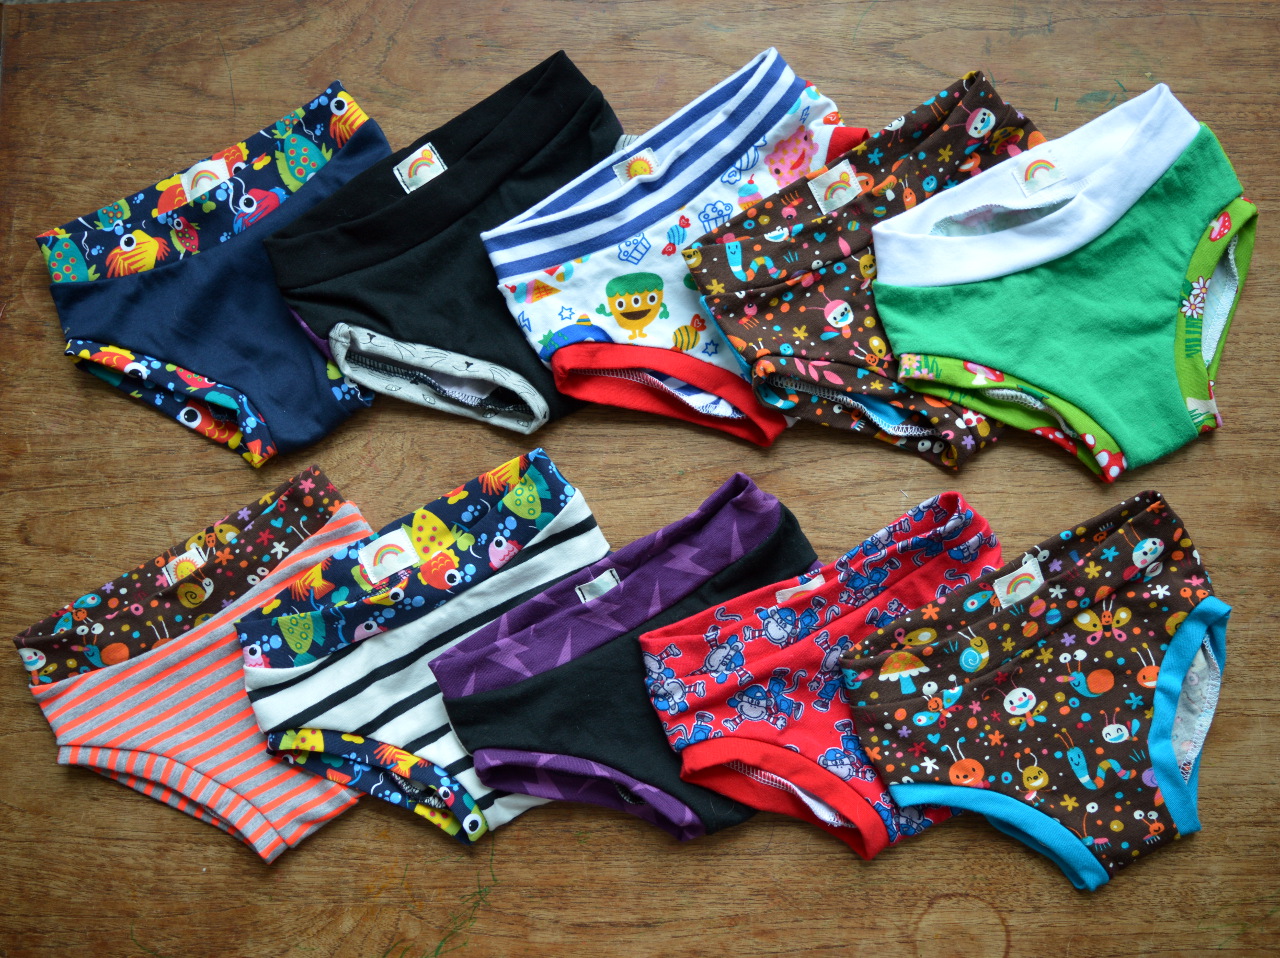
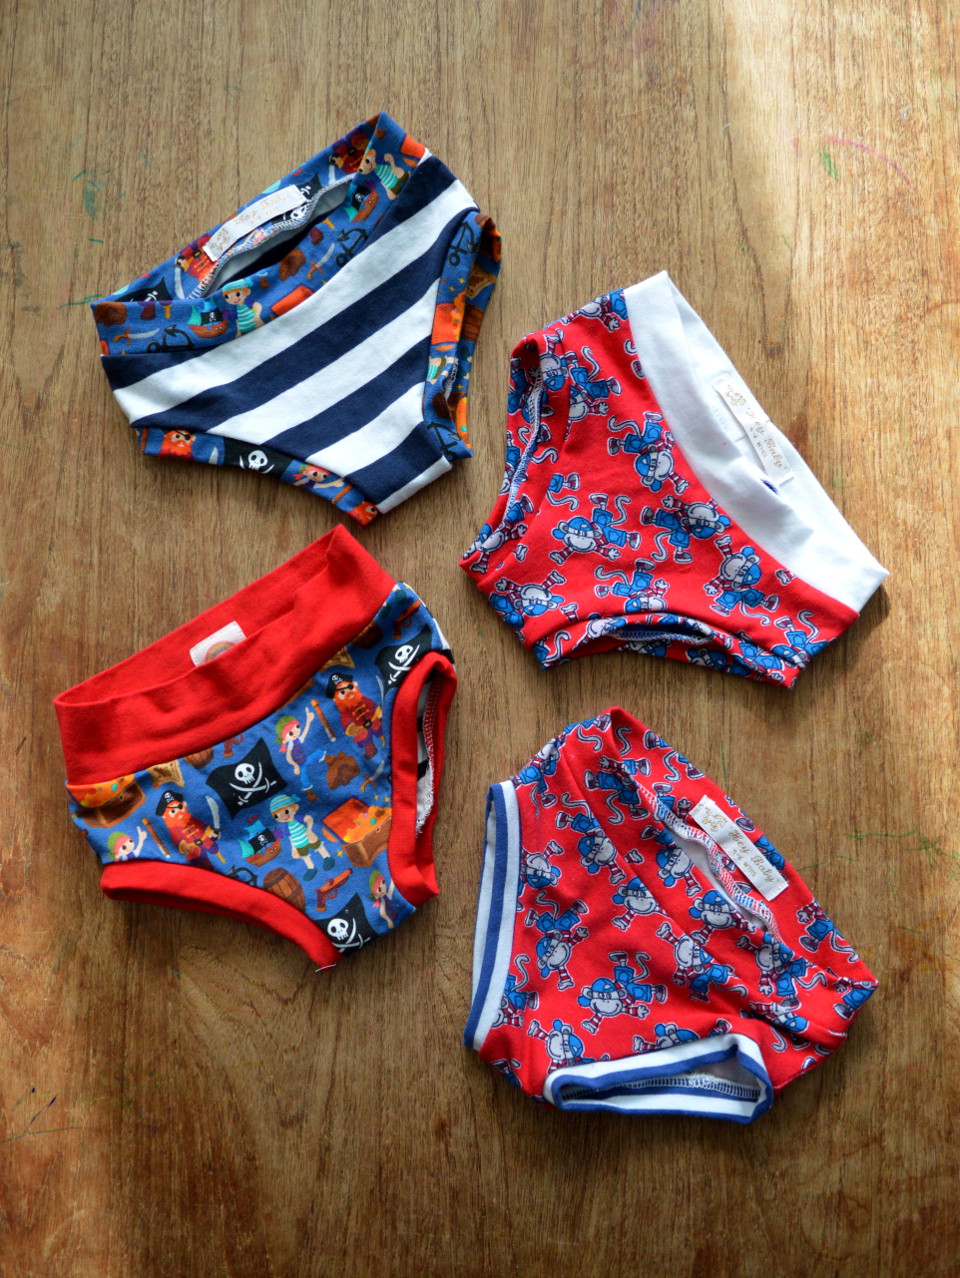
(image source: Threads by Caroline)

Pattern type: 

The Ester & Ebbe top/T-shirt pattern makes a great, basic, close-fitting, knit top. The side seams are straight (no shaping), the neckline is finished with a knit band. Two sleeve lengths are included as well as optional sleeve-head ruffle and patch pocket pieces. 

Sizing info: 

The pattern is graded between EU sizes 74 - 146, which equates to height in cms. This translates to approx. 9 months to 11 years. I've found the sizing to be spot on, aside from the length (more on that below in 'Findings').  

Fabric info: 

It is advised that knit fabrics with at least 30% stretch are used. With a close-fitting style such as this, ignoring that recommendation would probably result in an uncomfortable top that needs to be wrestled on and off! Caroline has helpfully included two neck band pattern pieces, depending on the amount of stretch your chosen fabric has, so you could go for a rib knit neckband if you wished without fear of a baggy neckline. Phew. 


For most of the versions I've made that you can see in this post, I used fairly light-weight jersey with elastane/Lycra/spandex content. The pink and red deer fabric used for the long-sleeved version made for a 6-year-old's birthday present (pictured above) doesn't include elastane, but I think the jersey had sufficient mechanical stretch to work ok. However I didn't trust the 100% cotton jersey for the neckband, which is why I went for a contrast effect using a jersey with elastane for that crucial piece.  


Dolores's stripy long-sleeved top (pictured above) started life as an adult's Boden top that my best friend no longer wanted (pictured below). The glittery lightning flash print was awesome, and I love how its scale is so massive on 6 year-old Dolores's top! I also used the Ester and Ebbe pattern to get me out of a minor parental emergency when it was announced that Dolores and her friend Samuel's class would all need to wear plain black tops for their school dance concert. Samuel's mum and I were determined not to promptly file into H&M or Primark like the other parents, so I volunteered to whip up two of the these tops from repurposed fabrics instead. Dolores's was cut from a previous adult-top-project-FAIL, and Samuel's was made from one of Zoe's old nightdresses and a bleach-stained old maternity dress! 


Findings:

You can access the Ester & Ebbe top pattern by signing up for their (unobstrusive) newsletter in either English or Swedish. Both the top pattern and their free Vera skirt pattern will be emailed to you shortly after. Alternatively, you can access both patterns by signing up to their Facebook group, if FB is your jam (it is not my jam). Both patterns include print-at-home and copyshop files, plus the print-at-home version of the Ester & Ebbe includes the layers function, which stops you wasting ink by allowing you to print only the size(s) you require. Both the pattern files and instructions document are beautifully produced: it really feels like you're accessing a high quality product for free. 


I've made a fair few knit tops in my time by now, so I must admit that I didn't follow the instructions word for word, however they appeared very thorough and seem to give clear guidance for each construction step, including how to add the optional shoulder ruffles and chest pocket. I have yet to try out the shoulder ruffle style because I recently made a similar top also with a shoulder ruffle for Dolores and the jersey curled quite a lot, and I didn't trust any of these jerseys not to do the same. 

As for the garments themselves, I think the number I've made so far shows that I'm a big fan of the finished product. I love the skinny fit through the body and sleeves. The shoulders are quite narrow, which suits my little scamps but might be something to keep in mind if your child is a bit squarer. The first two I made were Dolores's long-sleeved, upcycled, lightning flash version, and Frankie's short-sleeved, black-and-white-with-lemon-pocket version. As you can see in the pictures of Frankie above and below, this pattern does come out pretty long (I may go back and shorten his before the summer), and I have removed 4 or 5 cms from the length for all subsequent versions. 


Customisation ideas:

Aside from the two sleeves lengths, shoulder ruffle and chest pocket options already included, you could get yet more mileage from this pattern by trying the following:

  • Add a gathered rectangle skirt at either the empire line, waistline or dropped-waist/hip line to make it into a dress. 
  • Try 3/4 sleeves, as per the bird box stencil version pictured below.
  • Make different patch pocket shapes, eg, hearts, animals, clouds and so on. A classic hoodie-style kangaroo pocket would also be cute.
  • Get seriously scrap-busty and use a different jersey for each pattern piece to make a crazy (or subtly tonal) patchwork-esque version.
  • Screen-prints, decals, patches, applique would all pack a punch this simple garment style. I plan to add a cute, shop-bought, unicorn patch to jazz up Dolores's aforementioned plain black version, now that her dance concert is over.


Would I make it again?

Yes. Clearly, yes. This has become a firm favourite, and I can't imagine needing another skinny-fit tee pattern until they have grown out of the largest size. Between this and the more boxy, oversized (also free) Rowan tee, I feel that basically all my kids' jersey top pattern needs are covered. 

Friday 1 November 2019

Free Pattern Friday: Orton Bag


Welcome to my monthly 'Free Pattern Friday' feature, where I road test a free sewing pattern or tutorial: sometimes a children's one, sometimes a women's one. I publish these posts every first Friday of the month, timed to provide inspiration for those who plan to get their sew on over the weekend. I firmly believe that, if you pick your projects carefully, sewing doesn't have to be a crazy-expensive way to clothe yourself and your family. Thanks to all the amazing pattern designers who have offered up their hard work for us to enjoy for free.

As I mentioned, I like to try and alternate the free pattern reviews between those designed for adults, and those for kids. However, I currently have a list as long as my arm of things I want to make myself that don't use a free pattern. And it seems pointless and unsustainable to shoe-horn in a free pattern project just to keep up with my blog post schedule. However, what I did reallllyyyyy need was a new bag. A massive shopper style bag specifically.


For over a year, I have been sharing an allotment plot with my friend Zoe (you can follow our exploits on IG, @twozoesoneallotment, if you wish). She the one looking awesome rocking her camouflage bag. When we took it over, it was a total overgrown nightmare. These days, two thirds of it remain an overgrown nightmare, however, the final third has actually has actually been providing us with a surprising amount of food. One of the rubbish things about our plot is that it doesn't have any structure (a shed or greenhouse or what have you) that we can store tools and stuff in. We have a fork and spade hidden in the undergrowth for use when we're there, plus a couple of old milk cartons we use for watering. But everything else needs to be taken down with us each time. My usual supermarket carrier bag that contained my gardening gloves and hand tools, plus a kiddie watering can and plastic spade that Frankie uses to 'help' when he comes down with me, recently died. I thought that a large fabric bag that I don't mind getting mucky would be a more sustainable option than another plastic bag. Enter: the Merchant & Mills Orton bag pattern. Massive thanks to them for sharing this pattern for free.

(image source: Merchant & Mills)

Pattern type: 

This unlined, oversized shopper consists of just three pieces: main body, facing and handle. M&M have used this pattern to showcase their stunning linens and oilskins, plus shown that leather straps and rivets can be used for the handles instead of fabric. It's designed to be worn on the shoulder, and the pattern itself is given as a series of measurements that can be drawn directly onto fabric, as opposed to pattern pieces that need to be printed out, stuck together and cut out. I, personally, appreciate the last fact as it's obviously going to be better, ecologically speaking, to side-step the printed paper element that is usually a part of sewing projects.  

Fabric info:

The Orton bag pattern is going to work best in a woven fabric with no stretch content, but I'd say that your options regarding type and weight beyond that are pretty open, depending on the look and use you have planned. M&M have used oilskin and linen for their samples and I've used some random ripstop fabric from my stash for mine, however you could use basically anything, from tweed to shirting. Just 75cm of 143cm minimum-width fabric is required, so a hunt through your leftovers is likely to unearth something that could become an Orton. This bag would make a great showcase for a small length of gorgeous denim or upholstery fabric, or you could go for something lightweight to make a shopper that can be folded up and kept inside your regular bag.


Findings:

This really was a very simple and fun make, and would be a wonderful project for beginners to undertake to come away with a really useful item. And if you are a more experienced sewer who knows that really you *could* work out how to make your own shopper, it's nice to just be told how big to cut your shapes and how to piece them together! I love the oversized dimensions of this bag: ours are big enough that we can take our gloves and hand tools down to the allotment, then bring quite a lot of harvested produce back home.  

My only complaint is with the construction method of the handles. You are instructed to stitch the rectangles into tubes, right sides together, then turn them through and press. If you are using fabric that is thicker than a lightweight cotton, I'd recommend instead that you press the rectangles so the raw edges of the long sides touch along the centre (like bias binding) and top stitching down the two long edges, to avoid the headache of turning through a narrow tube of fabric.


Customisation ideas:

  • Follow M&Ms lead with contrast leather/leather-look handles. They have used leather straps that are sold for this purpose, however you could get a similar look by repurposing a secondhand belt
  • If you are using a fabric that has distinctly different sides (like denim), you could use the reverse for the handles and/or the facings. If the denim has a cool selvedge, you could construct the handles to utilise that
  • Go crazy and add patch pockets, with zip closures perhaps. The pockets could be attached to the inside or the outside, and you could make the dimensions of them custom for your needs (for the the size of your phone, etc)
  • I just got a screen printing kit for my birthday, and I'm sure excited to experiment printing some designs onto fabric that could then become bags 

Would I make it again?

Yep! I've got some light-ish weight, printed cotton that I plan to make a shopping bag from that I can stuff in my back pack when I go to the supermarket or our local zero waste, bulk-buy shop. This pattern/project is also a really nice, speedy project to make a useful gift for a friend that would showcase some lovely fabric, so I'll keep in it mind for that also.

Sunday 27 October 2019

African Wax Print Zadie Jumpsuit


Basically, it's been raining solidly for about three weeks, so getting some half-way-decently-lit photos of my more recent projects has been impossible. Finally, it wasn't too miserable for a couple of hours yesterday, so now I can show you my new Zadie jumpsuit! 

I'm sooooo thrilled with this make. I got it finished in time for a staff night out and my kids' joint birthday party, which happened in the same week. If it hadn't been such terrible weather ever since, I'd probably have worn it every day since as well. 


Pattern:

Is the Paper Theory Zadie jumpsuit pattern actual magic? IMO, there is not one single version out there on the internets that doesn't look amazing, and it seems to work on every body shape. I knew I had to make one at some point, it was just a matter of finding the right fabric (more on that below). I bought the pattern through Fabric Godmother (where I work part time), because they had offered me a free A0 pattern print out, and this seemed to be the right pattern to cash in that offer. I've never had an A0 version of a sewing pattern printed out before. I've always felt it was an extra expense I couldn't justify, but I was very grateful to get to skip sticking multiple A4 pages together this time.

(image source: Paper Theory Patterns)

It felt like a real treat to have the pattern printed out all big, however I did feel under pressure to pick the right size. Having got the A0 version, it would have felt disheartening and a real waste if I'd had to print out another copy if I chosen the wrong size to cut out. I'd heard that the pattern comes up a little large, and I think it was reading about Fiona's (Diary of a Chain Stitcher) stunning cotton Zadie that ultimately pushed me to just go for it and cut out a whole size smaller than my measurements suggested. My measurements also suggested I should blend between sizes, however the fitting notes of the pattern hinted that blending wouldn't be necessary as you can adjust the fit somewhat with how tightly you tie it up.


The one change I did make was to fold 2cm out of the length of the bodice, which is my standard adjustment for my short torso/high natural waistline. The construction was super simple, and not nearly as time consuming as I was expecting it to be. Applying the binding around the front edges was probably the fiddliest part, but in no way headache inducing. 

Fabric:

It took me months of lusting after Zadie jumpsuits on Instagram before I realised that I had potentially the perfect fabric already sitting in my stash. This amazing African wax print cotton was in my #2019makenine plans to use this year, but I just didn't know what to do with it. I bought it a few years ago from Goldhawk road, but I can no longer remember what my initial plans were for it, if I had any at all. I had already used some to make an (un)wearable toile for a different project a year or so ago, but I still had several metres left. As you can imagine, the Zadie jumpsuit is a fairly fabric hungry pattern, and I basically had just enough for this project. 


I adore African wax print, especially the more nutty print designs. This lock and key design is by no means the most bonkers subject matter I've seen used for this type of fabric, and the background pattern here is also fairly subdued. I had been trying to find something more crazy than this on that particular shopping trip, but now I am so glad that I didn't because I think it fits this garment style fantastically, and I couldn't be happier with the combo. Sometimes it really does pay to let a length of fabric live in your stash for a while...


Thoughts:

As I've mentioned a few times already in this post, I could not be happier with this garment. I love the look of it, and it feels comfy to wear but also quite put together. There's a slightly odd, unintentional pattern matching/placement thing happening along the front legs, but I can totally live with that without it bothering me. I'm pretty desperate for the weather to warm up again so I can wear this alllllllll the time. I'm concentrating on sewing from stash for the foreseeable future, however, next year I can definitely see me buying some gorgeous linen to make a solid version as well.

Friday 4 October 2019

Free Pattern Friday: Kids' Speedy Pants


Welcome to my monthly 'Free Pattern Friday' feature, where I road test a free sewing pattern or tutorial: sometimes a children's one, sometimes a women's one. I publish these posts every first Friday of the month, timed to provide inspiration for those who plan to get their sew on over the weekend. I firmly believe that, if you pick your projects carefully, sewing doesn't have to be a crazy-expensive way to clothe yourself and your family. Thanks to all the amazing pattern designers who have offered up their hard work for us to enjoy for free.

There are, no doubt, many people who believe that life is too short to sew their kids' underwear. Clearly, I am not one of them. My argument for doing so is threefold: 1) kids' pants are an excellent scrap buster for jersey scraps leftover from other projects, and even really small pieces can be used, 2) if you have the pattern prepped already, you can easily cut out and make a pair in half an hour, which is wonderful if you want come away from a short sewing session with a completed item, and 3) your investment of sewing time and effort will be well rewarded by the hundreds of wears the finished item will get. 

My little girl has grown out of the pants pattern I previously used for her, so I was thrilled to discover the Speedy Pants pattern by Made by Jack's Mum, which is free when you sign up for their monthly newsletter. With boxers AND briefs styles included, this may be the only pants pattern you will ever need for your kids. Thanks so much to Made by Jack's Mum for sharing their hard work for free. 

(image source: Made by Jack's Mum)

Pattern type:

As previously stated, the Speedy Pants pattern download includes briefs and boxers styles. Both styles are finished with strips of fabric which form the waist and leg bands: no elastic required. Each pair could be made entirely on an overlocker, however instructions for using a regular sewing machine are also included. As you can tell, I only made up the briefs pattern, so that's what I'll be reviewing here today. The briefs pattern consists of a front piece, a back piece, a gusset, plus the dimensions to draft your waistband and leg band pieces. 


Sizing info:

Both styles are graded to a generous size range of 6-12 months to 12 years. The pattern file includes the layers function, which I always really appreciate, so you can select just the size you require which saves on printer ink. I tried making the size 2 and size 3 for Frankie (who will turn 3 tomorrow at time of writing!), and the 3 definitely fit him better. He's not potty trained yet, but we did have a day where he wore these during which I was able to assess the fit. Dolores (who turned 6 today!) fits the size 6 perfectly with room to grow. 


Fabric info:

The fabric suggestion for this pattern is 4-way stretch jersey. I'd go further and say that a decent elastane/Lycra/spandex content is essential for the bands so that they hold their shape over a number of wears, and generally advisable for the other pieces too for maximum comfort. 

I really like it when pattern designers encourage people to use scraps to make their patterns from, and this is the perfect pattern to do that with. As you can see, I went to town busting my scraps! I've made many pairs of pants for my daughter previously from a very similar pattern to this, so I've been able to do plenty of experimenting and collecting of data to see how different jerseys behave (or don't) over time. By now I think I've got a fairly good idea of what's going to work well have have a long life. I have an embarrassingly large tub of jersey scraps, so I began by dividing it into three piles: 1) good quality jersey (mostly cotton/elastane blends) that I know will be perfect for these pants, the band pieces HAVE to be made from this category, 2) other jerseys that will be ok for the fronts, backs and gusset, especially if they're combined with fabrics from the first pile, and 3) all the jerseys that were too thin and drape-y, or with poor stretch and recovery that are NOT suitable for this project. I then had a lot of fun making crazy fabric combos. 


Findings:

As you can probably tell, I'm so happy to have found this pattern! The wide size range should see most kids through to when they start to wear adult sizes (Made by Jack's Mum also sells adult versions of both the boxer and briefs style patterns). So if you have a big enough jersey scraps bin, plus sufficient will and patience, you may never need to look elsewhere for kids' pants again. Clearly, making these pants is addictive, but I must admit to getting fed up by the end! Pinning tiny leg bands into tiny leg holes can definitely start to get old. Therefore I advise against making a whole year's worth of pants for two kids within a week. 

The pattern itself is well produced, and the instructions are illustrated with step-by-step photos and easy to follow. I did end up making a couple of tweaks to the fit, however. For both Frankie and Dolores, I ended up raising the waistline at the centre back fold by 1cm, blending the curve down to the original waistline by the side seam. And for Dolores, I found that the gusset area was too wide: there was just too much fabric there. To amend this, I narrowed the front and gusset pieces by 0.75cm-ish where it was needed, therefore narrowing it by 1.5cm-ish in total. I found for Frankie that this wasn't necessary. 

As you can see, for a few of Dolores's pairs, I tried using fold over elastic instead of fabric bands for the leg holes. However, only one of those pairs has found their way into regular rotation, the others she's declared too uncomfortable. I found the patience to replace the FOE with fabric bands on one of the pairs during #alteritaugust. The only other point I'd just to add is to include some kind of label or loop of ribbon so they can identify the back quickly. 


Customisation ideas:

I don't have much for you today with this pattern, however:
  • Try adding seams to the front piece so you can include panels of super-tiny, awesome fabrics (I tried that with the black pair pictured above so I could include a teensy sample of vegetable print jersey)
  • I'm wondering if these patterns could be used with swimwear Lycra to make swimming bottoms?
  • If you have some thin and soft enough (see 'Findings' above), replace the leg hole bands on the briefs version with fold over elastic or special undies elastic


Would I make it again?

YESSSSS. I have already printed out the size 4 and size 7 briefs pattern pieces and stuck them down on cardboard so I can start making undies for both my kids in their future sizes. I'm hoping that if I can keep on top of making a couple of pairs every few weeks, I'll make even more of a dent in my jersey scraps tub. 

I gave Frankie the choice of which style I would make him. He chose the briefs, probably because he recognised that style as being the most similar to what his big sister wears. However, I'm hoping he'll let me try the boxer style for him too some day so I can have fun experimenting with that pattern too. If I do, I will of course report back. 

Saturday 28 September 2019

On The Fence: Fringe Dress


So, this dress. I have a lot of conflicting feels about this dress. I actually made it one whole year ago, to wear to my children's 2nd and 5th birthday party. Next week they will turn 3 and 6, but have yet to share this dress until now. I just couldn't work out how I felt about it, and therefore, wasn't sure what to write. Having failed to fall in love with it during its first outing, the weather then turned too cold to wear it again that year. When I saw it hanging in my wardrobe during the colder months I'd have some vague thoughts about cutting it up, harvesting the larger sections of fabric to combine with the short length I have left, and making a top instead. But then this summer came rolling round, and I ended up wearing it a ton, which kind of muddied those plans.


Pattern:

No prizes for recognising that I've used the Chalk & Notch Fringe dress/blouse pattern here. It was a smash hit in 2018, so I had ample opportunity to see lots of different versions on social media. I am really NOT a dress person, but I do sometimes fantasise about breezing around in a dress. I was struck by the clever proportions of the Fringe's loosely-fitted bodice, and the not-super-gathered skirt, plus the gently shaped skirt hem. I really dislike wearing fit-and-flare dresses because I feel too 'little girl in her party dress' in them, but I was intrigued but this pattern's updated take on that style. 

(image source: Chalk & Notch)

The Fringe dress pattern includes two neckline/bodice variations: a V-shaped, button-up front and this dramatic cut out. I appreciate the button-up version for a nice day look, but the cut out appealed to me the most. You can also choose where (or if) you insert the waist ties. I chose to insert them in the front waist darts, so they tie up at the back. 

Normally I pinch out a couple of centimetres from the length of bodices and tops to account for my short-waistedness, but the waistline of the Fringe dress seemed to hit somewhere slightly north of the natural waistline anyway, so I decided to leave it be this time. Although it was a year ago, I remember really enjoying the construction of this dress. That's largely because my fabric behaved so nicely, but I can only conclude that the instructions must also have been clear and logical. 


Fabric:

An embarrassingly long time ago, I was offered a voucher code to try out the fabric printing service offered by Cotton Bee. Thanks so much for them for their generosity. I apologise if this is inaccurate, but from what I understand, Cotton Bee offer the same type of fabric print-on-demand service and products as Spoonflower, but are based in Poland. Which was a real benefit for UK-based sewers before Spoonflower opened a new branch that ships out of Germany. I haven't made any comparisons between prices or details of service and products, but I can say that ordering through the Cotton Bee site was easy and very fun. I managed to make my voucher stretch to two lengths of fabric, the other one being this amazing hand print interlock that became a TATB Freya top.   


Both the fabrics I ordered from Cotton Bee used prints by the same designer. I've since been on the site and was unable to access the function that allowed me to look through all the work of a specific designer, which may well be my fault, so I'm afraid I can't link to her collections in this post. I was obsessed with most of it though. I chose this jewels and gem stones print because of the gorgeous colours. The site allows you to monkey with the scale of the print, so I tried to replicate a kind of ditsy, Liberty-esque design in which the jewels wouldn't be completely noticeable unless you were up close. 


Thoughts:

I went for the cotton lawn type base cloth and it is gorgeous quality. I think is the one they call cretonne, but I'd advise you to order a swatch book before you place any orders to be sure you're getting what you want. Anyways, it's not quite tana lawn-level amazing, but easily as good as basically any other cotton lawn I've encountered. I took a long time to pull the trigger with this fabric and cut into it for this project. I love it so much but, for a couple of reasons, in the end I'm not convinced I made the best choice of use for this fabric.

Firstly, I just don't know that this dress generally suits or fits me that well. I guess the suiting-me bit is entirely subjective, and to be honest I'm not sure what I would tweak to improve the fit. Secondly, and more specifically, I don't think the busy, ditsy print works very well with that cut out neckline. Or maybe it's that the base colour doesn't offer sufficient contrast with my skin tone. Either way, a bolder, solid colour would have packed more of a punch to help the cut out detail really shine. 


But as I say, I have ended up wearing this dress a lot this summer and it does feel lovely to wear, so it wouldn't make sense at this point to dissect it. I do have just under a metre left of this fabric. Enough to squeeze a Scout tee, or some kind of woven tank. What would you think I should make from the remainder? Enquiring minds need to know....

Wednesday 18 September 2019

The Kabuki Tee Experiment


You know when you have a ma-hoooossive list of projects that you want to sew, many of which you already own both the pattern and the fabric for? And then you have an idea for a new project, something clicks in your mind and you push aside all your carefully laid plans because you have to make it RIGHT FREAKING NOW? You do? Good, then I don't need to explain. 


Pattern:

I had been aware of the Kabuki Tee by Paper Theory Patterns for a couple of months before the sudden urge to make it took hold. If Hunter S Thompson had been into sewing, that last sentence would definitely be something he'd have written I think. Anyways, the Kabuki tee is a definite deviation from the rest of my wardrobe, but after the success I had with my recent experimentation with volume, I felt the Kabuki tee pattern just might work out for me. With a contemporary Japanese feel that I very much appreciate on others, but is something I have yet to dabble with personally, I decided to take the leap. I kept my fingers crossed that I had some other items in my wardrobe that I could match it with, so that it wouldn't be an orphan. 

(image source: Paper Theory Patterns)

I love the drafting of this pattern. Those sleeve insets-come-bust darts look so simple but are executed so nicely. The bias-bound neckline and basic hems complement the general clean look of this style. The pattern's body measurement put me (as per usual) in two sizes: a 12 for the bust and 14 for the waist and hips. Looking at the finished garment measurements, I decided that the design ease was sufficient for me to just go with a straight 12, and the resultant fit is great. 


The instructions are lovely and clean, with very clear illustrations. However, when I got stuck into the construction, I was a little disappointed at the sparseness of the guidance. There was one mention of possibly overlocking the raw edges of just one of the shoulder seams, and that was the only reference to finishing raw edges throughout the project. Similarly, there was little mention of pressing seam allowances, and the instructions for the hems were just to turn up and stitch, with no direction to finish the raw edges first or to double fold them.


The lack of seam allowance finishing and pressing directions left me feeling somewhat in the dark when it came to those tricky sleeve insertions, more hand-holding would definitely have helped me feel a bit more confident there. I'm a fairly experienced sewer at this point, and I've inserted panels like this before so it came out alright (FYI, I overlocked the seam allowances of the sleeve insertion together, pressed them towards the body of the garment, and decided to topstitch them down), but I suspect that the explanation for this part of the project might be a head-scratcher for someone who hasn't been sewing for long. Which is a shame, because the lack of fitting required with this style would otherwise lend it well as a project for a newer sewer.


Fabric:

As we know, fabric choice is key and can totally make or break a sewing project. I adore the plain linen sample version photographed on the Paper Theory website, however I wanted to work with what I already had in my stash if possible. I was also carrying a mild concern that this top might end up looking a bit 'flouncey pottery teacher in her 60s' (no disrespect intended to anyone, that is OBVIOUSLY where my style is ultimately heading, I just don't want to get there too soon!), so I aimed to pick a fabric that would work for this pattern but be a type of fabric I do already wear, to bridge the gap between the new-to-me and the more familiar.  


I had recently become the grateful recipient of a remnant length of this 4oz washed denim from Fabric Godmother that had some light damage in parts. It's the same fabric I used for my most favourite, and possibly most worn, top ever so I already new its properties and how it will eventually age. I was able to cut this pattern whilst avoiding the most obvious light damaged sections. I think the fabric has just enough structure to hold the shape of the Kabuki pattern style (although probably not by it's millionth wear and thousandth laundering I'll wager), and I'm excited to see how it fades at the seams, neckline and hems over time.


Thoughts:

Luckily for me, as soon as I finished this top, the climate dealt us an extra helping of late-summer warm, sunny days to wear it in. It felt so breezy and nice. I've also found a surprising number of bottoms that it looks pretty good with, including these Cobra corsage Luna pants, and my three knit pencil skirts. Will I make another Kabuki tee? Possibly. If some lovely linen or linen blend lands in my lap at some point, I may take the next step towards my inevitable complete Art Teacher aesthetic. 

Thursday 12 September 2019

Panda Pants!


I'm so into busting fabric scraps at the moment, that I've started busting other people's scraps too! After talking to my lovely colleague Linda about my sewing plans for my 2yo, Frankie, she very kindly brought me in a bag containing pieces of leftover fabric from some of her sewing projects. Her own daughter is now a teenager, so using scraps by making tiny-people clothes isn't on Linda's agenda. I was the grateful recipient of some lovely pieces, including this awesome panda Ponte Roma. When I brought it home and told Frankie I was going to make him some trousers for him out of it, he wrapped it round himself and was annoyed when I kept telling him that it wasn't ready for him to wear just yet!


Pattern:

Coincidentally, I had just received the offer to review some sewing patterns/ebooks by German kids' sewing pattern brand Koko & Dolores. They offer a small-but-ever-so-fun range of styles, to make the kind of clothing that you see the kids of super cool families wearing in the playground! But before I even saw their patterns I was into them because of their name 😉. I decided to try the Big Easy pattern: loose, harem-style trousers designed for knit fabrics which provide a great canvas for a fabulous print.

(image source: Koko & Dolores)

These ebooks are written in German, which I do NOT speak or understand, but the instructions include such clear illustrative photos that I had zero trouble putting these together. The Big Easy pants pattern is graded between sizes 86 and 116, which translates to height in centimetres. And priced at just € 4.90, it's a major bargain. 


Fabric:

As previously mentioned, I used a Ponte Roma fabric for the front and back leg pattern pieces, as well as for the ankle cuffs. To get the pattern pieces to fit the leftovers, plus keep the pandas the right way up, I had to add a centre back seam rather than cut the back piece on the fold as per the original pattern. Although this Ponte has moderate stretch (for a Ponte), I knew it wouldn't have enough stretch and recovery for the waistband. 


The waist is finished with a band of fabric, no elastic involved, so I needed to use something with a hefty elastane/Lycra/spandex content for sufficient stretch and recovery. I had some scraps of solid black cotton/Lycra jersey from Girl Charlee that worked perfectly. I love a fabric band waistband for ease of construction, plus it allows for lots of growing room. However, it has to be said that the trousers don't stay up quite as securely as they would do if elastic was inserted. 


I'm pretty sure that the samples shown on the Koko & Dolores website also use jersey for the leg pieces as well. And I'd be really interested to see this pattern sewn up with the leg pieces made from a light weight woven, double gauze perhaps. I must admit that I have little experience of combining stretchy knits and wovens in the same garment...


Thoughts:

We all adore these trousers! When Mr SoZo is dressing Frankie, it's almost always the panda pants that he reaches for, if they are clean. And when given a choice, Frankie himself usually chooses them too. The volume gives him lots of room to move and play: freedom of movement should always be the most important criteria in children's clothes, IMO. I'll definitely reach for this pattern again in the future, and and when another suitable fabric crosses my path. 


Related Posts Plugin for WordPress, Blogger...