Thursday 13 May 2021

Free SoZo Undies Sewing Pattern: Updated and Re-released!!!


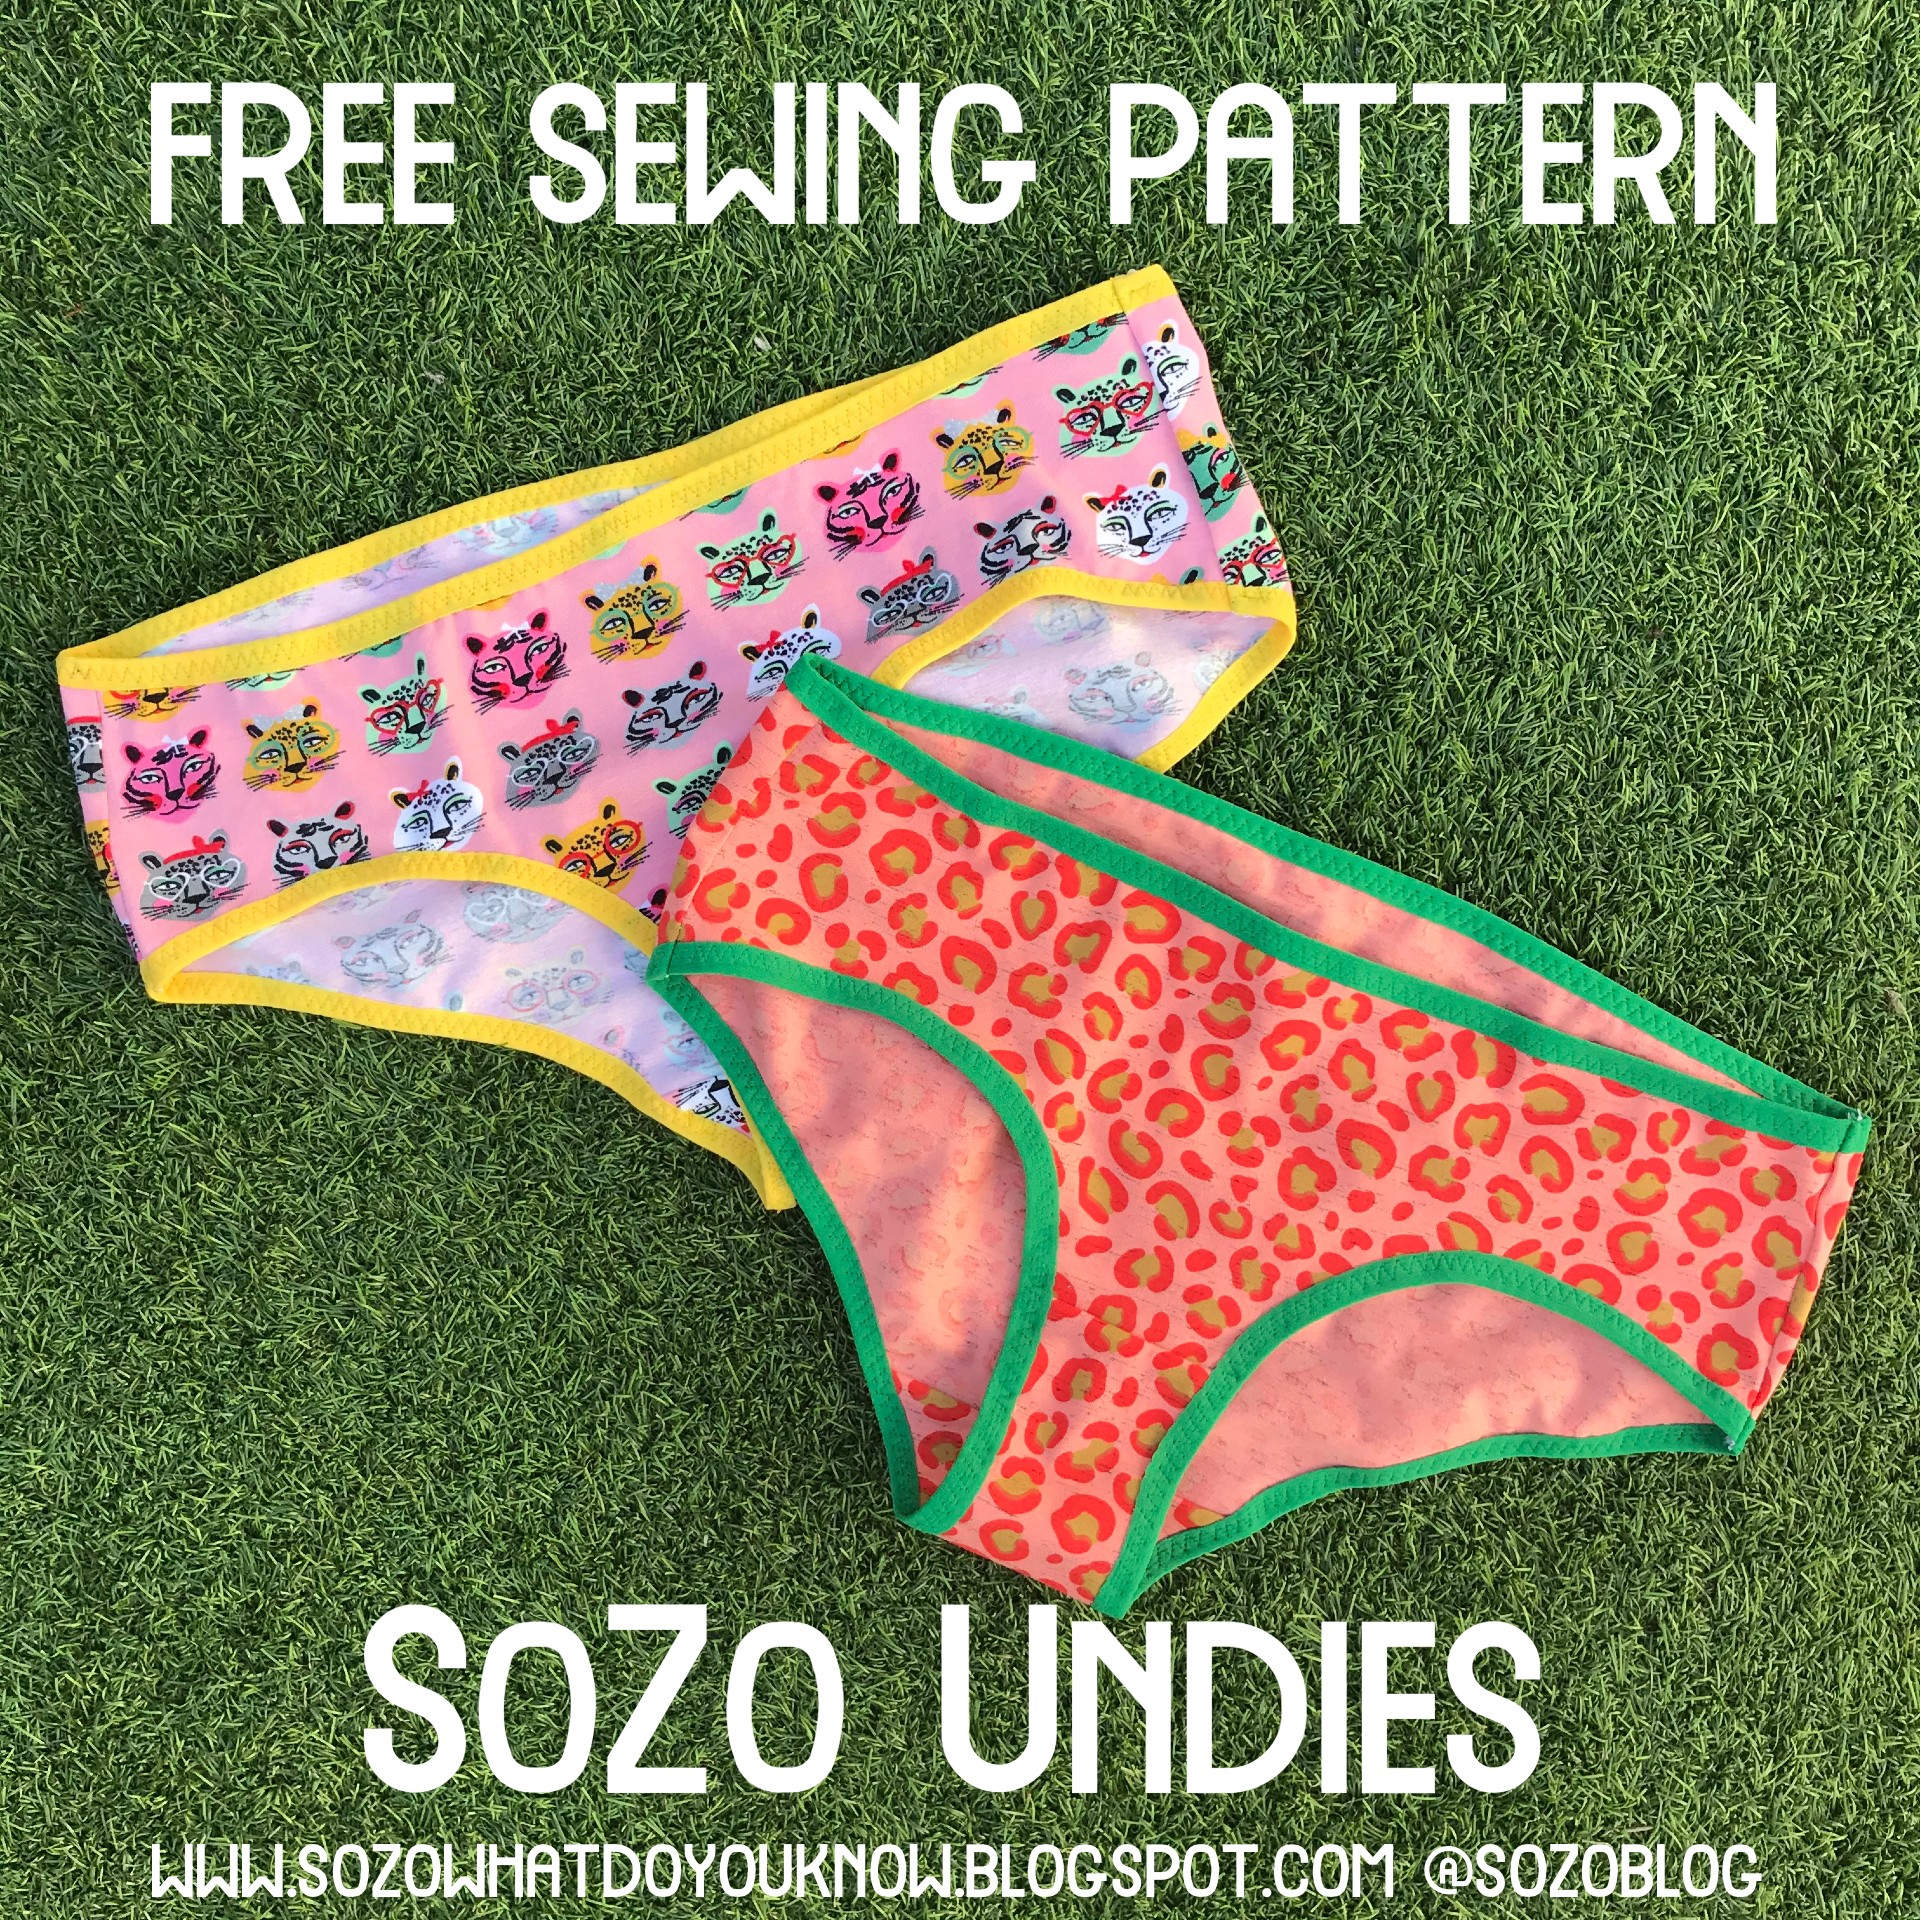
I am very happy to announce that my free undies pattern that I originally released nine years ago has had a major overhaul and is now newly available! The main three changes are:

  • It's been graded to cover full hip measurements of 32" to 50", that's TEN sizes!!!! This is a major improvement on the original five sizes. A 32" full hip is the average measurement for a 13 year old. I wanted the pattern to cover teen sizing because A) there are very few free sewing patterns (or paid for patterns, for that matter) that cover older children and teens so I wanted to help redress that a little, and B) I hope that this might be a fun project for teens getting into sewing to try for themselves. 
  • Included in the pattern and instructions are two methods of construction: the classic version (as per the original pattern) and the enclosed gusset (AKA the burrito method) version. The classic version is slightly less time consuming and slightly less fiddly to make. However, some people prefer the look of the enclosed gusset version, and it allows for more scrap-busting opportunities. 
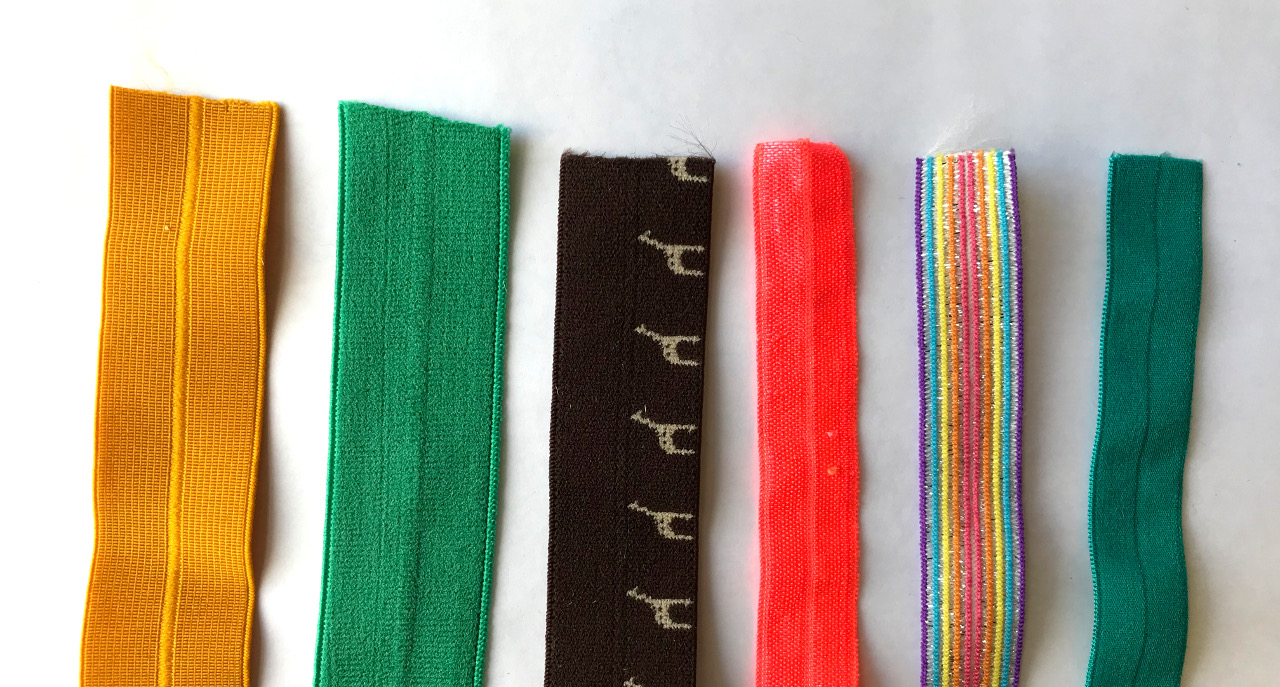
  • The instructions are vastly improved with a better layout and much more detail. Each step is illustrated with large colour photos. Also present is lots of information about fold over elastic and how to use it is. For me, the most significant improvement is that the instructions now contain detailed measurements for the elastic required for each size AND an improved method of application which should help you achieve a successful, comfortable fit on your first attempt. I now feel confident calling this a beginner friendly project

Head over to the Free Patterns page to download your pattern files (which are now available in A4/US letter and A2) and instructions file. A lot of time and work have gone into this major overhaul, so if you do decide to give this pattern a download, please consider buying me a coffee whilst you're there. And if you make the pattern and decide to share your creation on social media, please use the hashtag #SoZoUndies so we can check them out! 

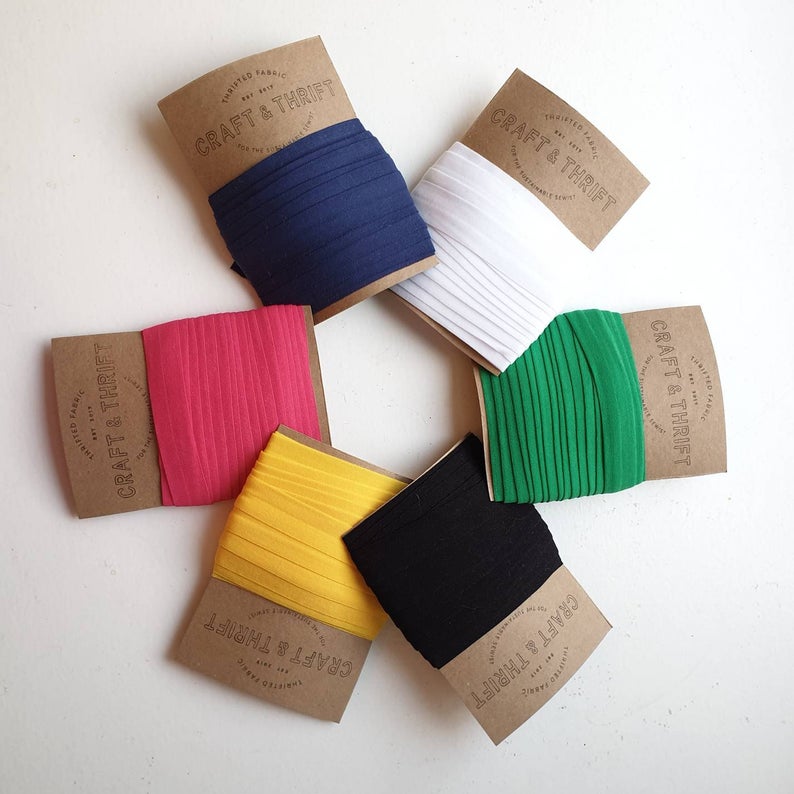
I'd like to thank my incredible friend Claire (@clairesews) for generously flexing her impressive digitising skills! Thanks also to Craft and Thift for providing all the fold over elastic for my samples, and the solid fabrics used that I've previously shared on Instagram. Thanks to Fabric Godmother for gifting the leopard print jersey seen in the image above and in the instructions. The cat print jersey is also from there.  

Sunday 9 May 2021

How to Use Fold Over Elastic (FOE)


This week, all being well, I will be re-releasing my free pants/undies/knickers pattern. It's been expanded and vastly improved, both the pattern itself and the instructions. In the latter, I include a section explaining fold over elastic and how to use it, which may be new to some sewists . I thought that it might also be useful for people if I shared that section here on this blog also to reference, whether you plan to try the free SoZo Undies pattern, another undies pattern or some other project that features fold over elastic. If you decide to use FOE (I'll be using that abbreviation going forwards) for a project with seams stitched using an overlocker/serger, you will need to use a regular sewing machine to apply the FOE. In the case of my undies pattern, it will be applied along the leg hole edges and the waist edge. But let's go back to the beginning...


What is FOE?


Fold over elastic is flat and has a visible line that runs down the centre to help you fold it in half. It can be found in a variety of widths. For my free undies project, I recommend using FOE that is 16mm - 20mm wide when flat. The narrower the elastic, the more fiddly it is to apply. If you are new to using it, try to buy some that is 18mm or 20mm wide and practice before using it on your undies project. 


FOE is available in a whole rainbow of gorgeous colours, shades and textures, and can even be found with patterns printed or woven in. Solid coloured FOE often has one matt and one shiny side, so you can decide which you prefer to be visible.


How to apply FOE:


**If you are new to using FOE, I STRONGLY advise that you have practise applying it to some scrap jersey fabric before working on your undies project. When buying your FOE, remember to order extra for practising if necessary.**


Place a section of FOE down on a surface laying vertically, wrong side up. Position some jersey on top of the left half of the FOE with the raw edge of the jersey sitting along the central line of the elastic. 


Fold the elastic in half so the raw edge is enclosed. You are about to sew through this sandwich to keep it in place with the fabric’s raw edge permanently enclosed. I find it easier to start off my row of stitches by sewing through elastic only before the fabric is introduced into the sandwich, so try leaving a few centimetres of elastic free at the beginning. 


Use as many pins as you feel is necessary to keep this sandwich in place, then position the whole thing under the foot of your sewing machine keeping the fabric to the left. 
You will be sewing through three layers, two elastic, one jersey, so it’s a good idea to select a stronger stretch/jersey needle than would be suitable for sewing the gusset seam/s. I usually use a 90/14 sized needle for the task of applying FOE.


To make sure the elastic and jersey remain stretchy, you need to select a stretch stitch on your machine. I recommend using the three-step zigzag stitch. This stitch is sometimes also called the tricot stitch or the serpentine stitch. It comprises three tiny straight stitches per zig and per zag. The three-step zigzag stitch is commonly used in underwear manufacture, both domestically and industrially, because it allows a lot of stretch but also provides more stability and a flatter finish than a regular zigzag stitch. The only drawback of the three-step zigzag stitch that I’ve found is that those tiny straight stitches make it a real pain to unpick if you make a mistake!


Begin by stitching through both layers of elastic, and then as you get to the jersey, through the elastic-jersey-elastic sandwich, removing the pins as you go. After every few centimetres of stitching, stop and readjust the next section of jersey and FOE as necessary before continuing. 


This is the basic technique for applying FOE. Things get a little trickier in the undies project because we will also be going round the curve of the leg holes, and giving the FOE a little stretch as we stitch. To make these undies, you will be applying FOE that is shorter in length than the measurement of the leg hole edges and waist edge that you’re stitching it to. I will show you how to pin the elastic evenly to the edges. Then you will need to give the FOE a little tug with your right hand as you stitch through the three layers to get a neat result. But get the hang of the basic application technique described above and you’ll be ready to tackle this project!


Why can I buy FOE?


FOE is wildly available at many/most sewing shops and haberdashers. Recently I have used FOE from Craft and Thrift and Plush Addict (both based in UK).


Related Posts Plugin for WordPress, Blogger...