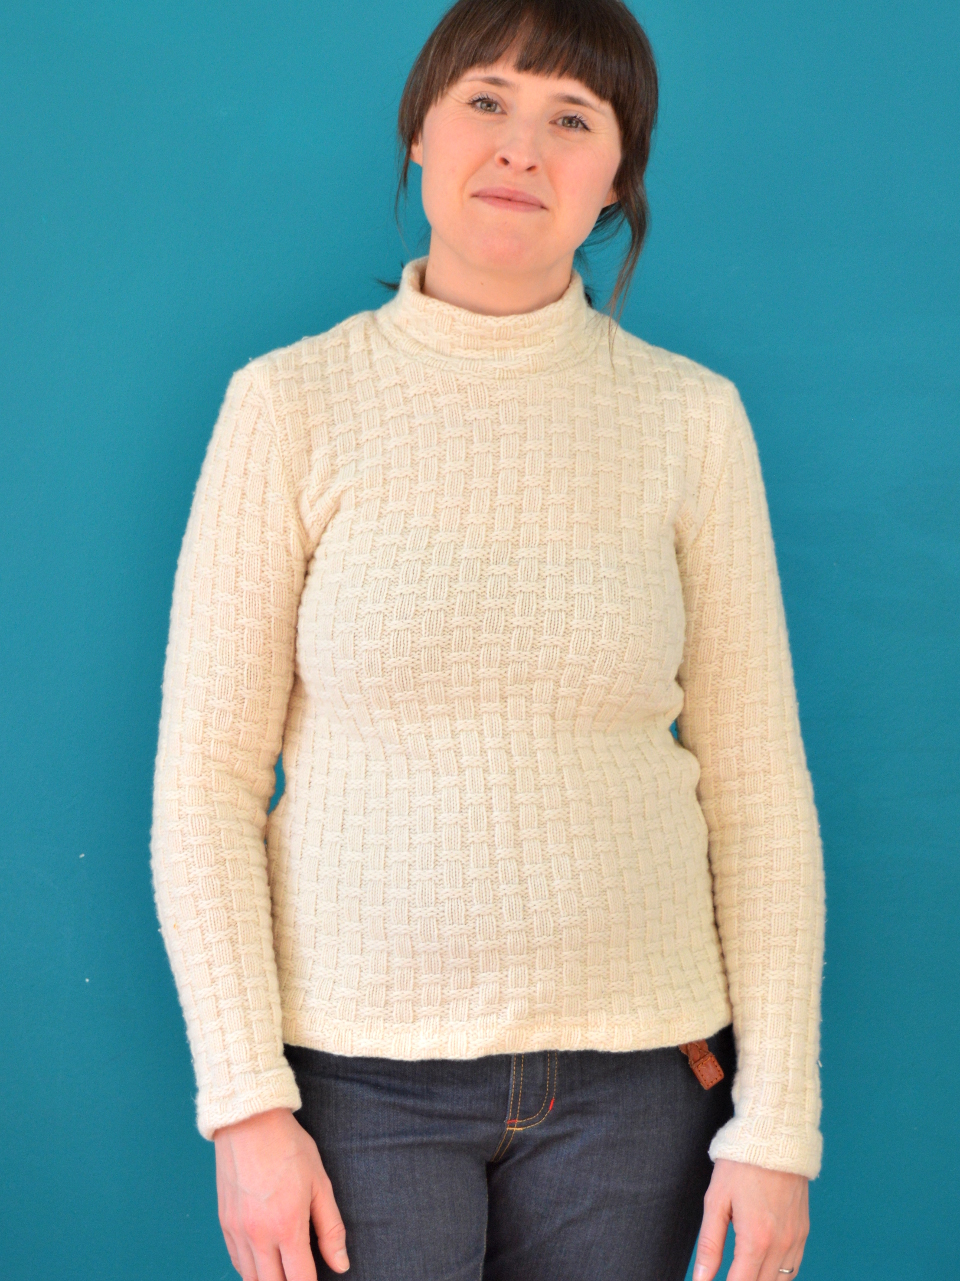
(image credit: Graeme Robertson/The Guardian)
Earlier this week The Guardian newspaper published an article called 'Don't feed the monster!', which included some interviews with people who no longer buy new clothes by way of discussing approaches to dressing sustainably. I was lucky enough to be included in the article, in effect to represent the DIY facet of the topic. What 'sustainable clothing' actually is is complicated of course, and means different things to different people (if they've spent any time thinking about it in the first place!). But it's clear from all the stats that RTW, and the lower-end 'fast fashion' business model in particular, is incredibly damaging to the environment and the workers involved in its manufacture. So sustainable clothing is something that we all need to address and consider for ourselves.
I am incredibly grateful to have been asked to contribute to this discussion on a broader platform than this blog and my Instagram account usually provides, and I'm so happy to have some new followers to both since the article's publication that are clearly the kind of people who consider sustainability important. I feel that some of what I was trying to get across in the interview ended up being a little disjointed, and I'd like to explain my stance more freely here.

(image credit: Graeme Robertson/The Guardian)
Firstly, I want to emphasise that I don't think that sewing your own clothing should necessarily be considered a sustainable option by default, and certainly is not as sustainable as sourcing all clothing secondhand. Even though I personally try to use secondhand fabric and thrifted garments as a starting point for some of my sewing projects rather than always buying new fabric, I'm careful not to ignore the fact that home sewing still produces a lot of waste and uses a lot of resources. And I doubt that any fast-fashion garment workers working in unpleasant and dangerous conditions for barely any money would thank me for opting out of buying mass-produced clothing completely.
Yet I do think that, as far as environmental impact goes at least, home sewing can be more sustainable than buying RTW. All the choices that sewing your own garments requires you to make (are you starting with a sewing pattern, which version, any changes to the design or fit, what type and colour of fabric, what buttons/notions blah blah blah...) means you can't help but end up with an item that is uniquely yours: that becomes an investment of self. And the more you learn about your own style, preferences and lifestyle requirements, and the better you get at altering and fitting garments to your own body, the more likely you are to end up with a garment that is entirely custom to you and you have deep investment in. Theoretically, most home sewn garments, if created with care and thought, should get countless more wears than the average fast-fashion item. Which is four, out of interested.

(image credit: Graeme Robertson/The Guardian)
A year and a half ago, I wrote this post about how we can be more sustainable in our home sewing, and I'm sure this is something that I will continue to think and write about going forwards. Of course, one way you can make sure you're getting the most out of your existing selection of home made garments, and learn lots of useful lessons to help make your future projects as successful as possible, is to challenge yourself during this year's Me-Made-May! If you have any thoughts or feelings about dressing sustainably, or more sustainably to be accurate, in relation to handmade clothing or more generally, I'd LOVE to read them so please leave a comment below or hit me up on IG (@sozoblog).