

The Siem shorts pattern is a retro style designed for knit fabrics. The pattern consists of three pieces: front, back and waistband. Plus you need binding (preferably stretchy) to finish the edges.
Sizing info:
This pattern is graded between a generous 98cm (approx. 3 years) and 164cm (approx. 14 years) which I really appreciate it. I made the size 152 this time, going by my daughter's hip measurement as opposed to her height, and the sizing is pretty perfect.
Fabric info:
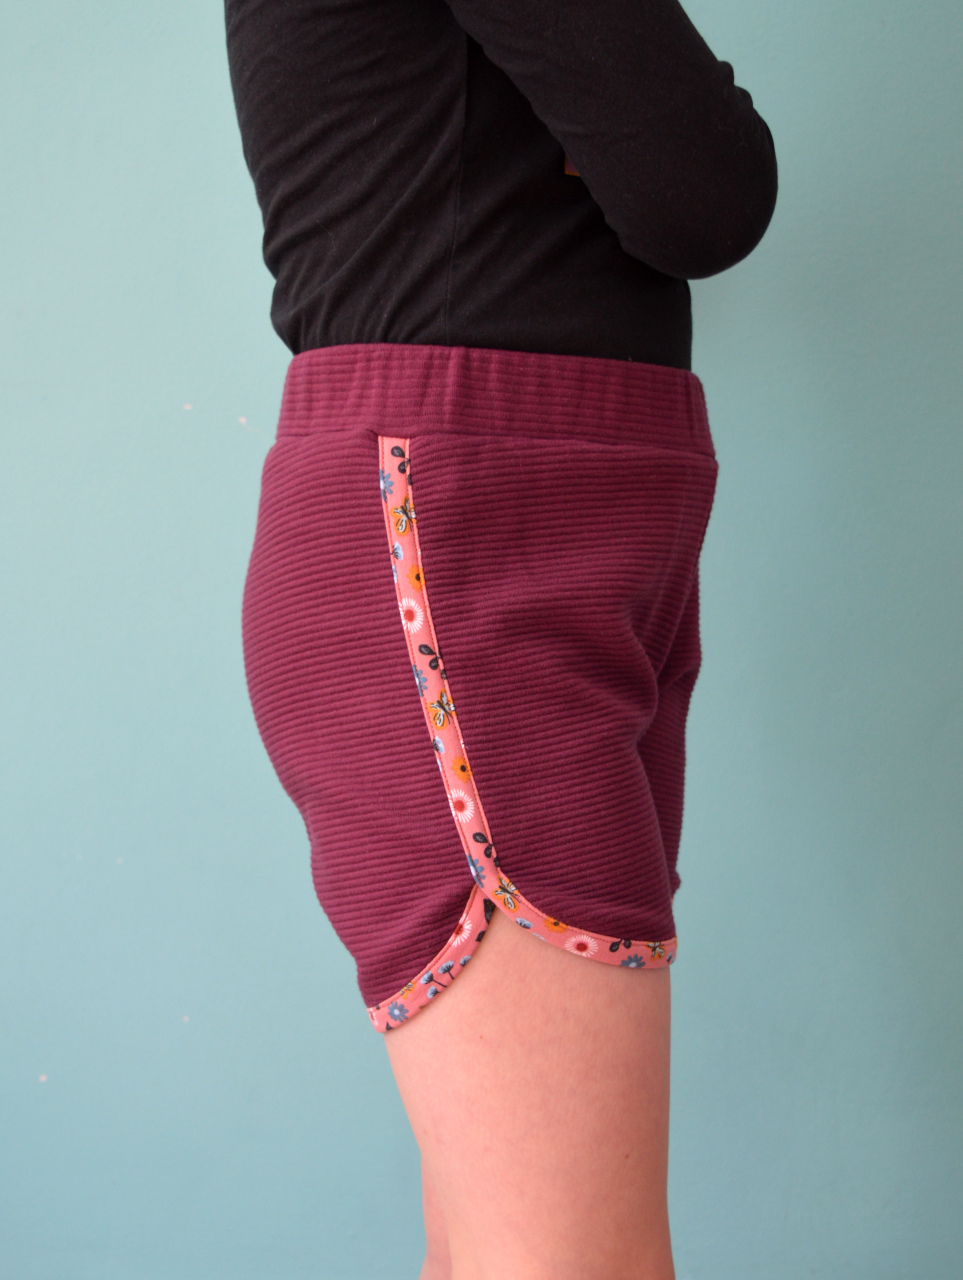
Fabric types that are listed as suitable for this pattern include jersey, ponte roma, french terry and sweatshirt knits. This is such a fantastic pattern for using up scraps and leftovers from other projects, so as long as the knit is pretty stable and isn't too light-weight it's probably worth a try. Last time I made and reviewed this pattern, I declared that I'd love to make these in a classic retro towelling or velour knit. My wish was granted when I found this discarded small remnant of pink velour at work. The burgundy pair are made using scraps of ponte roma that have been hanging around in my stash for a couple of years.
The pattern calls for 'stretch bias binding' for finishing the edges. That's not a super common item to find in fabric shops or haberdashers, plus I'm still participating in the Last Sewist Standing challenge so I can't buy new sewing supplies at the moment anyway. So for the pink pair I used strips of white cotton ribbing (the kind that's sold for cuffs and neckbands). For the burgundy pair, I chanced my arm with something a bit thicker, and used a strips of printed french terry. I cut the strips along the DOGS (direction of greatest stretch) rather than on the bias.

The pattern and the instructions come in separate PDF files. The pattern is easily obtained via the Bel-Etoile website, with no sign-ups to anything required. I was super happy to find that the pattern file includes the layers function which is great for saving ink, particularly when the pattern is graded to such a generous number of sizes.
The instructions document was equally user-friendly. The only thing I felt was missing was some advice on making your own binding. It is an easy enough process to do, but the lack of that step in the instructions may cause a beginner sewer/sewist to have a bit of a head-scratch. This time I did remember that SEAM ALLOWANCE IS NOT INCLUDED IN THIS PATTERN. However, it did take me a while to work out that it's not necessary to add allowance to the curved edges.


So I kind of messed the fit up a bit on these. When I made this pattern for my daughter two years ago, she found them to sit too high on her waist for her liking. This time, I made the burgundy pair as per the pattern and she experienced the same problem again. As before, she kept pulling them down to sit on her hips which resulted in a bunching of excess fabric at the front. So I unpicked the waistband and lowered the waist, particularly at the front. I made the same change to the pattern before cutting out the pink pair (see above for the pattern pieces with the new cutting line drawn in). Except now, as you can see from the picture below, that has resulted in the front rise being too short and a whole world of ugly tightness (*major eye roll*!).
I think I've also stitched the side seam down too far on the burgundy pair as there's some tightness where the curve begins. I'll probably unpick it a bit at some point.
But these things are my mistake! Don't let that put you off this super cute pattern.

Customisation ideas:
Stealing my own ideas from last time:
- Adding patch pockets to the back
- Adding front pockets with curved pocket openings and matching bound edges like these
- Lengthening or shortening the legs if the wearer has a different preference
- Applying a cute patch or decal for extra vintage coolness


No comments:
Post a Comment