Showing posts with label kids clothing. Show all posts

Friday, 4 August 2023

Free Pattern Friday: Siem Shorts for Kids


Welcome to my monthly 'Free Pattern Friday' feature, where I road test a free sewing pattern or tutorial: sometimes a children's one, sometimes an adult's one. I publish these posts every first Friday of the month, timed to provide inspiration for those who plan to get their sew on over the weekend. I firmly believe that, if you pick your projects carefully, sewing doesn't have to be a crazy-expensive way to clothe yourself and your family. Thanks to all the amazing pattern designers who have offered up their hard work for us to enjoy for free.

This month I'm returning to a pattern that I have made and loved previously. It's a unisex shorts pattern designed for knit fabrics called the Siem shorts pattern (pronounced 'seam') by Bel'Etoile patterns. I reviewed it two years ago, and I have been wanting to make it again ever since. I really love the retro stylings, plus it's a fantastic way to use up smaller amounts of knit fabrics that aren't suitable for undies making. Let's get into my experience this time round....
 

Pattern type: 

The Siem shorts pattern is a retro style designed for knit fabrics. The pattern consists of three pieces: front, back and waistband. Plus you need binding (preferably stretchy) to finish the edges. 

Sizing info:

This pattern is graded between a generous 98cm (approx. 3 years) and 164cm (approx. 14 years) which I really appreciate it. I made the size 152 this time, going by my daughter's hip measurement as opposed to her height, and the sizing is pretty perfect. 


Fabric info:

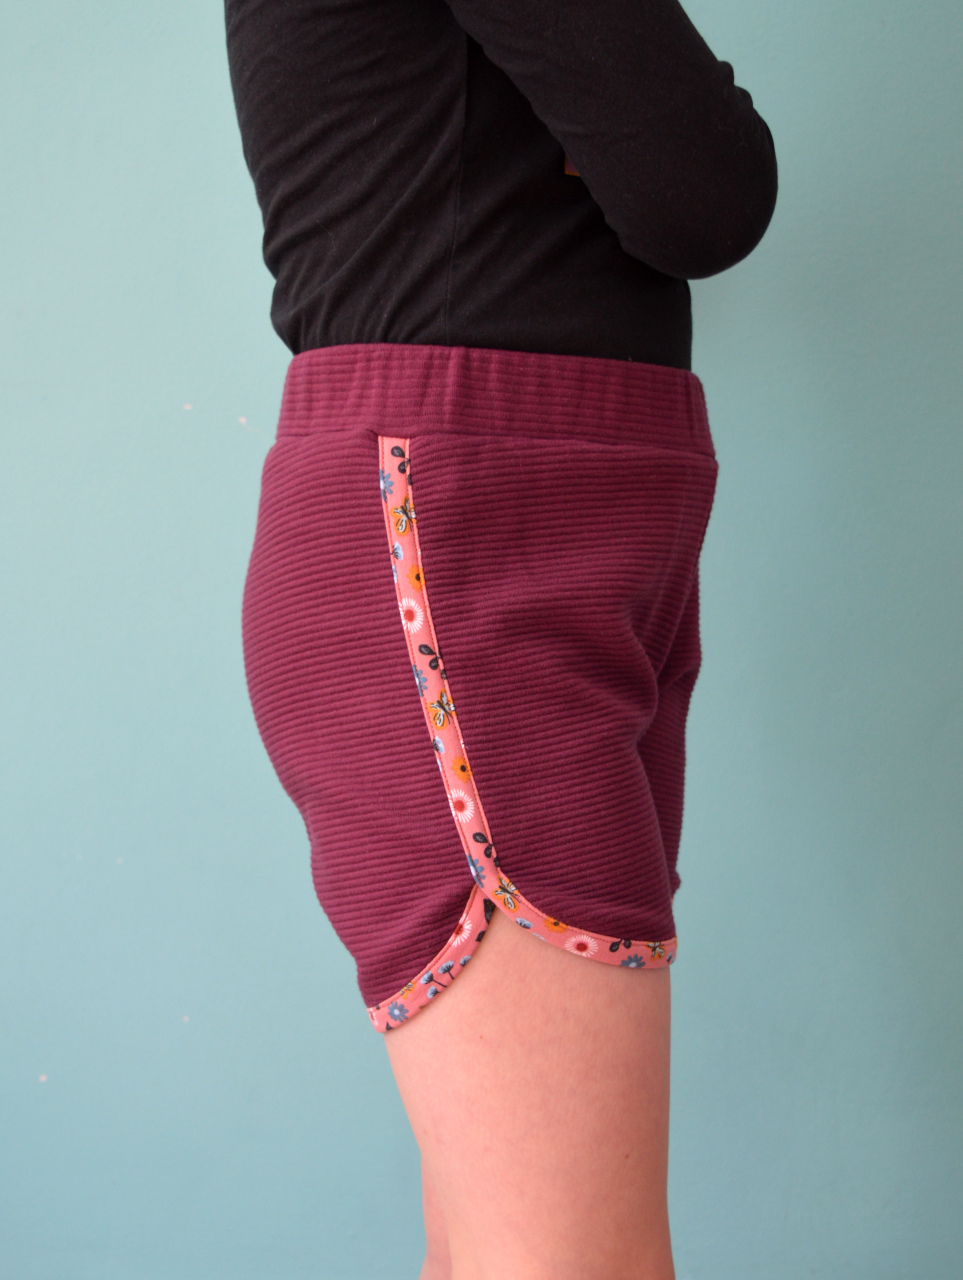
Fabric types that are listed as suitable for this pattern include jersey, ponte roma, french terry and sweatshirt knits. This is such a fantastic pattern for using up scraps and leftovers from other projects, so as long as the knit is pretty stable and isn't too light-weight it's probably worth a try. Last time I made and reviewed this pattern, I declared that I'd love to make these in a classic retro towelling or velour knit. My wish was granted when I found this discarded small remnant of pink velour at work. The burgundy pair are made using scraps of ponte roma that have been hanging around in my stash for a couple of years. 

The pattern calls for 'stretch bias binding' for finishing the edges. That's not a super common item to find in fabric shops or haberdashers, plus I'm still participating in the Last Sewist Standing challenge so I can't buy new sewing supplies at the moment anyway. So for the pink pair I used strips of white cotton ribbing (the kind that's sold for cuffs and neckbands). For the burgundy pair, I chanced my arm with something a bit thicker, and used a strips of printed french terry. I cut the strips along the DOGS (direction of greatest stretch) rather than on the bias.


Findings:

The pattern and the instructions come in separate PDF files. The pattern is easily obtained via the Bel-Etoile website, with no sign-ups to anything required. I was super happy to find that the pattern file includes the layers function which is great for saving ink, particularly when the pattern is graded to such a generous number of sizes. 

The instructions document was equally user-friendly. The only thing I felt was missing was some advice on making your own binding. It is an easy enough process to do, but the lack of that step in the instructions may cause a beginner sewer/sewist to have a bit of a head-scratch. This time I did remember that SEAM ALLOWANCE IS NOT INCLUDED IN THIS PATTERN. However, it did take me a while to work out that it's not necessary to add allowance to the curved edges. 


So I kind of messed the fit up a bit on these. When I made this pattern for my daughter two years ago, she found them to sit too high on her waist for her liking. This time, I made the burgundy pair as per the pattern and she experienced the same problem again. As before, she kept pulling them down to sit on her hips which resulted in a bunching of excess fabric at the front. So I unpicked the waistband and lowered the waist, particularly at the front. I made the same change to the pattern before cutting out the pink pair (see above for the pattern pieces with the new cutting line drawn in). Except now, as you can see from the picture below, that has resulted in the front rise being too short and a whole world of ugly tightness (*major eye roll*!). 

I think I've also stitched the side seam down too far on the burgundy pair as there's some tightness where the curve begins. I'll probably unpick it a bit at some point. 

But these things are my mistake! Don't let that put you off this super cute pattern. 


Customisation ideas:

Stealing my own ideas from last time:

  • Adding patch pockets to the back
  • Adding front pockets with curved pocket openings and matching bound edges like these 
  • Lengthening or shortening the legs if the wearer has a different preference
  • Applying a cute patch or decal for extra vintage coolness

Would I make it again?

YES! I have to work out how to alter where the waist of these shorts sit on her body without messing up the rise length. But I'd love to make these again in the future if she still likes the style in a year or so. 


Tuesday, 2 November 2021

Tadah! I Made Birthday Outfits!


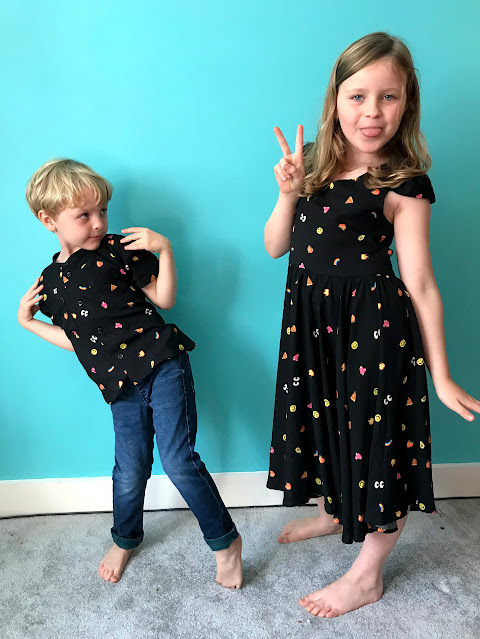
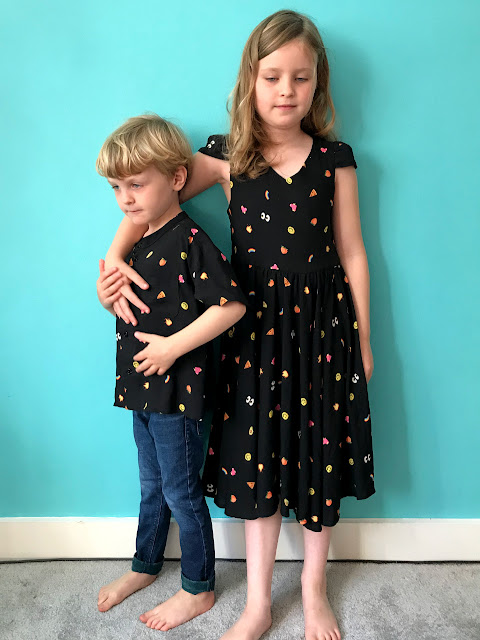
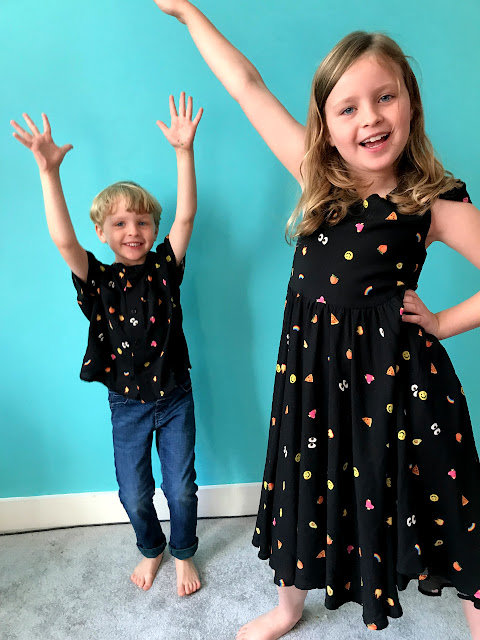
My kids' birthdays are ridiculously close together. In fact, their special days are only one day apart. To date, our family more or less treats the situation like they're twins that are three years apart, and the celebrations kind of overlap and get all smooshed together.  I guess this will change as they get bigger when their friendship groups get more defined and separate, and perhaps as soon as next year the events will be more distinct. I also feel that the clock is ticking for how long I can get away with making them matching clothes! To make the most of this fleeting opportunity, I decided to make these coordinating garments for them to wear as they turned eight and five. 


Fabric:

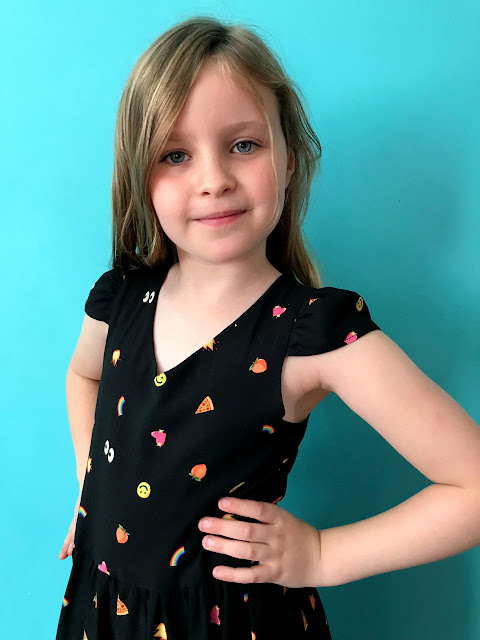
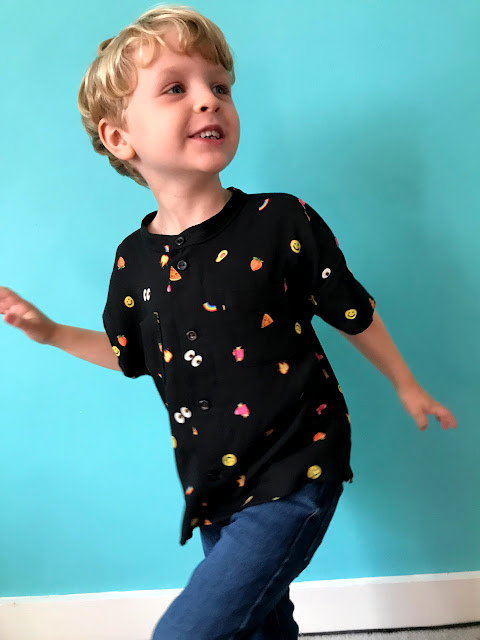
When I first laid eyes on this fun emoji print viscose lawn from Fabric Godmother, I knew I had to get some for my kids. To be honest, I rarely buy fabric to make clothes for my kids. I mainly use leftovers from other projects and fabric harvested from existing garments when making things for them, with the occasional new purchase or gifted length that's more specifically 'kiddie'. I love how this print is more subtle than a fabric designed for kids though. In fact my colleague Kerry has also bought some to make a dress for herself. Full disclosure: this is not a paid ad or freebie, I bought this fabric myself but with a staff discount.


The fabric is lovely, but as with most viscose fabrics, it's light-weight, slippery and a big fan of developing creases. Having decided to make Frankie a shirt and Lola a dress, I knew I'd be pushing the limit of fabric suitability for the styles I had in mind with this fabric selection. I think I just about got away with it though!

(image source: Tadah! Patterns)

Dress Pattern:

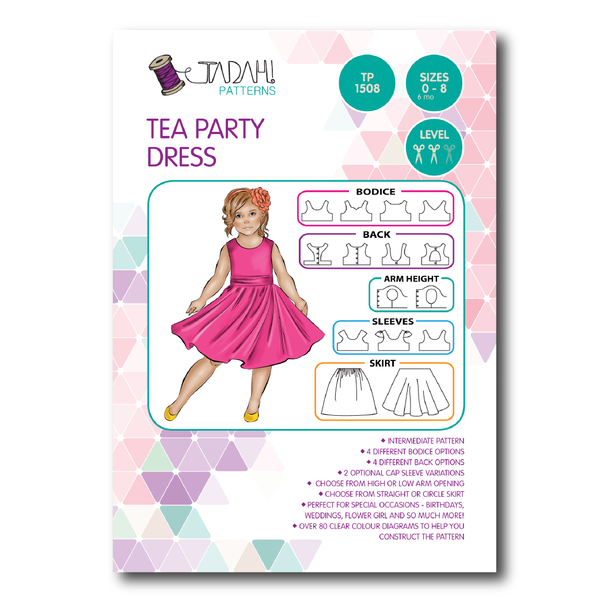
I'll start with Lola's dress. Around the time that I was gearing up to buy the fabric, I was contacted via Instagram by Sewing Gem, a UK-based online sewing shop, asking if I'd like to try out a pattern by Tadah! Patterns, an Aussie brand that they stock and were hoping to promote. It was an obligation-free offer, and the timing was just right considering I was on the hunt for a pattern to make a part dress. When I looked through their selection of Tadah! Patterns, I clocked the Tea Party Dress pattern (pictured above) straight away as one that I've had on my Pinterest board for years. 

(image source: Tadah! Patterns)

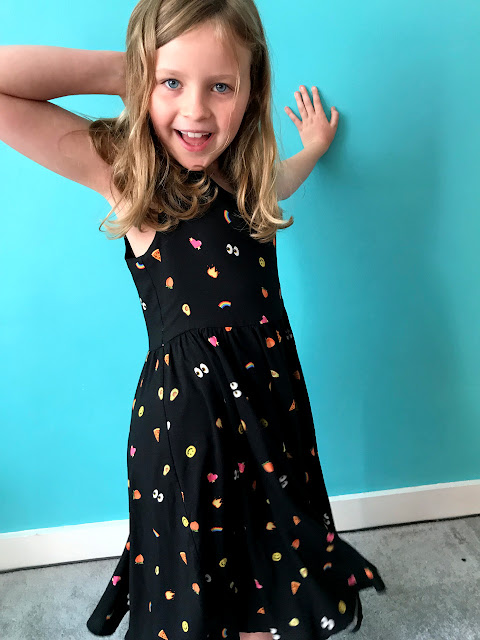
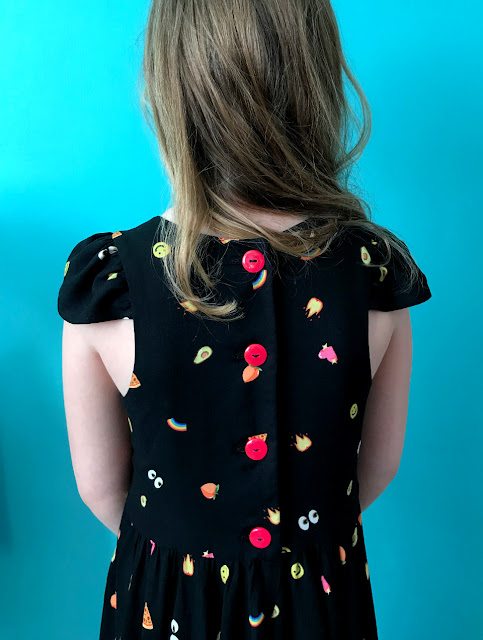
In essence, it's a fairly traditional fitted bodice-and-full skirt dress style. However, it includes a crazy amount of style options (see above). It allows you to make a ton of different looking garments all from the one pattern. I let Lola choose her own style variations. She selected the V-neck, classic back (she was going to be wearing this in October after all!), regular arm height, gathered cap sleeve and circle skirt options. 


The pattern is graded between 6-12 months to 8 years. Lola is a touch larger than the measurements that correspond with the size 8, so I lengthened both the bodice and skirt by about 5cm each (also so she'll be able to get more use from it as she gets bigger still). I also made the bodice a tiny bit wider at the centre front and back. I wish I'd had this pattern from when she was much smaller so I could have made many more garments from it over the years!


The construction was pretty simple and suitable for someone who has made a few other garments previously, particularly if you choose to make it in a more stable fabric. The bodice is fully lined and back fastens with buttons, which makes this a slightly more time consuming project, so I wouldn't recommend making it the same day your child is due to attend a party! The only part of this project that gave me pause was trying to work out whether the top edge of the circle skirt should be gathered into the bottom of the bodice, or if it should be sewn flat. The instructions mention creating gathers, however the illustrations look like it should be sewn flat with no gathers (spoiler alert: it should have gathers). 


For future versions, I would also prefer to make the bodice and skirt separately and the join them at the waist seam, instead of attaching the skirt pieces to the front and back bodice pieces and THEN stitching the side seams in one. But that's just a preference of construction order and wouldn't change the look of the finish garment particularly. 

(image source: Fibre Mood)

Shirt Pattern:

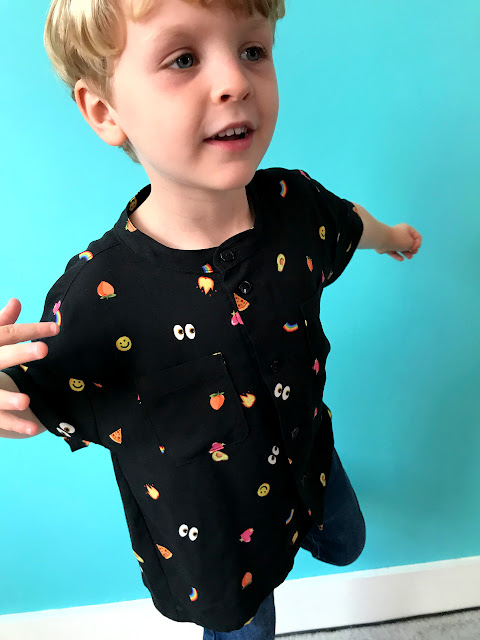
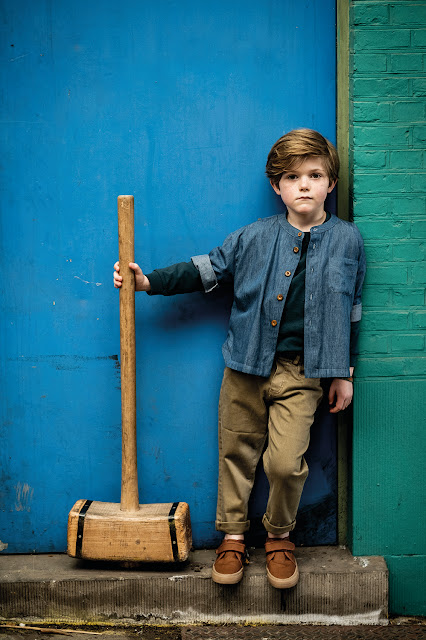
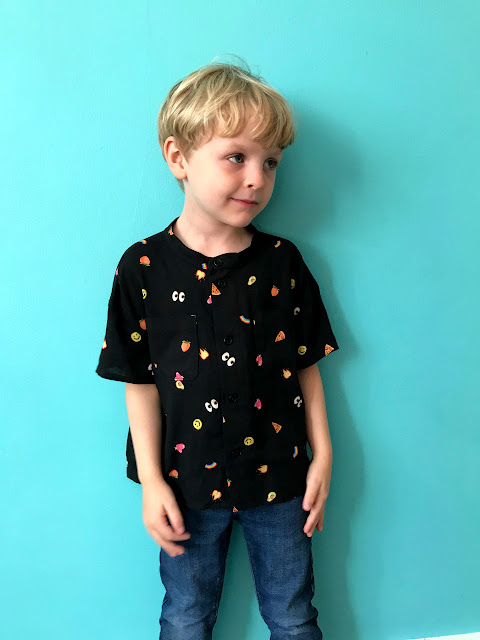
I love making shirts for Frankie, and mercifully he enjoys wearing them also! I recently made him a shirt using my regular little-boy shirt pattern with a camp collar, so I was on the look out for something different this time. I found the Rupert shirt pattern (pictured above) in Edition 14 of the Fibre Mood magazine, but you can also buy it separately here. It's got a different silhouette and collar to the others I made for Frankie so decided it was worth the tracing out for some variety! 


I ended up combining sizes for this garment to prevent it being too wide. I used the size 4 for the width and size 5 for length. I altered the sleeve pattern so it wouldn't have the turn up because I didn't want to reverse of the viscose to be visible. I also made a regular hem instead of the facing around the bottom edge because I felt the latter wouldn't be suitable for the slinky viscose. I also added two pockets to the front rather than one upon Frankie's request.


With the bottom hem facing eliminated, this shirt was pretty quick to put together. I like the look of the collarless neckline, and the wider fit is a nice variation to Frankie's current clothing selection.


Thoughts:

My main conclusion is: viscose isn't the ideal fibre for making kids clothes, but it is do-able! Both kids seem to enjoy the slinkiness of the fabric in their respective garments, even if I don't enjoy the ironing! They both chose to wear these garments multiple times over their extended birthday celebrations, and I've put them aside for a month so they'll be in decent enough condition to wear to a wedding in December. 

Related Posts Plugin for WordPress, Blogger...