Showing posts with label toiletry bag. Show all posts

Friday, 3 November 2023

Free Pattern Friday: Zipped Pouch AKA Pipa The Pouch!


Welcome to my monthly 'Free Pattern Friday' feature, where I road test a free sewing pattern or tutorial: sometimes a children's one, sometimes an adult's one. I publish these posts every first Friday of the month, timed to provide inspiration for those who plan to get their sew on over the weekend. I firmly believe that, if you pick your projects carefully, sewing doesn't have to be a crazy-expensive way to clothe yourself and your family. Thanks to all the amazing pattern designers who have offered up their hard work for us to enjoy for free.

No prizes for guessing why I'm posting about this particular free pattern at the beginning of November (hint: it begins with C). If you're scrabbling around for cute gift ideas for someone who appreciates handmade things, but won't take up a lot of your making time and fabric stash, Pipa The Pouch by Sewing Patterns by Masin is a great option. You can easily personalise them to the recipient and they have a variety of potential uses (make up, jewellery, toiletries, pencil case, small craft equipment, chess pieces, tampons, headphones, the random items that lurk at the bottom of your bag, snacks, I could go on.....). The pattern is accessible when you sign up for the free and not-at-all-spammy Sewing Patterns by Masin newsletter. Shortly after signing up, you will receive an email that includes a link to access the pattern. You can, of course, then choose to unsubscribe to the newsletter at a later date if you with. Big thanks to Jasmin from Sewing Patterns by Masin for sharing this pattern for free. 


Pattern type:

The website states that Pipa the Pouch is a little quilted pouch with a long rounded zipper allowing the pouch to open nice and wide. 

Sizing info: 

The download includes the patterns for two sizes of pouch. The larger results in a pouch that is approx. 21cm across and 12cm high. I didn't measure the smaller one before I sent it off to my mum, however measuring the pattern piece, it would end up approx. 15cm across and 8cm high. You could also adjust the settings of your printer if you wished to make a custom larger or small sized pouch.
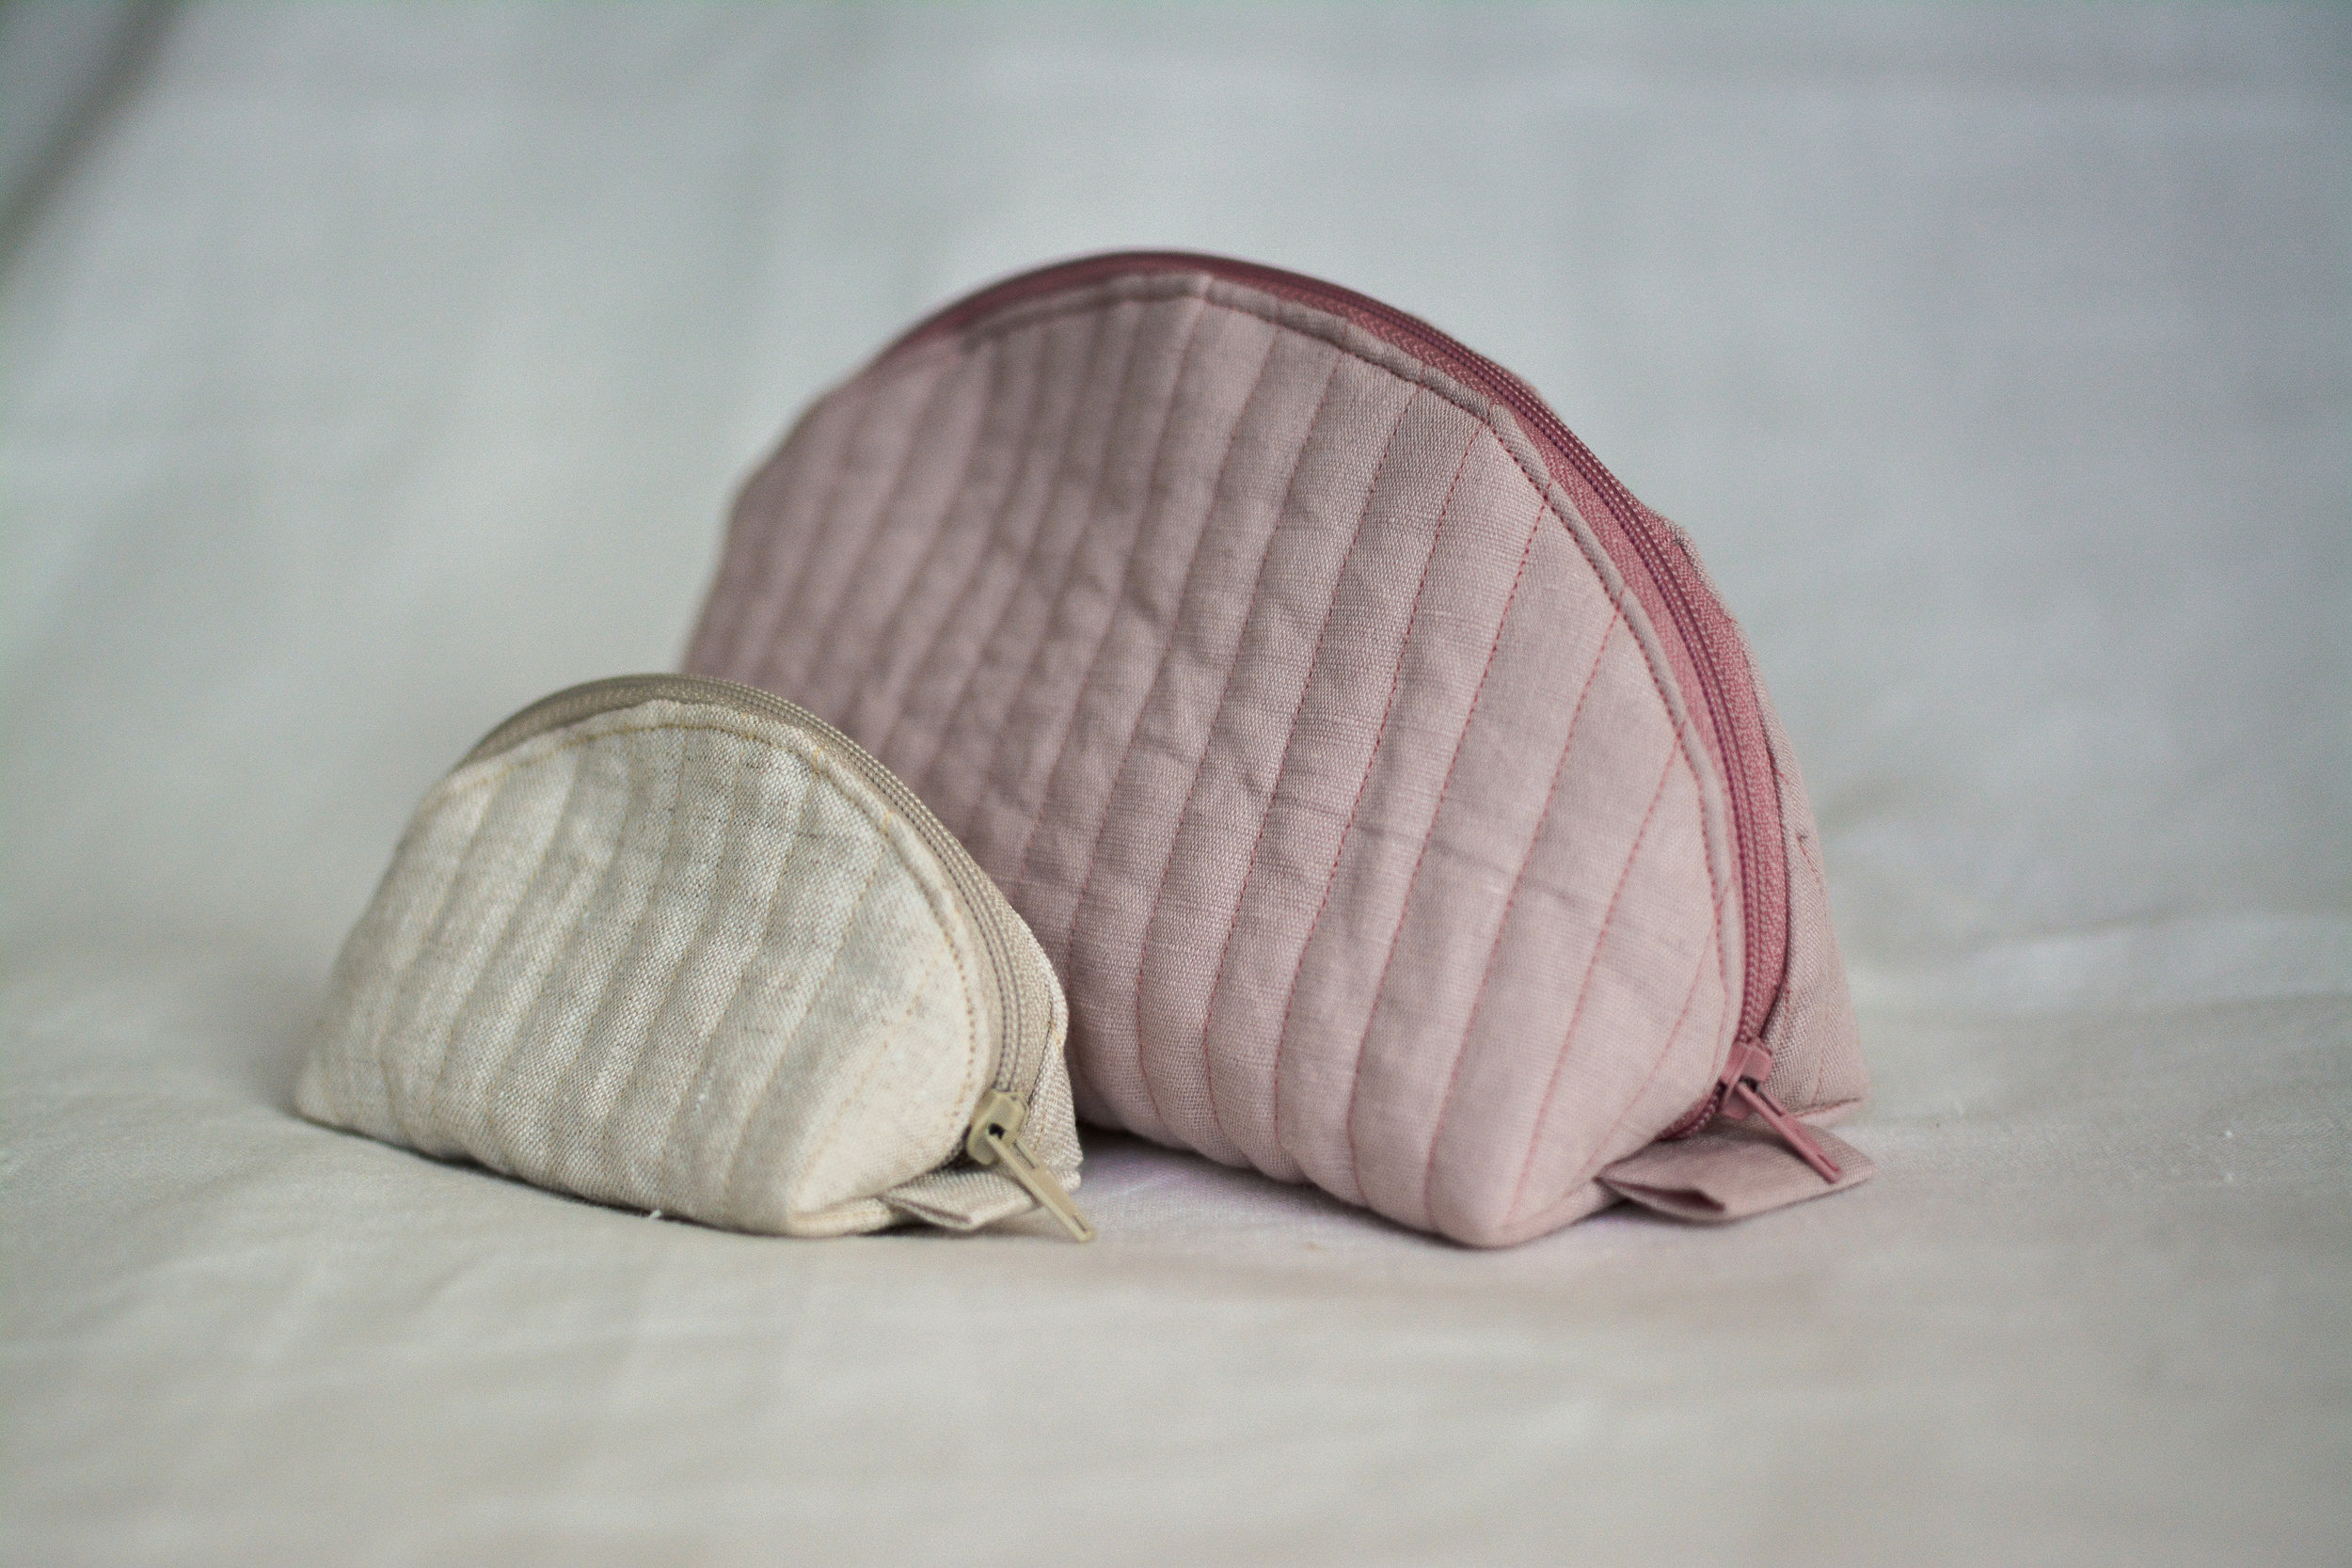

(image source: Sewing Patterns by Masin)

Fabric info:


The pattern suggests that Pipa the Pouch will look pretty in any woven, non-stretch fabric. Jasmin's favourite Pipa is made with linen fabric, heavy weight fusible interfacing, and a light weight cotton fabric with flower print for the lining. This pattern gave me the opportunity to dig out some small but very precious scraps of fabric that have been dwelling in my stash for wayyyyyy too long.


The green and white fabric is some 1950s vintage fabric (possibly barkcloth), the last bit leftover from when I used to make bags about twenty years ago. It makes my heart sing and that pouch is for me. The darker, geometric fabric was a scrap that I bought from a screenprinter/lampshade maker over ten years ago. That pouch was sent to my good friends Lee & Jiang in advance of a big trip they're about to make to the US. The floral print vintage cotton was a small hanky-sized piece that I picked up at a charity shop about five years ago. That pouch is also for a friend. And lastly, the small pouch made with a scrap of heart brocade that I found in the scrap bin at work has been sent off to my mum who really liked it when she came to visit.


Because of the limited size of most of the pieces I was using, I had to make a seam along the bottom, rather than cutting the pieces on the fold.


For all the larger pouches, I actually decided to avoid fusible interfacing. Instead, I cut an additional layer of thicker fabric from my stash, which I stitched to the main outer piece around the edge within the seam allowance. There was three reasons for this: 1) I'm trying to use less fusible interfacing in my sewing because I'm worried about the environmental impact of it, so I'm experimenting with replacing it with an alternative when I think that might be an option, 2) I don't have much interfacing left and can't buy more at the moment due to my participation in the Last Sewist Standing challenge, so I want to retain what I have for projects that really do need it, and 3) I wanted to bust more scraps from my stash!

All of them are lined with scraps of cotton lawn or viscose from my stash, and all the zips are also from my stash. I had to use an invisible zip for the small one because I'm running very low on regular closed end zips now too. When I didn't have enough of the outer fabric to make the tabs, I used some grosgrain ribbon that I once harvested from a box of chocolates instead!


Findings:

As you can see, I went on quite the Pipa the Pouch making spree! It was a much needed palette cleanser between garment projects and allowed me FINALLY find uses for some very old but very loved textiles. They're not super quick, but easy enough for a confident sewer to complete one in an afternoon. 

The pattern and instructions are very clear, with helpful diagrams illustrating the construction. The literal only thing I would say that could be improved or updated is the page numbering. The pages of the document are numbered, but the numbering excludes the cover page. So according to the page numbers, the pages with the pattern pieces are 3 & 4. However, because of the cover page, you actually need to print pages 4 & 5. But that's it. 

As you can see, I didn't actually add the row of 'quilting' stitching to my pouches. I tried it on one of them, but I found it distracted from the print too much and ended up unpicking it. It might be a nice addition on solid fabrics however.  


Would I make it again?

Absolutely! This pattern is such a great canvas for small but special pieces of fabric, and the usefulness of this items means you will get a lot of enjoyment from those fabrics. 

Friday, 7 July 2023

Free Pattern Friday: Laminated Toiletry Bag Tutorial


Welcome to my monthly 'Free Pattern Friday' feature, where I road test a free sewing pattern or tutorial: sometimes a children's one, sometimes an adult's one . I publish these posts every first Friday of the month, timed to provide inspiration for those who plan to get their sew on over the weekend. I firmly believe that, if you pick your projects carefully, sewing doesn't have to be a crazy-expensive way to clothe yourself and your family. I also firmly believe that pattern designers deserve to be properly paid for their work, so if you enjoy using a pattern and can afford to do so, make sure you support that designer. Some designers' websites offer the option to make a donation, alternatively you can buy one of their paid-for products. If you can't afford to do so, you can support the designer by sharing your project via social media to help draw more attention to their work. Thanks to all the amazing pattern designers who have offered up their hard work for us to enjoy for free.

Yes!!! I promised that the Free Pattern Friday series would be back around the summer, time and today I'm making good on that promise. Since the last post in the series that I published back in January, I've found a number of free patterns and tutorials that I genuinely wanted to try, to make things that I genuinely think will be useful for my family. Starting with this one! 

Whilst prepping for the Travel, Sustainability and Sewing episode that I made for my podcast with return guest Shams el Din Rogers, I decided to wanted to make a couple of toiletry bags for my family to use for upcoming trips. I was inspired by some awesome bags and pouches that another podcast guest, Rachel Kirby, made earlier this year for her trip to the US. Now, I probably could have figured this out myself. But you know, sometimes you just want to be told what to do! So after some sniffing around, I found this post featuring 40+ Zip Pouch Tutorials on Polkadot Chair, which led me to the Laminated Toiletry Bag Tutorial, also by Dolkadot Chair. Big thanks to them for putting this together for free. If you've got some trips coming up and your wash bag, makeup bag, medicine pouch, or anything-else bag situation isn't looking very strong, you could quickly and easily whip yourself up a new one using fabric from your stash. 


(image source: Polkadot Chair)


Pattern type:

The tutorial is for making a simple, lined, water-resistant wash bag that closes with a zip.

Sizing info:

If you follow the measurements in the tutorial (which are in inches), the resultant bag will be about 24cm wide X 17cm tall (9 1/2" X 7"). A 12" - 14" zip is also required. This makes a small-to-medium sized wash bag, perfect for one person going away for a few nights to a week if they don't use too many products. If you're going for longer, or you want to fit a couple or a family's supplies in it, you'll want to make it bigger. It'd be super easy to change the size and dimensions by cutting the rectangles to your own specification. You can also make a subtle alteration to the dimensions when it comes to stitching the corners by altering the depth.

Fabric info:

The fabrics used in the tutorial are matte laminated cottons, which are probably A LOT softer and easier to sew than the vinyl scraps I had to hand. But sometimes scrap busters can't be choosers. I'm pretty sure mine will be more robust in the long term anyhow. I used some coated vinyl stuff, the kind that's sometimes used to cover tables when kids are around, that was leftover from my rain coat. (BTW, that raincoat was made nearly eight years ago and is still going strong.) Whilst I was hunting through my stash to find the sailboat vinyl leftovers, I unearthed this kitsch, blossom print vinyl that I bought close to twenty years ago! Which meant I was able to make two that could be easily distinguished from each other. I'm wondering if PUL might also work for the lining of these type of bags.


Findings:

If you're looking for a quick and simple tutorial to hold your hand through making a zip pouch, then this one is for you. However, if you'd like to make something a little more refined, with a more pleasing zip finish such as this, then it probably isn't. I'm not sure how viable that alternative, neater kind of zip finish is for this kind of laminated or vinyl fabric anyway, but I might trial that with some 'regular' fabric. Other options include a washbag with an extended zip tape like a lot of shop bought ones have such as this. Or if you'd like a different shape, then something like this or this might be more up your street. 

Generally speaking, the tutorial was easy and pleasant to follow. There was little-to-nothing about this tutorial that made it specific to water-resistant fabrics, other than a link to another post about sewing laminate fabrics, and a link to where you can buy laminate fabrics on Etsy. The one thing I really didn't enjoy about this tutorial, is that it's one of those websites that is dripping in distracting ads. I understand that that is the business model that allows them to offer this content for free, but it still annoys me. 

Customisation ideas:

Off the top of my head, you could:

  • add internal or external pockets to keep ear plugs or something else that's small
  • alter the size, shape and depth
  • use a non waterproof fabric on the outside, and a vinyl, laminate or PUL fabric on the inside only, particularly for a makeup case or other pouch that's less likely to sit in a pool of water!
  • add a label, name tag, decal or embroidery to personalise it or make it easier to return to its owner lost (you may have guessed that I'm thinking of my kids here)

Would I use this tutorial again?

Yes! And I have. I had some seeds that I wanted to send to a friend, so I made her a smaller version of this to put them in. For that, I used the same kitsch vinyl on the outside to keep the seeds away from moisture, but I used a scrap of gingham cotton for the lining. 

Related Posts Plugin for WordPress, Blogger...