Honestly, I don't know exactly when I made this top, but I know it's taken me at least 18 months to get some photos of it. I haven't worn it much either, probably because it doesn't usually feel very tropical here in the UK, plus we haven't been abroad for three years. However, in advance of our trip to Italy next week during which I predict I'll wear this a lot, I thought I'd share this project.
Tuesday, 26 July 2022
Hula Leftovers Marcel Top
Friday, 1 July 2022
Free Pattern Friday: Full Moon Bag
Welcome to my monthly 'Free Pattern Friday' feature, where I road test a free sewing pattern or tutorial: sometimes a children's one, sometimes an adult's one . I publish these posts every first Friday of the month, timed to provide inspiration for those who plan to get their sew on over the weekend. I firmly believe that, if you pick your projects carefully, sewing doesn't have to be a crazy-expensive way to clothe yourself and your family. I also firmly believe that pattern designers deserve to be properly paid for their work, so if you enjoy using a pattern and can afford to do so, make sure you support that designer. Some designers' websites offer the option to make a donation, alternatively you can buy one of their paid-for products. If you can't afford to do so, you can support the designer by sharing your project via social media to help draw more attention to their work. Thanks to all the amazing pattern designers who have offered up their hard work for us to enjoy for free.
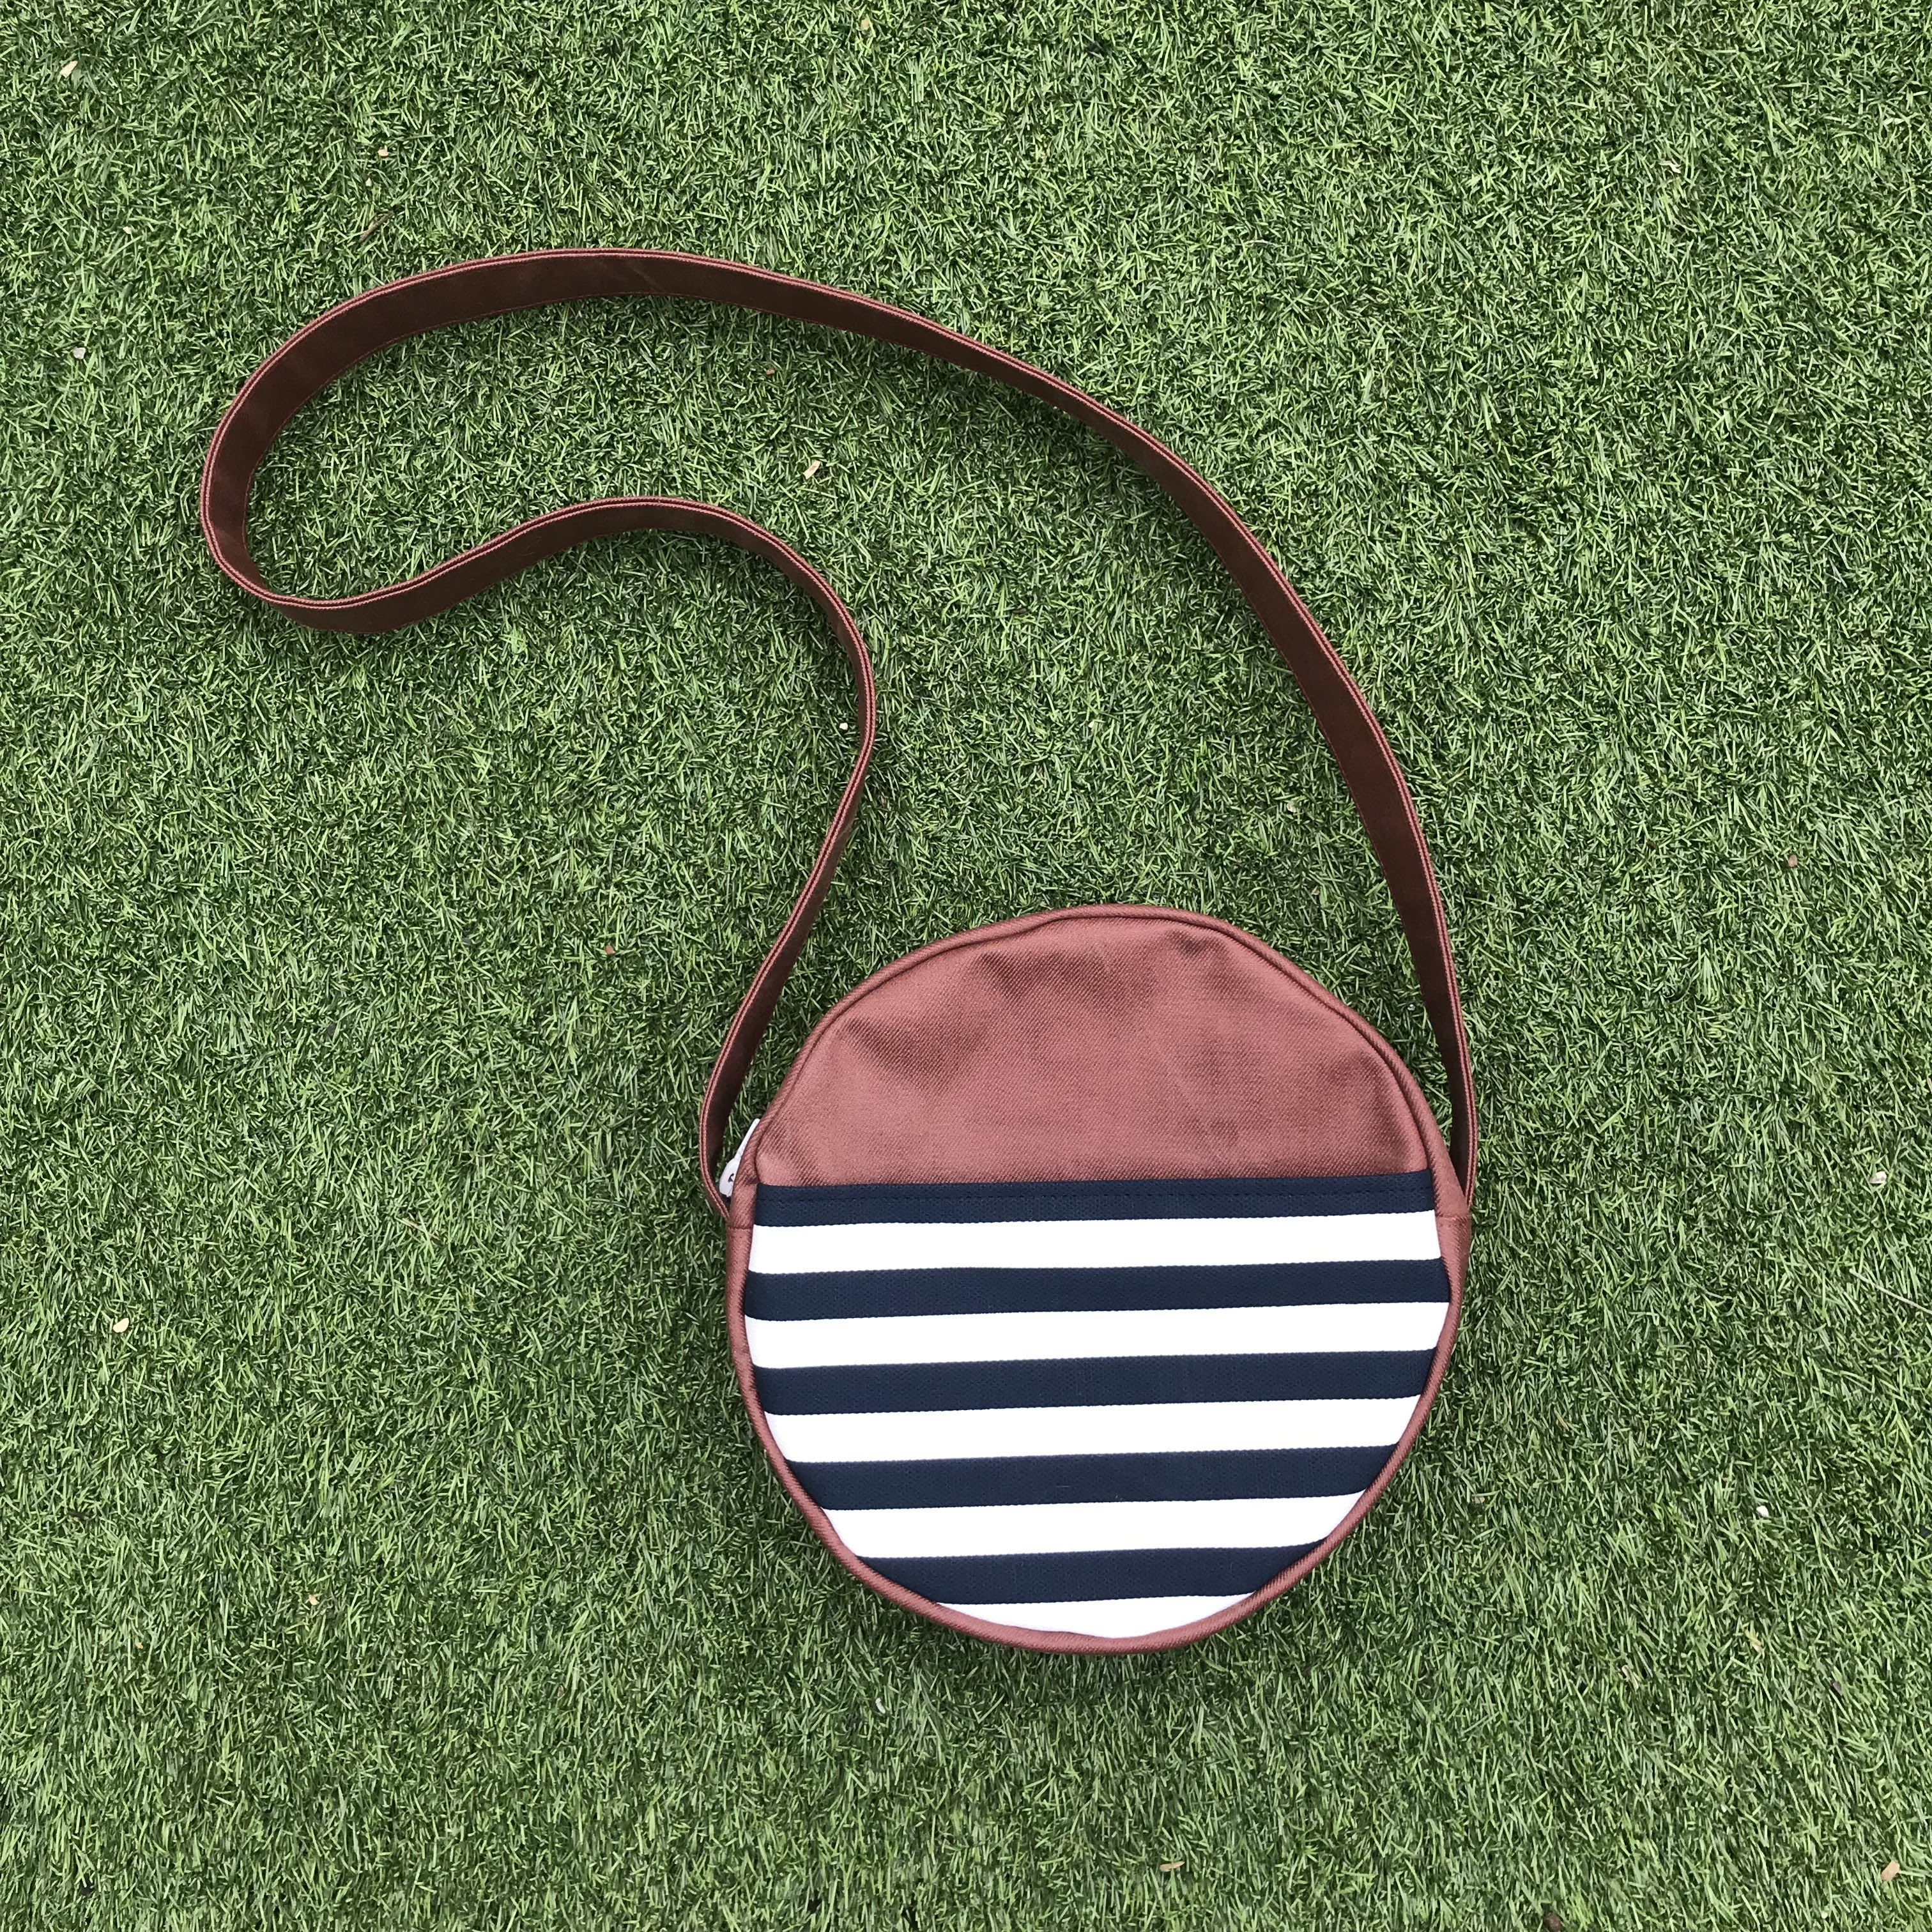
I first heard about the Full Moon bag pattern(s) by All Well Workshop through a conversation I was having on Instagram with someone about teaching kids to sew. Sadly I can't remember who it was with, but the person was saying that they used the pattern as the basis for a sewing party for their child's birthday. Impressively, they had borrowed a bunch of sewing machines and managed to get a group of kids through the steps to make their own versions. When I checked out the pattern for myself, I really loved it, and quickly convinced myself to make one as an alternative to my ropey ol' backpack. I felt it was the ideal basis for using up some scraps and I imagined that I'd use it for travels and days out when I didn't need to carry much. Unfortunately, I've got so used to carrying my water bottle everywhere that it hasn't proved quite as useful as I'd predicted. So it's become the bag I take with me when I go for a drink because that's basically the only time I don't bother to take my water bottle with me! Anyway, the lovely little bag pattern comes in two sizes, and can be accessed for free when you sign up to the All Well newsletter.
Pattern type:
The Full Moon bag pattern is a simple, circular shoulder bag that comes in two sizes. Both feature zip closures and interior and exterior pockets. Instructions for applying a leather strap or making fabric ones are included.
Sizing info:
The smaller is 6.5" across, ideal for travelling (very) light and for kids. The larger is 9" across.
Fabric info:
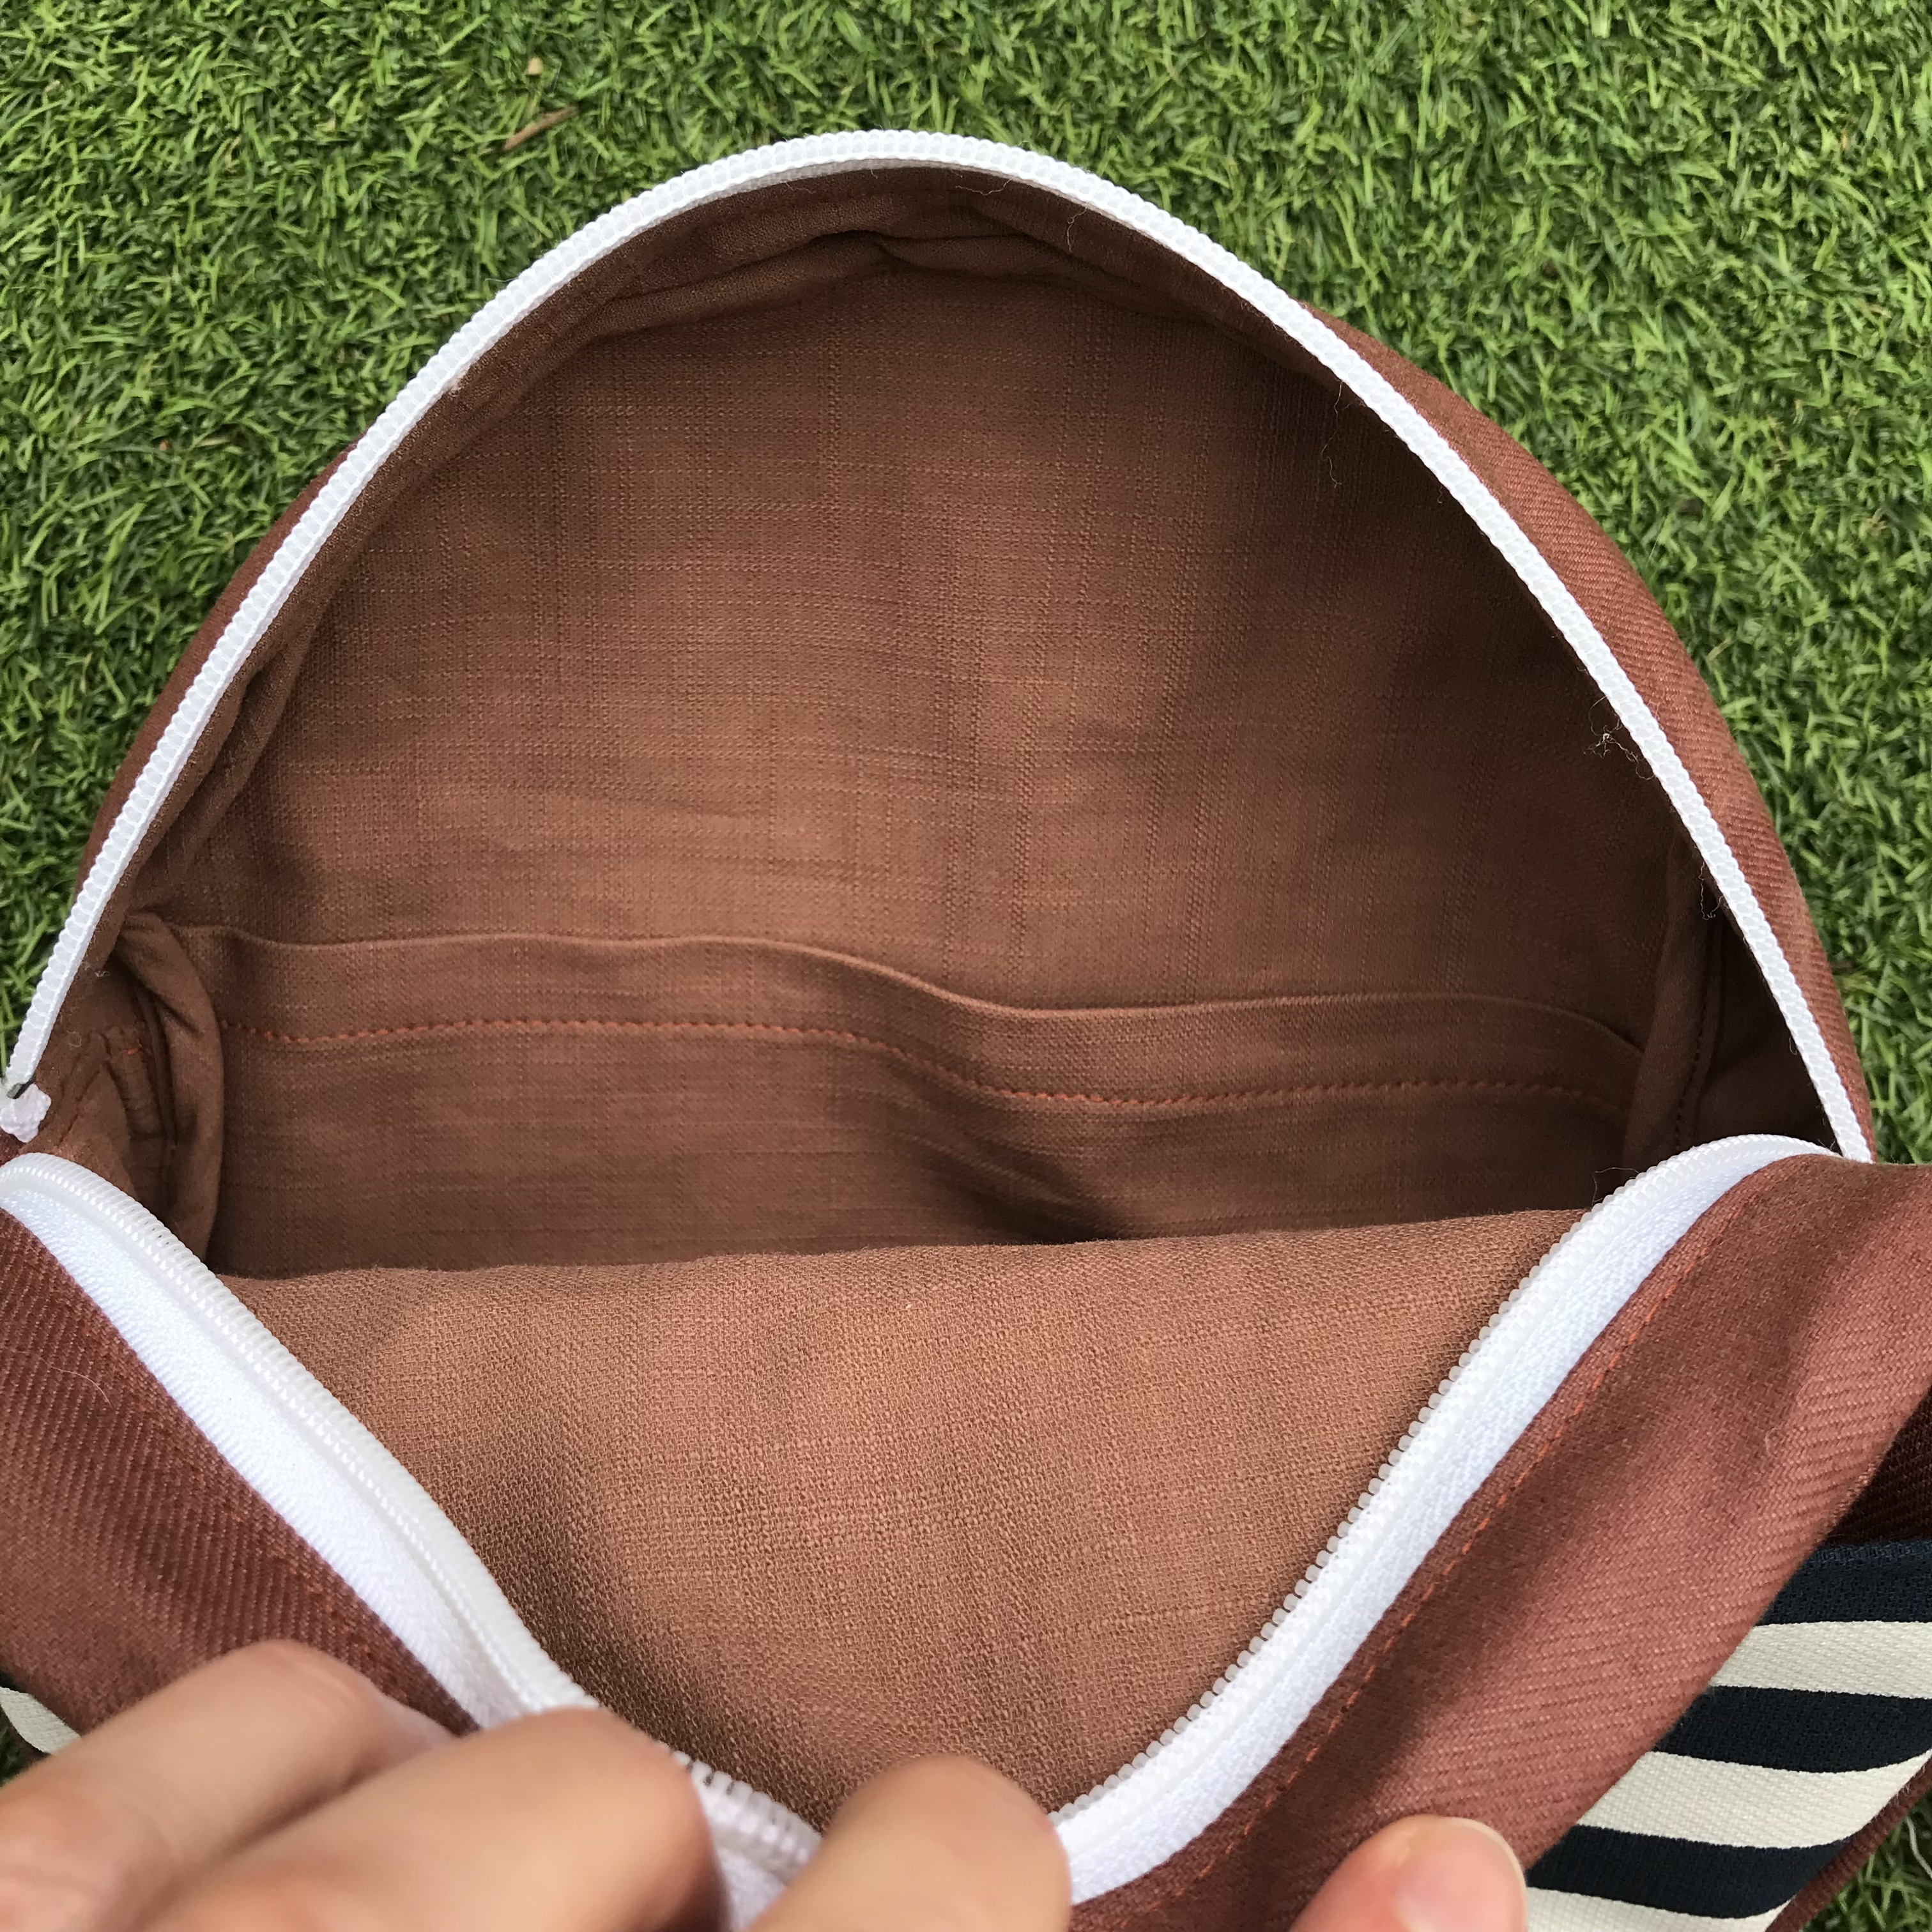
The pattern advises using canvas type fabrics around 10oz-12oz in weight. I used scraps of rust denim and striped cotton twill, and I think interfaced the base and zip shield pieces to help them keep their shape better. Like a number of other people who shared their versions on Instagram, I also decided to adapt the construction to add a lining. For that I used some scraps of fawn coloured linen that worked tonally with the rust denim.
Findings:
This was a really fun little project and a great opportunity to use some fabric leftovers. The pattern is well drafted with both A4 home printing and A0 copy shop file options. The instructions are clear and easy to follow, making this very much a beginner-friendly option. The only real challenges are handling layers of thick fabrics and making/applying the binding to finish the raw edges inside. This would be a wonderful project for making speedy gifts for adults and kids.
Customisation ideas:
- Add a lining! This was very easy to do and gives body to the bag and a more finessed finish.
- Use zips to make the external or internal pocket more secure.
- Use sliders and rectangular D-rings to make the strap adjustable.
- Insert piping into the seam around the edge of the bag for a professional look and give more stability to the circle shape.
Monday, 27 June 2022
Leopard Print Bikini
Friday, 3 June 2022
Free Pattern Friday: Kid's Woodstock Swing Tee (PLUS 2 X Dress Hacks)
Welcome to my monthly 'Free Pattern Friday' feature, where I road test a free sewing pattern or tutorial: sometimes a children's one, sometimes an adult's one . I publish these posts every first Friday of the month, timed to provide inspiration for those who plan to get their sew on over the weekend. I firmly believe that, if you pick your projects carefully, sewing doesn't have to be a crazy-expensive way to clothe yourself and your family. I also firmly believe that pattern designers deserve to be properly paid for their work, so if you enjoy using a pattern and can afford to do so, make sure you support that designer. Some designers' websites offer the option to make a donation, alternatively you can buy one of their paid-for products. If you can't afford to do so, you can support the designer by sharing your project via social media to help draw more attention to their work. Thanks to all the amazing pattern designers who have offered up their hard work for us to enjoy for free.
The free pattern I'm posting about today is a revisit. I first posted about Hey June Handmade's Free Woodstock Swing Tee pattern two years ago. I'm posting about it again because A) the fact that I've used it again means it's an evergreen pattern that's worth downloading, and B) I've hacked the pattern to make two different styles of dress, making it even more useful. Thanks so much to Hey June for sharing this pattern for free.
Pattern type:
As the website says: 'The Woodstock Swing Tee is a casual trapeze-hem top for Juniors. It features a wider neckline and short cap sleeves as well as a slight high-low hemline.' My daughter has worn her previous version many, many times in the last two years (yes, it's still fits, just about...) because it's such an easy, breezy style.
- Use another slim-fit knit pattern with a long sleeve (like the Ester & Ebbe top pattern by Thread by Caroline perhaps) to make this into a long-sleeved top pattern also.
- Add a ruffle around the hem, possible shortening it also so the final length remains similar to the original.
- Add a ruffle into the sleeve seams (again, like the Ester & Ebbe top pattern perhaps).
- Add a patch pocket on the chest
- Apply decals, screen prints or appliques to the front.
- Create seam lines within the front and back pieces to create even more scrap-busting and colour-blocking opportunities.
- A tiered dress.
Monday, 30 May 2022
FREE Resource: The Me-Made-May and Beyond Worksheet
Today is the penultimate day of this year's Me-Made-May challenge! If you've read this blog for years or you've heard Episode #36 of my podcast Check Your Thread, you will recall that Me-Made-May is the wardrobe challenge I inadvertently created thirteen years ago. Its purpose is to help participants improve their relationship with their handmade wardrobe, and learn lessons that they can apply to future projects. If you have been challenging yourself this year, CONGRATULATIONS!!!!! I hope you've had a wonderful, fun and insightful month.
I haven’t in previous years talked much about what next after Me-Made-May. I guess I always thought that everyone would have different takeaways because everyone’s pledge and challenge was different. However, after reading heaps of people’s Instagram posts about the challenge during this month, I think that there are a lot of experiences, lessons and takeaways that are fairly universal and common to most participants. I realised that there must be a way that I can help people drill down on what it all means for THEM.
And after some chats and some brainstorming last week, I came up with an idea. And that idea has become a free downloadable resource for participants of MMM. Its purpose is to help us participants gain insights from our MMM experiences and capture the lessons we’ve learnt. It’s called the Me-Made-May and Beyond worksheet.
So here’s how you can get hold of it: sign up to the CYT newsletter from 30th May and the end of June and a download link will be sent to your inbox. To sign up to the newsletter, head to checkyourthread.com and scroll to the bottom of the page. Existing subscribers to the newsletter will have had the link sent to them automatically already.
So get the download, have a go at the worksheet, then please let me know what you think! Email me at sozoblog (at) g mail dot com, or find me on Instagram @sozoblog or @checkyourthread.
Sunday, 15 May 2022
Leopard Print Ginger Jeans and a Realisation
It's slowly been dawning on me that I can't really wear the style of jeans that I prefer, and also feel comfortable AND have them stay on my body properly. And honestly, I think this has always been the case. What I mean by this is that, the slim/skinny legged jeans with a low-rise, hipster waistline which I love the look of just don't work for my body. I've always had a bit of a tum, even when I was in my 20s and weighed the least in my adult life. I've always found the waistline of jeans cut in to my tum uncomfortably. I got so used to undoing the top button of my jeans each time I sat down after years of doing so, but I've grown tired of that now.
Through the power of sewing my own clothes, I tried to solve the issue by grading between two different sizes for the waist and the hips-downwards. This has never worked well because they end up too loose at the waist and often slip down a bit.
Having gone on a journey which resulted in my workwear denim Lander pants, I came to the realisation that I need extra space around my tum only, not all around the waist. The full-tummy adjustment I did on the Lander pants worked really well, and for the first time ever I have a pair of fly-front jeans that I can sit down in without needing to undo the button of.
Naturally, I wondered if I could apply the same magic to a slim/skinny legged pattern, seeing as that is the type of jeans I wear most often. And what I then realised it that I don't think I can make that adjustment on a low- or even medium-rise style and expect them to stay up.
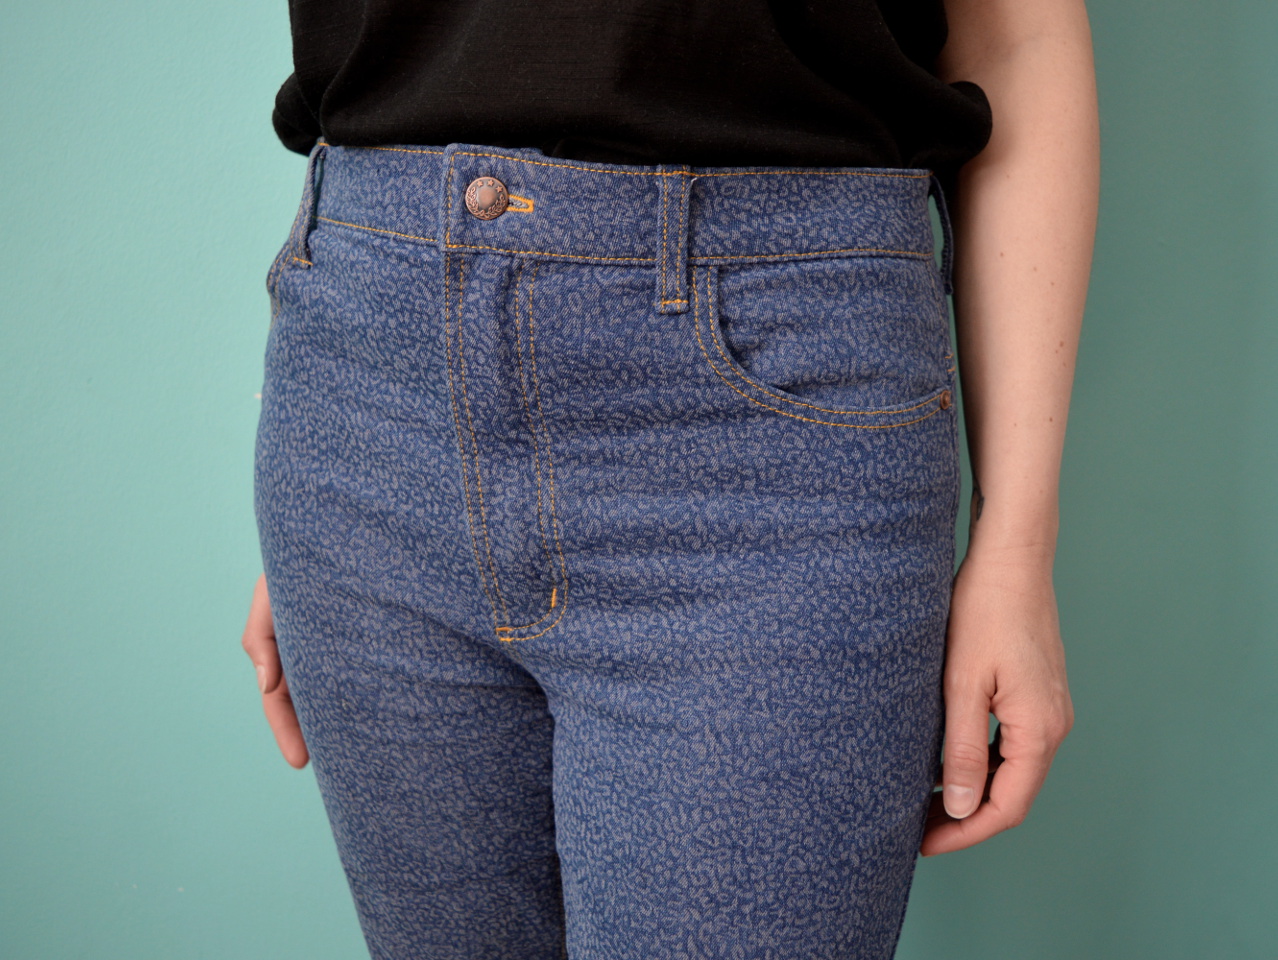
So what I ended up doing for this project was to trace the high-rise version of the Closet Core Ginger jeans pattern (which I have previously made with low- and medium-rises) as my starting point. I already own a medium rise version which are still in action, so I was able to try those on with the button and fly undone which allowed me to assess how much addition width I'd need to properly accommodate my tum, AND where the additional width should land. As I've discovered through watching videos and reading posts about full-tummy adjustments, I knew I'd also need to add some additional height at the front.
Because the Ginger jeans pattern calls for stretch denim, I decided not to add the entire additional width it would appear I required, because the stretch content might result in them becoming too accommodating and therefore not staying up!
As you can see from the side view (pictured above), the side seam is pretty much in the correct position: perpendicular to the ground. That's one of the main clues that tells me this adjustment worked. The other is that I can sit down without having to undo the button!!! Woo hoo!!!!
The fabric I used was a seconds/remnant from Fabric Godmother. It's a very soft stretch denim with this super-cute leopard print pattern. I like how the jeans look like pretty standard blue jeans from afar, but the little leopard print becomes visible when you look closer. It was a remnant because a fade mark had occurred along the folded edge when the fabric was on the bolt. I was easily able to avoid the fade mark when cutting out these jeans, however.
Although I still don't love the look or feel of high-rise jeans, I do love generally how comfortable these jeans are. I can wear them all day without wanting to take them off the second I get home. And honestly I never wear my garments tucked into my jeans as I am in the photos: I did that to show the fit of this garment around the tummy. I forgot to take a photo of these jeans shown seated, but I'm wondering if this adjustment might be of particular use to some wheelchair users who would like to wear skinny jeans but find them uncomfortable around the waist. I'm pretty evangelical about this adjustment because I don't think it's one that many sewers know about.
Now that I have this adjusted pattern, I plan to make a couple more pairs in different colours to flesh out my wardrobe a bit. Currently I own a few tops and blouses that I love and would pair well with skinny jeans, but don't look good with the two blue pairs I know own.
Friday, 6 May 2022
Free Pattern Friday: Kid's Bikini Bottoms
Welcome to my monthly 'Free Pattern Friday' feature, where I road test a free sewing pattern or tutorial: sometimes a children's one, sometimes an adult's one . I publish these posts every first Friday of the month, timed to provide inspiration for those who plan to get their sew on over the weekend. I firmly believe that, if you pick your projects carefully, sewing doesn't have to be a crazy-expensive way to clothe yourself and your family. I also firmly believe that pattern designers deserve to be properly paid for their work, so if you enjoy using a pattern and can afford to do so, make sure you support that designer. Some designers' websites offer the option to make a donation, alternatively you can buy one of their paid-for products. If you can't afford to do so, you can support the designer by sharing your project via social media to help draw more attention to their work. Thanks to all the amazing pattern designers who have offered up their hard work for us to enjoy for free.
When I first found this free sewing patterns years ago, I thought "Who would need a pattern for half a bikini?!". Well, it turns out, me! I recently made my daughter a two piece swimming cossie that consists of a top and cycling shorts-style bottoms. Initially the fit of the original cycling shorts bottoms wasn't great and I didn't have a lot of faith in them working out. Plus my daughter has swimming lessons, we live close to the beach AND we have a summer holiday booked with a pool on site, so I felt that expanding the set would be a useful endeavour. And it meant I could use up some of the leftover scraps of this spotty fabric. Lord knows I have enough scraps.
Big thanks to Treasurie for making this bikini bottoms sewing pattern available for free. To access the sewing pattern, visit the blog post and you should find the download link buried in the text after the first couple of paragraphs. The blog post itself contains quite a lot of information including additional tips on how to use the elastic and sewing with Lycra. However, I really hate blog posts with heaps of pop-ups and imbedded videos, so I'd advise using the instructions in the PDF file once you've downloaded it.
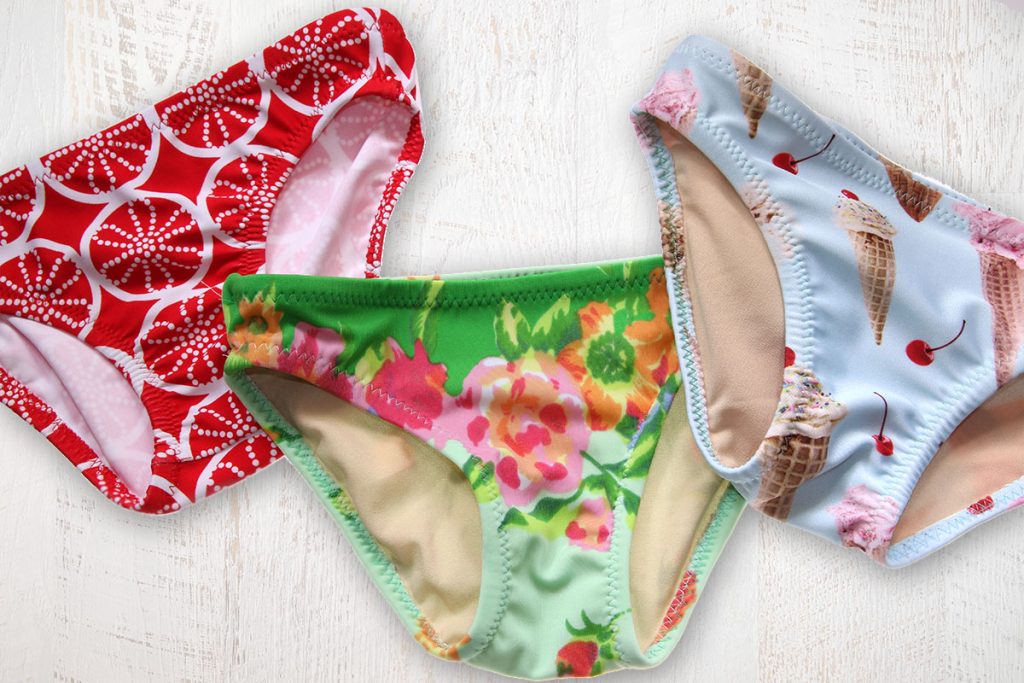
(image source: Treasurie)
Pattern type:
This pattern is for simple, basic bikini style bottoms. No bells. No whistles. The options include unlined, half lined (with lining at the front) or fully lined, depending on the thickness/opaqueness of your fabric and personal preferences. The pattern pieces could also be used at the basis for making undies.
Sizing info:
The pattern is generously graded from two years to fourteen years. A body measurements chart is included to make sure you're selecting the right size for the child in question.
Fabric info:
Lycra or spandex with at least 75% stretch is recommended for this project. It takes very little, so could be a great way to use up scraps from adult swimwear projects. I used some scraps of fabric probably originally intended for dance wear, and mesh swimwear lining. Swimwear elastic is also required. I used rubber elastic which I feel is less bulky than other types.
Findings:
Once I'd navigated the annoying pop-ups and downloaded the pattern, it was very plain sailing. The PDF file, which contains both instructions and pattern pieces, is well designed and easy to use. It doesn't include the layers function, however the pattern pages are grouped into two size brackets so you're not wasting too much ink on unnecessary sizes.
I appreciated the additional tips on handling this tricky fabric, which many sewers might not have worked with before. However, I do think I came up with a better and tidier (albeit more complicated and less beginner-friendly) construction method. I used a kind of burrito method for both the crotch seam (above) AND the side seams (below), which meant the insides were super neat with reduced bulk (*brushes her shoulders off*).
The elastic I had to hand was narrower (6mm) than the pattern calls for (10mm), so I trimmed away the edge of the leg holes so that the crotch wouldn't end up too wide. After the faff of making the two piece bikini for my daughter, and then a bikini for myself, this project felt like an absolute breeze. The fit is excellent.
Would I make this again?
Absolutely! Although my daughter prefers the look of the cycling shorts part of this three-piece set, I can definitely see myself reaching for this pattern again to bulk out her swimwear selection in the future.


.png)