Friday, 2 July 2021

Free Pattern Friday: Adult's Valley Jumpsuit


Welcome to my monthly 'Free Pattern Friday' feature, where I road test a free sewing pattern or tutorial: sometimes a children's one, sometimes an adult's one. I publish these posts every first Friday of the month, timed to provide inspiration for those who plan to get their sew on over the weekend. I firmly believe that, if you pick your projects carefully, sewing doesn't have to be a crazy-expensive way to clothe yourself and your family. Thanks to all the amazing pattern designers who have offered up their hard work for us to enjoy for free.

Friends, have I got a blinding free pattern to tell you about today?! (Short answer: yes.) You've probably already heard of the amazing resource that is the Peppermint Magazine's collection of free sewing patterns. But if you haven't: this Australia-based magazine employs the talents of an indie pattern designer to produce a free sewing pattern to coincide with the release of each print edition of their magazine. The magazine is released quarterly, so that's four incredible new free sewing patterns a year with 41 patterns already available to trawl through. The patterns are really easy to access; the A4 and A0 pattern files plus instruction documents are downloaded directly from each style's webpage, with just a sign up to their newsletter required (which you can obviously unsubscribe from, should you wish). It is also easy to donated a few quid if you can afford to, and seeing as print magazines are generally in a precarious position these days, I think it's important to do so to say thanks and to support this wonderful resource. 


Pattern type:

The pattern I've just road tested and am writing about today is the Valley jumpsuit. Designed by Raphaëlle Bonamy of Ready To Sew patterns, the Valley jumpsuit is a casual, super wearable style with elasticated waist, button front and large patch pockets. I absolutely love that the instructions are available in English, French and Spanish. The design itself is is really clever, consisting of just three pattern pieces that need to be cut from your fabric. The bodice and sleeves are ingeniously formed from just one pattern piece that you cut a pair of, and in the same vein, the trouser part has no side seams so is also made from one pattern piece. To get the garment on and off, the button front is assisted by a small back neck closure to open things up sufficiently.


Sizing info:

There's so much talk in the sewing community in recent months (years?) about size inclusivity, and many pattern companies are listening and expanding their offerings. I think the sizing of this particular pattern is a great example of what we'll see from most sewing pattern releases in the future. Spilt into two ranges (sizes 32 - 46 drafted for a B-cup and sizes 46 - 58 drafted for a D-cup) resulting in busts from 31" to 54" and hips from 35" to 60" approx. being catered for. In total the pattern has been graded to 28 sizes, including half sizes, which should help you to achieve an accurate fit. I appreciated that the garment ease for bust, waist and hips has been shared to give additional information when picking a size/s, because who wants to toile/muslin a whole damn jumpsuit?!

For mine, I used the size 38 for the top part of the bodice, and blended out to the size 40 below the bust for the waist downwards. According to the size chart, I should have gone for a larger size for the waist, but the elasticated waist meant that I was easily able to accommodate by tum. 


Fabric info:

The Valley jumpsuit instructions suggest that you select 'light weight fabric with drape ranging from tencel, cupro, linen, ramie or hemp, batik, poplin or light denim' for this pattern. 

This is my third jumpsuit made from African fabric, I just think they're a match made in heaven, and I'm sure this will end up getting as much use as the other two get. This particular fabric was given to me by Wax and Wraps, who sell African textiles by the metre, or in fantastic, monthly, sewing subscription boxes. It's a printed version of a traditional fabric from Cameroon called Ndop that's usually resist dyed with indigo. Check out this interesting article for more info on Ndop. This fabric I used for my jumpsuit is a wonderful, light-weight cotton with a similar handle to a poplin, but slightly less crisp. Because there's a linear aspect to the print design, there's a noticeable chevron effect at the centre back seam of the bodice, which I really love. The fabric was slightly narrower than the pattern called for, plus the fabric matching gave me some additional head-scratching, and I ended up having add a seam and piece the fabric to fit one of the bodice pattern pieces. I defy you to spot where it is in the finished garment though! 


Findings:

Going back through the instructions to write this post, I'm still blown away by the inclusivity of the sizing. I'm sure that sadly there are still a number of sewers that aren't able to fit this pattern who otherwise would have liked to have tried it, but that really has to be small minority. I'm also still really impressed by the drafting: that such a cool-looking, well-fitting style has been achieved with effectively just two pattern pieces. However, because there are so few pattern pieces, and subsequently fewer seams, I wonder if this style offers fewer opportunities for making fit adjustments, I don't know. 

Anyways, on top of my standard blending between sizes, I also shortened the bodice length by 1.5cm to allow for my short-waistedness (AKA high natural waist line). I usually have to remove about 2cm of length from the torso area of all sewing patterns I make, yet this time I wish that I hadn't. If I make another, I'll add that measurement back in because raising my arms up isn't the most comfortable! I might also lengthen the front and back rise on the bottom part a bit, because the rise on this garment is definitely higher than the rise on my other jumpsuits (my Zadie jumpsuit, pattern by Paper Theory and my Roberts Collection jumpsuit, pattern by Marilla Walker). If you are tall and/or have a long torso, I'd definitely recommend lengthening the bodice pieces before you cut out your fabric. It's always easier to remove any extra length that it turns out you didn't need, than to try and figure out how to add in some extra length later on.

Speaking of cutting out your fabric, one downside to having just two mammoth pattern pieces as opposed to a number of smaller ones is that I found that I wasted quite a bit of fabric in the lay. This was compounded by the fact that I had some pattern matching to consider. However, even though you have to cut the pattern out of a single layer of fabric, the cutting out process was probably quicker and potentially less of a headache than a pattern that consists of more pieces. 


When it came to the actual sewing, the instructions were wonderfully clear and easy to follow. To prevent the instructions document from becoming too unwieldy, some steps are included as links to posts on the Ready To Sew website, or in the case of the steps for making the waist casing, a YouTube video. This provides space for more detail and clearer visuals for these potentially tricky bits. I'm sure it's particularly helpful for visual learners, and turns this pattern into a real learning opportunity for beginner sewers.  

As I mentioned above, I would have preferred a tiny bit more length in the body and possibly the rise, but beyond that, I am genuinely thrilled with this jumpsuit! I wasn't sure initially that I liked the look of the patch pockets. I added them thinking that I could remove them at a later date, however I really like their placement and proportions now they're on the actual garment. 


Customisation ideas:

  • Shorten the sleeves
  • Shorten the leg length to make a playsuit/romper
  • Add a side seam to the trouser section then taper or widen the leg shape for some different looks. It's amazing what this can do to completely alter the feel of a garment
  • Adding a side seam to the bottom section also allows you the possibility to add inseam or slanted pockets if you'd prefer 
  • Change the neckline to a V-neck
  • Use smaller buttons and group them in pairs

Would I make it again?

Yes I could easily see myself making more of these, probably in a solid fabric, a black linen perhaps. 

Monday, 7 June 2021

Workwear Denim Lander Pants


Those who follow me on Instagram may have seen that I've been working on perfecting the fit of the Lander pants pattern by True Bias. Two years ago I made this pair of 70s inspired Landers, and whilst they've seen heaps of wear, they just don't fit my post-lockdown-increasingly-middleaged body anymore.


I've really missed having them as an option in my wardrobe, so I decided to 'go back in' and see if I could make another pair with an improved fit for my current shape. Having finally accepted to myself that I could do with a full-tummy adjustment, I did a bunch of research on various methods and made a couple of toiles. I think I've worked out a full-tummy-adjustment-lite method that is a bit of a mish-mash of methods that seems to work for me. 


The other adjustments I made to the pattern included scooping out the front and back crotch a tiny bit, and widening the legs at the hem to create a more exaggerated flare. I used the same pocket templates that I worked out for the previous pair. The denim is some gorgeous, sturdy-but-soft workwear denim from Fabric Godmother. Annoyingly, there's some white lines that appeared after my pre-wash. I'm wondering if I could over-dye them out. I've never figured out how to avoid these, if you have figured it out, I'd be very grateful if you'd drop me a quick email!


But back to the fit for a second. Overall, I'm super happy with how these have turned out. Even though the denim has no stretch, I can actually wear these comfortably all day. Even days that I spent largely sitting down. This is a MAJOR breakthrough for me. There's still some slight pooling of fabric at the top of thae back legs under the bum still, but I wonder if these are necessary to actually bend forward or sit down properly. 


My confidence has been having a bit of a wobble recently regarding my changing body shape, and theoretically, this outfit of slim fitting top and high-waisted jeans is highlighting all the aspects of my body that I currently feel self-conscious about. However, I actually really like how I look in these pictures. yesterday I unexpectedly caught a glance of myself in a mirror whilst wearing this outfit, and again I was happy with what I saw. Are there elements pf my body that I wish were different? Of course. But generally, I'm pleasantly surprised with how I feel in this outfit. I'm guessing that a big chunk of that is that I actually feel physically comfortable, now that there's adequate room for my tum. 
 

Friday, 4 June 2021

Free Pattern Friday: Kid's Siem Shorts


Welcome to my monthly 'Free Pattern Friday' feature, where I road test a free sewing pattern or tutorial: sometimes a children's one, sometimes an adult's one. I publish these posts every first Friday of the month, timed to provide inspiration for those who plan to get their sew on over the weekend. I firmly believe that, if you pick your projects carefully, sewing doesn't have to be a crazy-expensive way to clothe yourself and your family. Thanks to all the amazing pattern designers who have offered up their hard work for us to enjoy for free.

Apologies for the disappearance for Free Pattern Friday for a couple of months, My sewing life and online life get pretty crazy on the run up to and during (Me-Made-)May. But the monthly blog feature is back! I'm excited to road test and write about some fantastic and useful free sewing patterns/tutorials. Today's pattern is one I had my eye on to try for a couple of years. It's a unisex shorts pattern designed for knit fabrics called the Siem shorts pattern (pronounced 'seam', I just had to check!) by Bel'Etoile patterns. Bel'Etoile is a Belgium pattern company, and this pattern is available in Dutch and English. Massive thanks to the designer, Isabel, for sharing this wonderful pattern for free. Let's go...


Pattern type: 

The Siem shorts pattern is a retro style designed for knit fabrics. The pattern consists of three pieces: front, back and waistband. Plus you need binding (preferably stretchy) to finish the edges. These shorts would look awesome on boys and girls, and are the perfect summer staple when paired with a vest or T-shirt. 

Sizing info:

This pattern is graded between a generous 98cm (approx. 3 years) and 164cm (approx. 14 years) which I absolutely love. So often free patterns finish at ages 5 or 6, so it's great to have this pattern to come back to year after year. Lola is currently between two of the sizes, so I chose the larger, size 128. Good thing I did because I made the classic move of assuming seam allowance is included in this pattern. Please don't make the same mistake, take note: SEAM ALLOWANCE IS NOT INCLUDED IN THIS PATTERN! I ended up sewing the seams of these shorts on my overlocker without trimming away any fabric and the resultant fit is fine. 


Fabric info:

Fabric types that are listed as suitable for this pattern include jersey, ponte roma, French terry and sweatshirt knits. This is such a fantastic pattern for using up scraps and leftovers from other projects, so as long as the knit is pretty stable and isn't too light-weight it's probably worth a try. I'd LOVE to make these in a classic retro towelling or velour knit. 

For this pair pictured, I used up some scraps of looped back french terry given to me by byGraziela fabrics leftover from another kid's project that didn't make it to the blog. Another colour way can be found here. I think the retro print design suits the vintage style of garment well. You could have so much fun trying out this pattern with solids, prints and striped fabrics with different bindings. 

Speaking of those, 'stretch bias binding' is recommended for finishing the edges. That's not a common item to find in fabric shops or haberdashers, so you'll likely need to make your own binding, as I did. I used strips of cotton ribbing for both the binding and the waistband. I didn't cut the binding on the bias, because cutting the strips along the DOGS (direction of greatest stretch) is more than stretchy enough, and a more economical use of fabric. 


Findings:

The pattern and the instructions come in separate PDF files. The pattern is easily obtained via the Bel-Etoile website, with no sign-ups to anything required. I was super happy to find that the pattern file includes the layers function which is great for saving ink, particularly when the pattern is graded to such a generous number of sizes. Remember: seam allowances are not included!!!! Make sure to add them to your pattern pieces before cutting out. 

The instructions document was equally user-friendly. The only thing I felt was missing was some advice on making your own binding. It is an easy enough process to do, but the lack of that step in the instructions may cause a beginner sewer/sewist to have a bit of a head-scratch. 

As for the finished garment, I wasn't sure I would be able to sell them to Lola because A) she prefers wearing skirts or leggings-shorts to actual shorts for some reason, and B) she's decided she doesn't like wearing pink anymore. However, I asked her to try them on to take a couple of pictures this morning and she hasn't taken them off many hours later, so they must be comfortable. She has a tendency to yank elasticated waist garments down and wear them on her hips, so if I make this pattern for her again I'll most likely lower the height of them, particularly at the front because the fabric bunches up a little. 


Customisation ideas:

I don't have many ideas for this one, however you could try:

  • Adding patch pockets to the back
  • Adding front pockets with curved pocket openings and matching bound edges like these 
  • Lengthening or shortening the legs if the wearer has a different preference
  • Applying a cute patch or decal for extra vintage coolness

Would I make it again?

Frankie doesn't need new shorts this summer because I've been busy cutting off the legs from all the joggers and leggings that he's busted through the knees of to make shorts. However, I can't wait to try this pattern for him next year. I've got some stripy towelling in my stash that will look fantastic, I have no doubt! If Lola truly is convinced by this style, I'll happily make her more pairs too. 

Tuesday, 1 June 2021

Mini Nova Jumpsuit


I'm going to try a new approach to blogging today. As you might have noticed, I'm publishing blog posts far less frequently these days. Truth be told, taking photos, editing them, writing text, editing it and so on is super time consuming, and I'm really struggling to find the time to do it at the moment. I'm still sewing, still thinking about sewing, but it's not making to the blog very much these days. It's kind of ironic that I'm posting this today as the recent interview I did for the un:CUT podcast about being an OG sewing blogger went out yesterday!


Anyways. As so many of us that used to be frequent bloggers have found, Instagram is just a much quicker medium for sharing sewing projects and other stuff. But I love having this blog as a record and as a wide open space for recording my experiences and thoughts on whatever I fancy (but let's face it, it's mainly sewing!). So today I'm going to post in a new-to-me way: photos of a recent project with very little text. It's not exactly the type of post I'm happiest to produce, but it's better than nothing. And maybe if I take the pressure off of writing detailed entries about each project, I will post here more often. And when there's time, the words will come back too!


So in short: this project is the Mini Nova jumpsuit pattern by True Bias. I made it using some lighter-weight ponte roma that my friend Naida gave me when she was having a clear about about six months ago. It's probably at the thicker end of suitability for this project (hence omitting the waist elastic that Lola would have preferred), but it's worked out pretty well. She reckons it feels like wearing a baby romper, but that didn't stop her from choosing to wear it today. I love how much freedom of movement she has in it. I'll definitely be making more. 


Thursday, 13 May 2021

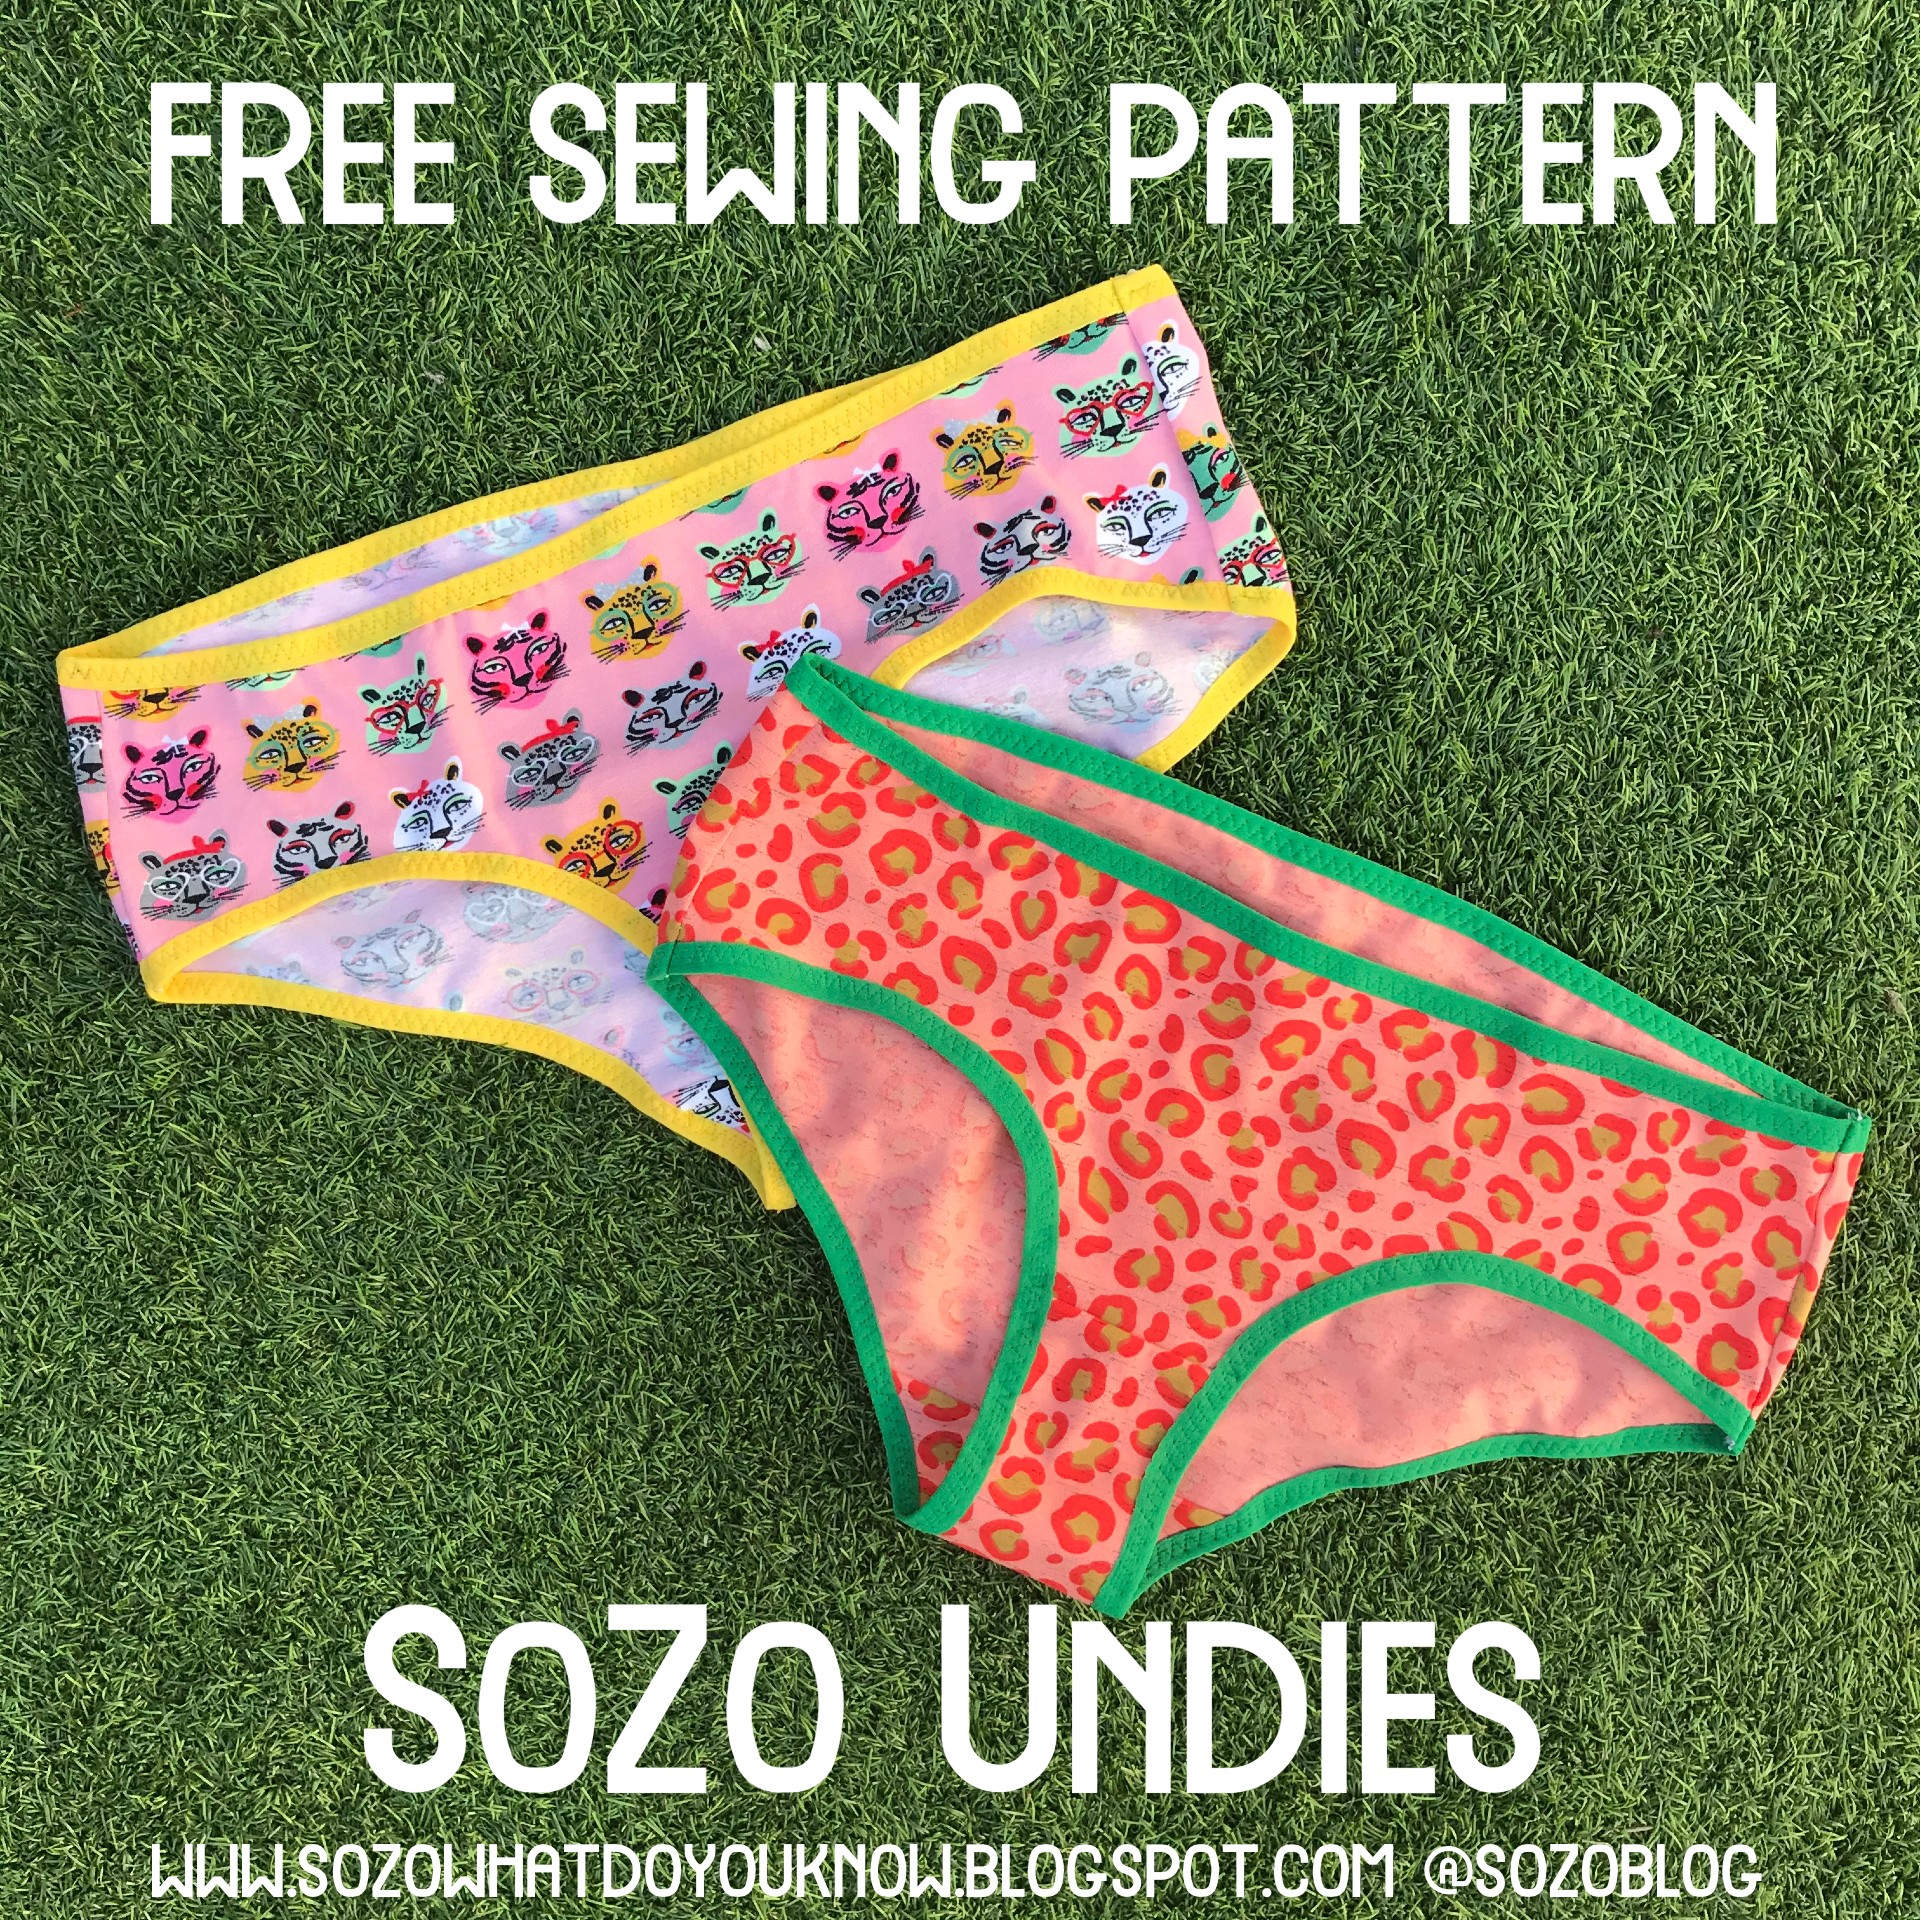
Free SoZo Undies Sewing Pattern: Updated and Re-released!!!


I am very happy to announce that my free undies pattern that I originally released nine years ago has had a major overhaul and is now newly available! The main three changes are:

  • It's been graded to cover full hip measurements of 32" to 50", that's TEN sizes!!!! This is a major improvement on the original five sizes. A 32" full hip is the average measurement for a 13 year old. I wanted the pattern to cover teen sizing because A) there are very few free sewing patterns (or paid for patterns, for that matter) that cover older children and teens so I wanted to help redress that a little, and B) I hope that this might be a fun project for teens getting into sewing to try for themselves. 
  • Included in the pattern and instructions are two methods of construction: the classic version (as per the original pattern) and the enclosed gusset (AKA the burrito method) version. The classic version is slightly less time consuming and slightly less fiddly to make. However, some people prefer the look of the enclosed gusset version, and it allows for more scrap-busting opportunities. 
  • The instructions are vastly improved with a better layout and much more detail. Each step is illustrated with large colour photos. Also present is lots of information about fold over elastic and how to use it is. For me, the most significant improvement is that the instructions now contain detailed measurements for the elastic required for each size AND an improved method of application which should help you achieve a successful, comfortable fit on your first attempt. I now feel confident calling this a beginner friendly project. 

Head over to the Free Patterns page to download your pattern files (which are now available in A4/US letter and A2) and instructions file. A lot of time and work have gone into this major overhaul, so if you do decide to give this pattern a download, please consider buying me a coffee whilst you're there. And if you make the pattern and decide to share your creation on social media, please use the hashtag #SoZoUndies so we can check them out! 

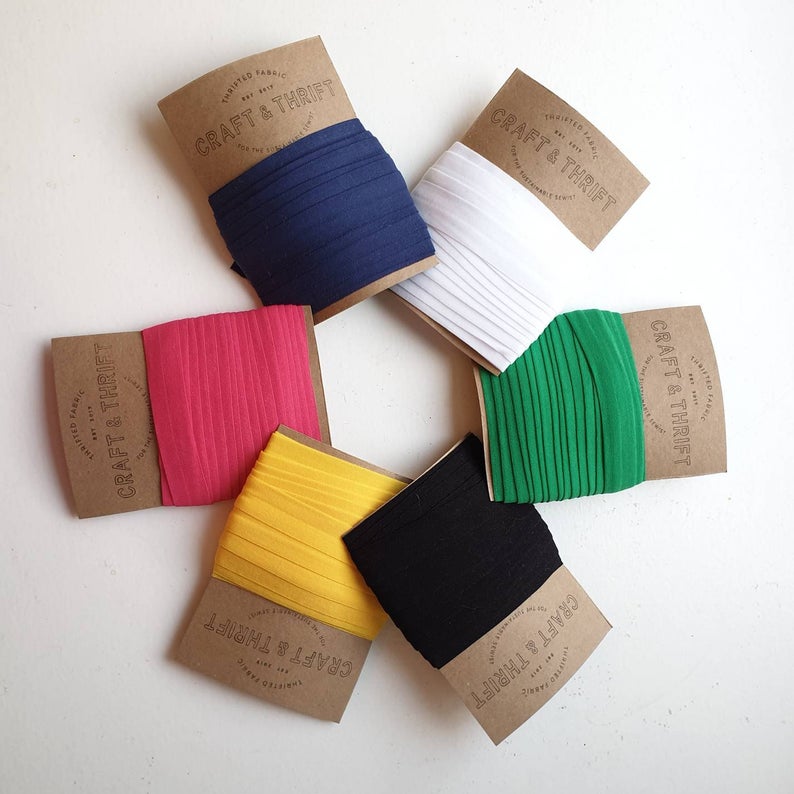
I'd like to thank my incredible friend Claire (@clairesews) for generously flexing her impressive digitising skills! Thanks also to Craft and Thift for providing all the fold over elastic for my samples, and the solid fabrics used that I've previously shared on Instagram. Thanks to Fabric Godmother for gifting the leopard print jersey seen in the image above and in the instructions. The cat print jersey is also from there.  

Sunday, 9 May 2021

How to Use Fold Over Elastic (FOE)


This week, all being well, I will be re-releasing my free pants/undies/knickers pattern. It's been expanded and vastly improved, both the pattern itself and the instructions. In the latter, I include a section explaining fold over elastic and how to use it, which may be new to some sewists . I thought that it might also be useful for people if I shared that section here on this blog also to reference, whether you plan to try the free SoZo Undies pattern, another undies pattern or some other project that features fold over elastic. If you decide to use FOE (I'll be using that abbreviation going forwards) for a project with seams stitched using an overlocker/serger, you will need to use a regular sewing machine to apply the FOE. In the case of my undies pattern, it will be applied along the leg hole edges and the waist edge. But let's go back to the beginning...


What is FOE?


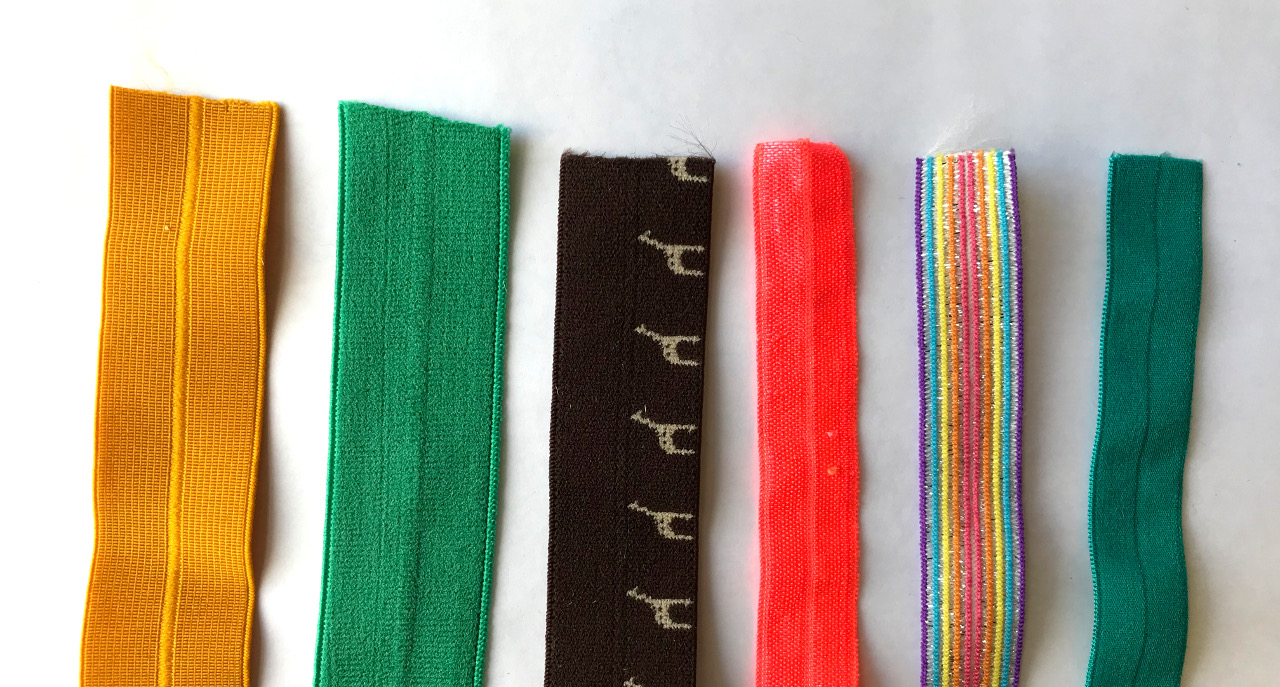
Fold over elastic is flat and has a visible line that runs down the centre to help you fold it in half. It can be found in a variety of widths. For my free undies project, I recommend using FOE that is 16mm - 20mm wide when flat. The narrower the elastic, the more fiddly it is to apply. If you are new to using it, try to buy some that is 18mm or 20mm wide and practice before using it on your undies project. 


FOE is available in a whole rainbow of gorgeous colours, shades and textures, and can even be found with patterns printed or woven in. Solid coloured FOE often has one matt and one shiny side, so you can decide which you prefer to be visible.


How to apply FOE:


**If you are new to using FOE, I STRONGLY advise that you have practise applying it to some scrap jersey fabric before working on your undies project. When buying your FOE, remember to order extra for practising if necessary.**


Place a section of FOE down on a surface laying vertically, wrong side up. Position some jersey on top of the left half of the FOE with the raw edge of the jersey sitting along the central line of the elastic. 


Fold the elastic in half so the raw edge is enclosed. You are about to sew through this sandwich to keep it in place with the fabric’s raw edge permanently enclosed. I find it easier to start off my row of stitches by sewing through elastic only before the fabric is introduced into the sandwich, so try leaving a few centimetres of elastic free at the beginning. 


Use as many pins as you feel is necessary to keep this sandwich in place, then position the whole thing under the foot of your sewing machine keeping the fabric to the left. 
You will be sewing through three layers, two elastic, one jersey, so it’s a good idea to select a stronger stretch/jersey needle than would be suitable for sewing the gusset seam/s. I usually use a 90/14 sized needle for the task of applying FOE.


To make sure the elastic and jersey remain stretchy, you need to select a stretch stitch on your machine. I recommend using the three-step zigzag stitch. This stitch is sometimes also called the tricot stitch or the serpentine stitch. It comprises three tiny straight stitches per zig and per zag. The three-step zigzag stitch is commonly used in underwear manufacture, both domestically and industrially, because it allows a lot of stretch but also provides more stability and a flatter finish than a regular zigzag stitch. The only drawback of the three-step zigzag stitch that I’ve found is that those tiny straight stitches make it a real pain to unpick if you make a mistake!


Begin by stitching through both layers of elastic, and then as you get to the jersey, through the elastic-jersey-elastic sandwich, removing the pins as you go. After every few centimetres of stitching, stop and readjust the next section of jersey and FOE as necessary before continuing. 


This is the basic technique for applying FOE. Things get a little trickier in the undies project because we will also be going round the curve of the leg holes, and giving the FOE a little stretch as we stitch. To make these undies, you will be applying FOE that is shorter in length than the measurement of the leg hole edges and waist edge that you’re stitching it to. I will show you how to pin the elastic evenly to the edges. Then you will need to give the FOE a little tug with your right hand as you stitch through the three layers to get a neat result. But get the hang of the basic application technique described above and you’ll be ready to tackle this project!


Why can I buy FOE?


FOE is wildly available at many/most sewing shops and haberdashers. Recently I have used FOE from Craft and Thrift and Plush Addict (both based in UK).


Thursday, 1 April 2021

Me-Made-May 21!


Can you believe it time to talk about another Me-Made-May challenge?! As you may recall, last year I was in two minds about even mentioning MMM because of the stresses and strains that the global pandemic was bringing to most people's lives and head spaces. However, it turns out that a gentle version of the challenge was EXACTLY what so many people found that they needed after all! 

It gave so many of us a reason to put on clothes that made us feel positive, proud and 'ourselves' each morning, rather than staying in pyjamas or chucking on grotty loungewear again. It encouraged us to re-focus a little on our love of garment making, and learn some lessons throughout the month that helped our practice going forwards. And if we chose to participate in the community aspect of the challenge by sharing and/or checking out photos of fantastic handmade garments, it helped us feel connected to other participants at a time when connection was so desperately needed. I'm sure that most participants would agree with me when I say that Me-Made-May 2020 ended up being a wonderful, beautiful, positive little ray of light during a very difficult year. 

And what of 2021? How are we all feeling a year later? We're all clearly so very far from living 'normal' lives still. What role can the Me-Made-May challenge play for the global community of makers this year? I feel that there's a quiet, gentle hopefulness about this year, and participating in MMM could be a wonderful part of that. So much has changed since 2019, and if we choose to, we can use the challenge to explore who we are now, and who we want to be as 2021 continues to unfold...

Personally, I plan to use May 2021 to consciously reconnect with my handmade wardrobe, and subsequently reconnect with myself. I want to enjoy a month-long celebration of creativity with the rest of the beautiful online making community. And I REALLY hope you'll join me. 


What IS Me-Made-May?
  • MMM is a personal challenge to wear your handmade items more often, or in different ways, to help you improve your relationship with your handmade wardrobe. 
  • It is entirely personal: you can set the specifications of your challenge as you wish so that it will help YOU. Think about what you would like to improve and/or learn about what you wear. 
  • You do your challenge for the duration of May.
  • It's entirely up to you whether you wish to keep your challenge entirely to yourself, or share some or all of it with others. If you wish to share the odd (or daily!) photo or comment on social media, please use the hashtag #memademay2021 so other participants can find you and cheer you along.

But what might I gain by taking part?

Depending on the specifics of your pledge, you may discover:
  • which of your current handmade items make you feel the happiest (and therefore perhaps how best to spend your garment-making time in the future)
  • which of them need to be repaired, altered, upcycled or passed on
  • the colours that suit you and the ones that don't
  • new combinations that may help you get more use from the items you've made
  • which silhouettes and garment styles best suit your day-to-day life, as well as your body and personal taste
  • new garment styles, patterns, fabrics, yarns or colours worn by others that you are excited to try for yourself
  • how others wear and style the same patterns you own differently
  • what different fabrics or yarns others have tried when making patterns you own
  • some new online friends
  • some new makers' accounts to follow that inspire you

Ok, I want some of that too, what do I do now?

You need to think about the specifics of your challenge. Think about what you'd like to achieve/improve/learn by the end of the month, and what you can do throughout the month to make that happen. Normally, I ask participants to fill out a pledge and post it in the comments of this post. If you would like to do that, awesome. If you'd like to share it on Instagram or anywhere else, then also awesome:

'I, (insert name or username here), pledge to (insert specifics of your challenge here) throughout May 2021'

So as an example, here's mine:

'I, Zoe aka @sozoblog, pledge to wear only handmade garments in unique combinations as much as possible throughout May 2021'.

If you have any questions or queries, please email me at sozoblog (at) g mail dotcom, or message me on IG @sozoblog. Please remember, if you do want to take part, be as gentle and kind to yourself as possible, in many ways the world is still broken after all. DO NOT beat yourself up if you wake up on 1st May and think, 'actually, no, I want to stay in my non-me-made pyjamas all day after all'!. This is meant to be fun, useful and affirming! 

Please take care of yourselves, lots of love xxx
Related Posts Plugin for WordPress, Blogger...