
 Now it's safe to say that I have something of a pattern-crush on the Sencha blouse from Colette Patterns. Pictured above is my latest version which will soon be heading for a new life in my best mate's wardrobe (with regular outtings I hope!). It's made from some beautiful vintage crepe fabric. It's previous incarnation was as a large second hand handmade skirt that had been dwelling in my stash for at least six months. The colours in some of these photos have gone a bit screwy, but the above photo is the most accurate depiction. I've got some really lovely pieces of fabric in my stash, and I'm really trying to focus on turning them into wearable garments that will make someone happy, rather than languishing for years in a dark cupboard.
Well, I haven't seen a version of the Sencha blouse on the tinter-webs that hasn't made me feel want-y. But you know me, I just can't leave a pattern alone! Since my first (Sailor) endeavour, I've made quite a few Senchas for my boss and other ladies at Traid. I've continued to tweak the pattern and streamline the construction method so that, combined with the practice I've got from making them all, I can make six in a day (including cutting out) without, IMO, compromising the look of the original blouse style.
 I'm betting there probably aren't many sewers out there who are interested in making six Senchas in one sitting. But I thought I'd share the bigger changes I've made in case it helps someone get more out of their limited sewing time. Of course, making these changes to the pattern will take some extra time in the first place, but if you plan to make several versions of this blouse, I think the changes'll pay off in the long run. Anyways, here's what I did:
 1) Remove half of the seam allowance from the neckline on the front and back pattern pieces and completely ignore the neck facings. Then once you've attached the front and back pieces at the shoulder seams and neatened the shoulder seam allowance, overlock round the raw edges. Then fold the overlocking to the inside and stitch neatly down. Press the neckline with the iron and you should have a pleasingly neat finished neckline (see above) without the faff of a flapping facing.
 2) Similarly, remove most of the sleeve facings leaving about 1cm (3/8") seam allowance. Overlock around the edge, fold the 1cm back and neatly stitch down. Press, and all will be well! (See above.)
 3) The most major of the changes is to ignore the whole back button fastening thing, cut away the most of the back facing and insert a zip instead. Now, this would have been much easier to do if the Centre Back was marked on the original Sencha back pattern piece (which, inexplicably, it isn't) but it's easy to make an educated guess where the CB should be by seeing where the button/buttonhole indications are and just having a stab. You can always err on the side of caution and not cut too much away, then try the garment on before inserting the zip to decide if more needs to come off. I used a 1.5cm seam allowance and inserted a long closed ended zip (see above).
4) A general way to speed up the construction of garment is to, where possible, make closed seams rather than open ones. Basically, this means that after stitching your seam, you finish the edges of the seam allowances together rather than separately. With a closed seam, the seam allowances are pressed together in one direction, rather than pressing the seam allowances apart which makes an open seam.
I've spoken to a couple of clothing designers and pattern cutters about open seams V.s closed seams, and in situations where either are possible, and the consensus seems to be that the main benefits of closed seams is that they save time and overlocking thread. If you press your seams neatly during construction, from the outside both types of seam should look the same. If you were into making a couture-style garments, you'd probably opt for an open seam. I'm not. I'm into making neatly finished, nice looking garments that don't require an investment of months of precious sewing time to construct.
 Anyways, as a fan of the mid-century kimono sleeve (AKA grown-on sleeve, Dolman sleeve, etc), I've long been seeking the neatest method of finishing the underarm seam at the curve to not create too much bulk. Having inspected lots of vintage garments with this type of sleeve, most seem to have had the seam allowance trimmed away at that curve and left with a raw or pinked edge. That can create a fraying issue, and the long term life span of a garment with raw edges concerns me. Therefore I've concluded that my favourite method for finishing this bit is to first make the whole of the side seam a closed seam. I flat-stitch as usual, then when I use my overlocker to neated the edges of the seam allowance, I basically cut away the seam allowance (overlockers, AKA sergers, have a blade in them that trims the fabric away as you sew) as close to my first stitching line as I dare. I then turn the garment through so the right-side is out and press the garment flat so the curve sits as it should do.
I hope any of those ideas/techniques come in handy to someone at some point. Happy Sencha (or any other kind of) sewing!


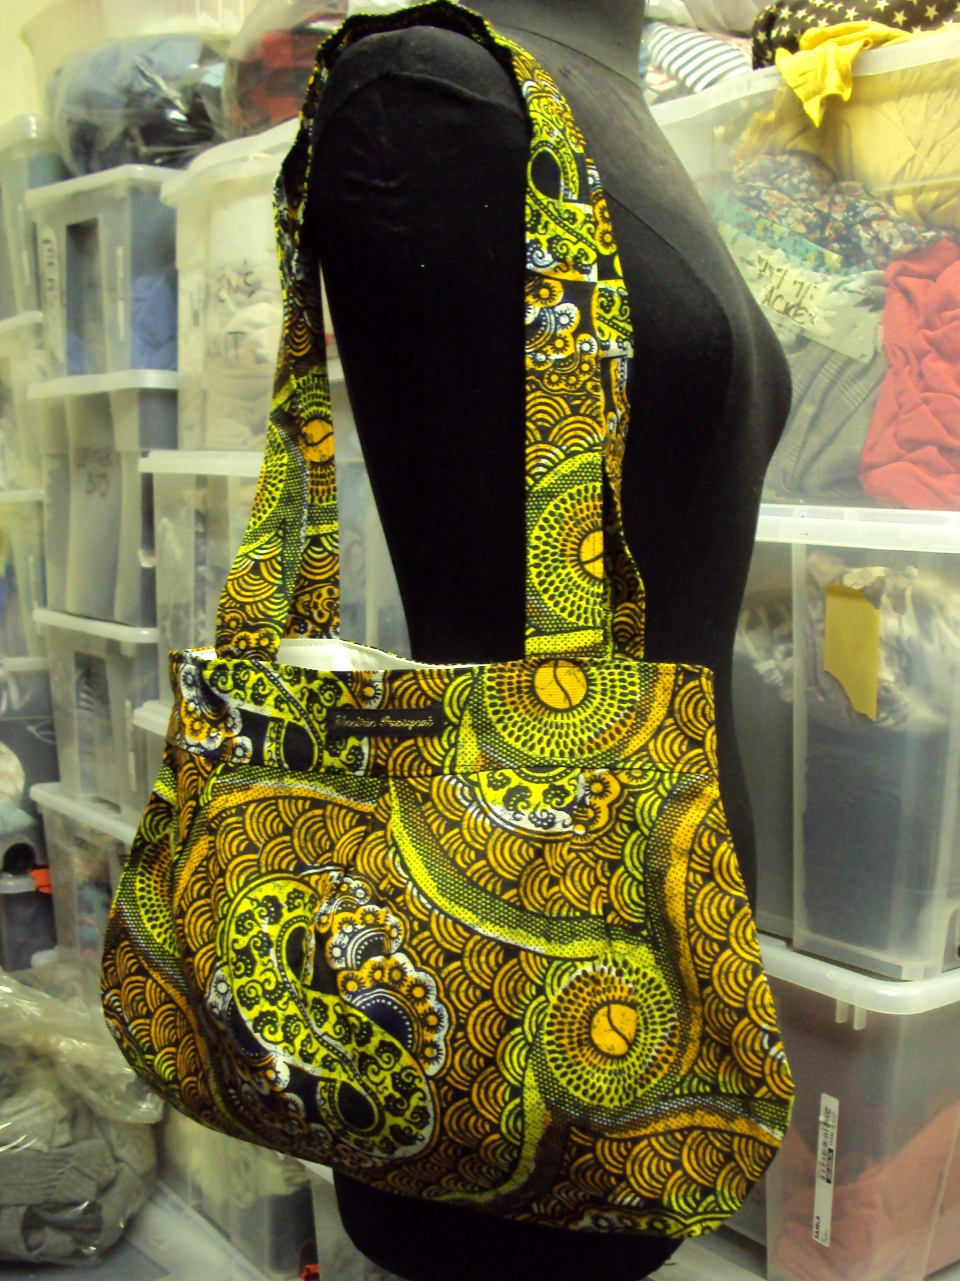

 Thanks for your patience in letting me whisk through the rest of my creations. I find it a little wierd toiling away for literally months to create a hefty pile of presents, and then within a couple of weeks, they've all disappeared! Of course, I loved giving them to my friends and relatives, but still it's nice to have the results of my time and effort documented in one place. When I look back at all the clothing, accessories and home things I made for everyone this year, it makes me feel a bit exhausting. As is the thought of doing it all again next year. But giving homemade stuff that's filled with good juju will always be my first choice where appropriate. Plus, the total cost of all the things I made to give this Christmas was £000!!!! Everything came from my stash (excluding a couple of bits of fabric that I 'appropriated' from work). There's no way I could afford to give gifts to all the people I did if I had to go shopping and buy every single gift. I'm just glad next Christmas is quite far away!


 At risk of stating the obvious, in recent years I've also been increasingly drawn to a Rockabilly style of dress as well. I'm not sure if it is this that has reignited my flame for leopard print. They are so aethetically intertwined.
 So how did leopard print become synonymous with Rockabilly (or vice versa) anyhow? Rockabilly is ostensibly a retro look. It references elements of the era from the mid 1950s through to the early 1960s and co-opts, exaggerates and blends them to create something reappropriated and somewhat separate from the more general retro/vintage style. More specifically, it references the bad-girl (or boy) elements of that era. These vintage garments (skirt and coat both pictured above) show leopard print being used in that era, but not in the way that animal skins have often been used to display wealth and status. These leopard print garment fabrics are clearly fake and therefore would have sent a different message: one of faux-luxe attitude. A sneer with a suggestive cheeky wink, if you will. At least these are my interpretations.
 Every retro/Rockabilly clothing company has a leopard print offering these days and some are most definately more tasteful than others.
  So, with the style stakes stacked so precariously high, how should a girl apply leopard print to look more like Imelda May (pictured above) than a tacky porno actress?! Well, of course it's an entirely subjective issue but personally I think some versions of leopard print design just look better than others. I'd also avoid a fabric with a leopard print that was glaringly synthetic and definately not velvety. I'd argue this top (pictured below) looks great all styled up on this fantastic Bettie Page-esque model, but in real life it'd probably be on the bordeline of a good/bad leopard print garment.


 Anyways, in the aforementioned comments, I was reminded that Victoria Beckham has a successful fashion brand (see above). Indeed she does, a friend of mine is employed as a pattern cutter there in fact. But we need to think realistically about what a celebrity’s role in the fashion brand actually is. They do not go into the office 9am-6pm five days a week for months on end to sit and design every garment and work with alongside the technical team to actualise each style, silhouette and detail. With little or no training or experience in the industry, these celebrities are mostly figure heads/brands on which to focus the marketing. Their involvement in the design process is, at best, that of a creative consultant’s. Not to say that Victoria Beckham doesn’t have excellent taste to apply to choosing options presented to her, but let’s not forget that anyone with enough money can (and frequently does) set up a clothing label.

