

Over the last few months, I've been doing a lot of thinking about the fabric that lives in our stashes. A lot of the thoughts have become podcast episodes, including Fabric Goals for 2024, Seasonal Stash Organisation, and Sew the Precious with Stephanie Canada from Backroom Finds. I'm more convinced than ever that leaving our fabric sitting on a shelf or inside a tub or drawer, is an enormous waste. Participating in the Last Sewist Standing challenge led me to face some of my own long-term stash residents, and a clear out in advance of attending a fabric swap in London helped me address what I genuinely wanted, and what needed to be passed on to another sewer.
Fabric:
I took my two oldest stash dwellers (and my pal Catherine!) to the London Fabric Destash Swap, and I have no regrets. The were both amazing quality, deadstock fabrics from Burberry that had been in my stash for about thirteen years. I'd used half of both of them and I just couldn't see myself using the rest. Well, with those lengths out of there, this length of leopard print twill took on the status of oldest stash dweller!
I bought about yard or so of this stretch twill from Mood Fabrics in New York during our honeymoon in 2012! I had a very Rockabilly-inspired look at the time, and I bought it with the intention of making a knee-length pencil skirt. However, soon after our return, I became pregnant, and that skirt never got made. I continued to enjoy the fabric, even as my personal style shifted away from Rockabilly, but the limited quantity made it tricky to find a use for it.

Pattern:
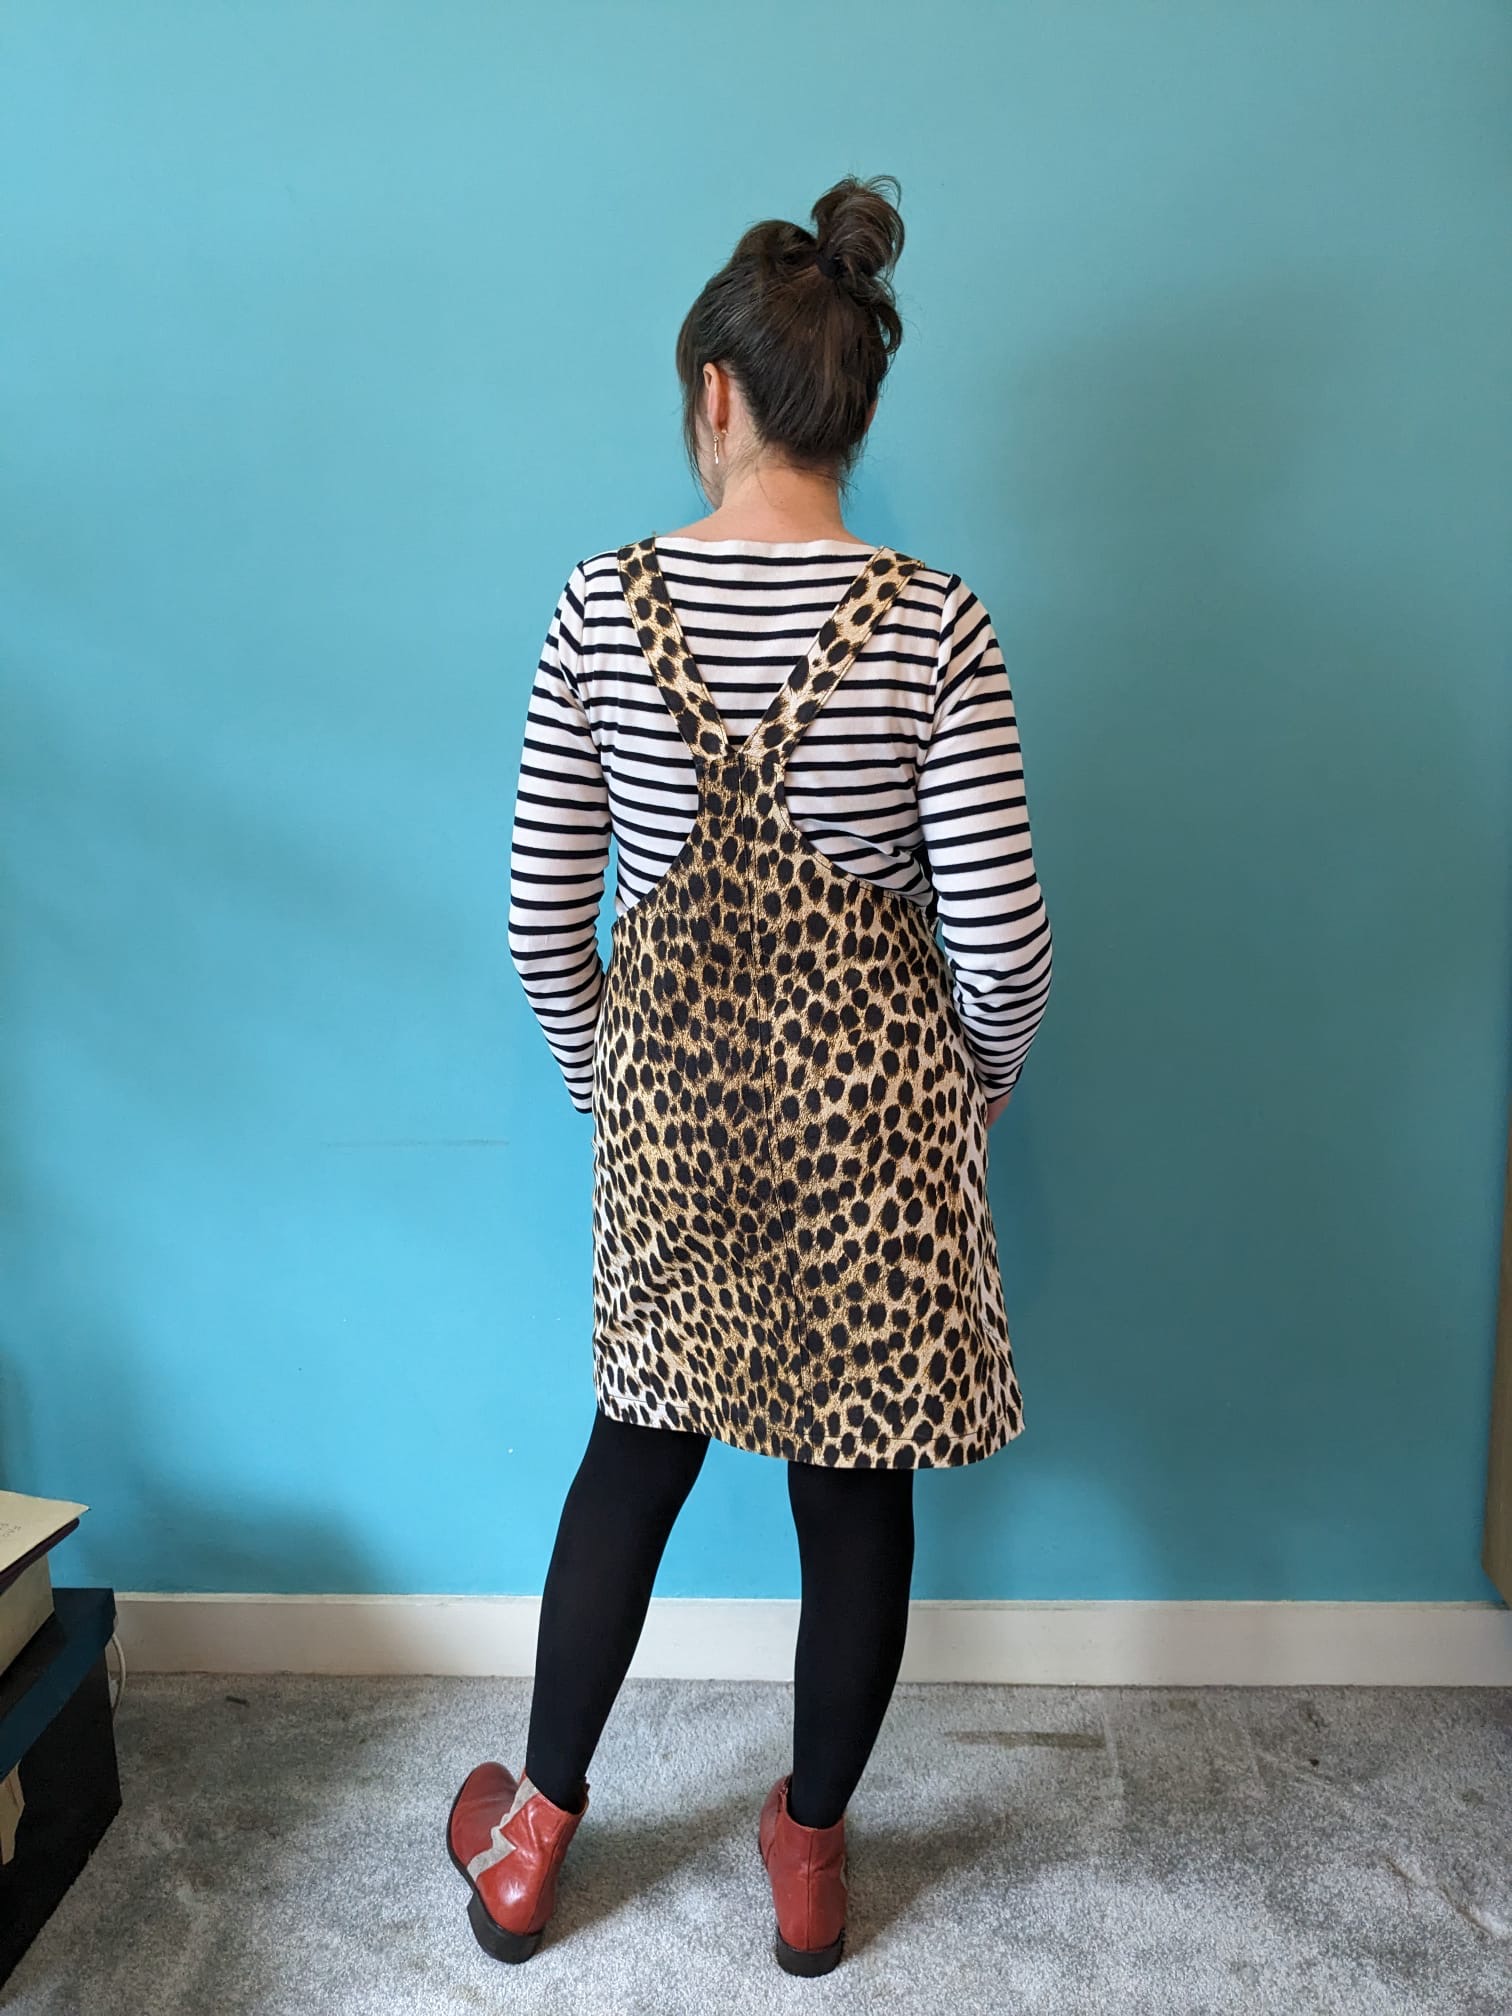
A couple of months ago, lightning eventually struck and the idea of a pinafore emerged! I'd recently had to declare my much-loved and often-worn black denim Cleo pinafore unwearable due to body changes, so I was missing a pinafore in my wardrobe. Then I saw an advert for the L. F. Markey dungarees pictured above, and found the shape of the bib really inspiring. So I unearthed my Tilly and the Buttons Cleo pattern pieces and drafted a new bib shape, and new pocket shape for it for good measure.

The project:
Cutting the pinafore from the limited fabric was a challenge. The leopard print fabric had two darker sections running parallel down the length of the fabric, and it required a bit of Tetris-ing to get the front pieces, back pieces, pockets and straps out of the fabric in a way that suited the darker and lighter parts of the design. The facings were cut from a remnant of dark blue stretch denim because there was no way to squeeze those out of the main fabric as well.
I decided to alter how the garment was constructed. I wanted to future-proof this garment and make it as easy as possible to let it out if necessary as and when I change shape again. I learnt so much from making the two Sewing for Body Changes episodes (Part 1 and Part 2), and I've tried to apply those lessons where possible. During a mid-way fit session, it became clear that I had to take it in at the side seams a lot, so I now have very generous side seam allowances, which is great!

Thoughts:
I'm soooo happy that this pinafore now exists! I've worn it quite a bit since completion, and it's so nice to have the fabric on my body rather than in my stash. I figured out that that length of fabric has moved homes with us five times in those twelve years! I'm hoping it'll soften up a tiny bit through wear and washing, and I have no reason to suspect that it won't.


