Last year I made an episode of my podcast about encouraging kids to sew. I deliberately didn't call it 'teaching kids to sew', in case you have no desire to do to the teaching part yourself. In the episode. I set out the argument for the benefits that kids get from learning to sew, and followed up with heaps of tips and ideas for how to successfully encourage them to do so.
Fast forward a few months to January this year. I set myself four sewing-related goals for 2023:
- Continue to work through my fabric stash, turning it into lovely, useful items. Initially I set out to help myself do this by limiting my fabric purchases, but I have since signed up for the Last Sewist Standing challenge which bans fabric purchases entirely! (More info on this in this episode.)
- Alternate 'from scratch' projects with mending or altering an existing item (#makeonemendone).
- Continue to find more fun and useful projects to make with scraps and leftovers. I truly believe that they are a valuable resource, but like many sewers, I feel like I'm drowning in them!
- Teach my kids some specific sewing skills. I think I already do a good job in modelling that sewing is fun, creative and expressive, as well as a possible option for clothing yourself. However, I feel that my daughter in particular could do with some more actual skills to help her make her project ideas a reality, and to do so more successfully.
To make good on that fourth goal, I recently helped my daughter through a T-shirt project. I tried out some tactics that I'm going to share with you here, in case it will help you, or someone you know, teach a young person to sew in the future!
Tip #1: Give them lots of agency
This may sound obvious, but by giving them as much creative input into the project as possible at the planning stage and through the creation process, the more invested and interested in it they will be. Like many kids, my daughter doesn't have a very long attention span and quickly loses interest in stuff after the initial buzz of a new idea. So allowing her to effectively design the whole thing and make further choices throughout kept her more engaged in this than any previous sewing project we've tackled together.
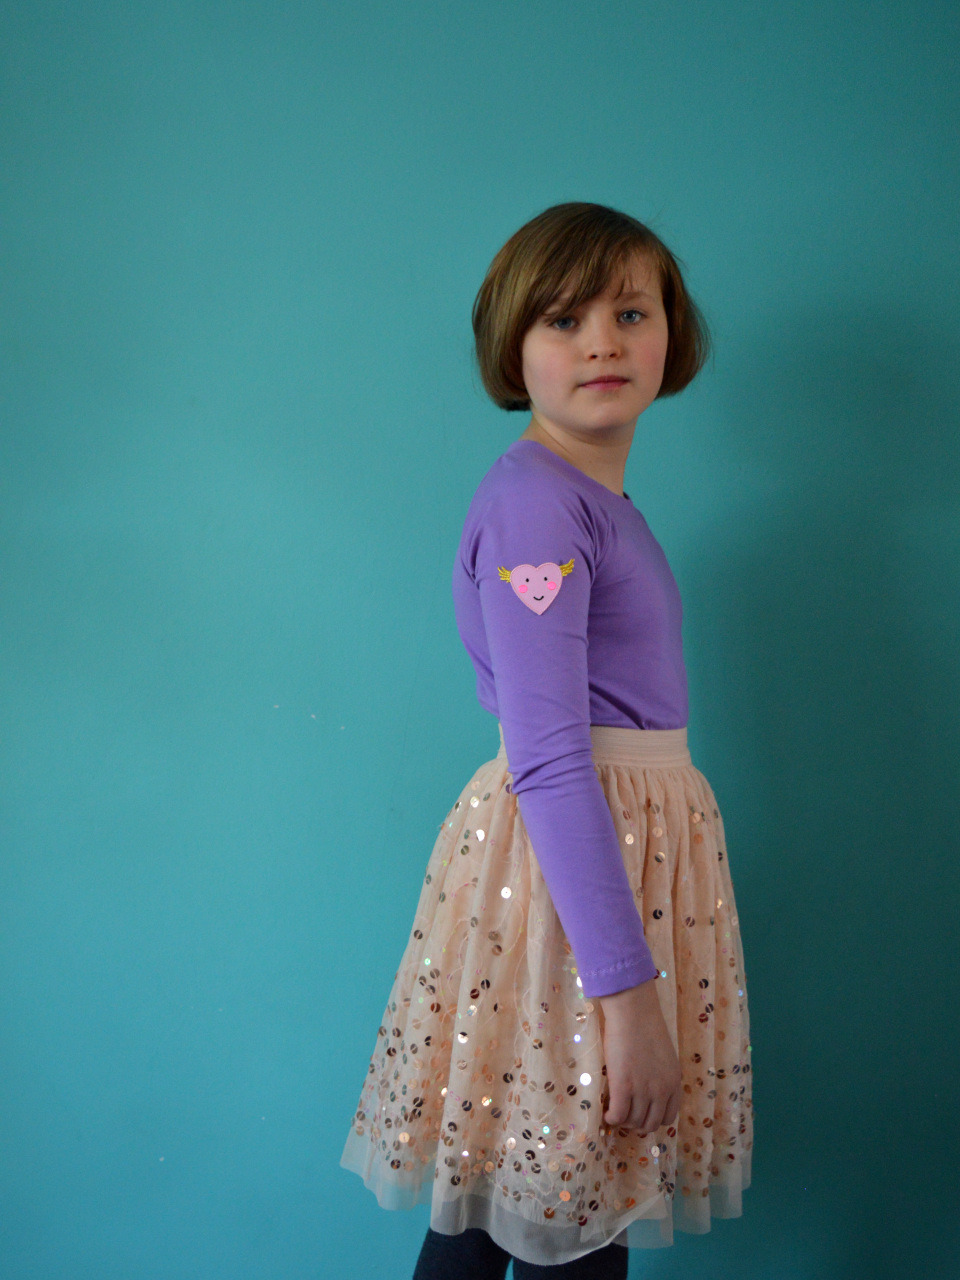
She was the one who decided she wanted a lilac T-shirt. I passed her a stack of Ottobre magazines, explained how to look for a style that included her size, and let her sift through to choose a pattern she liked. She selected a long-sleeved raglan top with a slim fit.
Tip #2: Do the bulk of the boring bits
Because the pattern chosen was in an Ottobre magazine, the next step was to trace out the pieces and add seam allowance. Nothing would have turned my daughter off this project quicker than if I'd made her trace out those pieces herself. NOTHING. So instead, I traced out the pattern and added the seam allowance, but asked her to sit with me engaging her in conversation as I did it. Then, at least, she witnessed that part of the process so it was no longer an alien concept to her. I then got her to cut one of the pattern pieces out of paper so she had experience of that, and cut the rest out myself later on.
When it came to cutting the pattern out of fabric, she wasn't into the idea very much. So I positioned the pieces on the fabric and pinned them in place, and got her to carefully cut round the edges. She moaned a bit about having to do that, but I felt I could push her a bit to take on this step without the project being a bust. It was a gamble, but we got through it!
Tip #3: Balance trickiness and familiarity
For the actual construction, I decided we should use my regular machine rather than my overlocker for all the seams on this T-shirt. As
Judy Williment-Ross' daughter once so cleverly articulated, using an overlocker is
'like sewing, but faster and with knives'! My daughter has tried using my overlocker once or twice, but this was her first 'proper' project with jersey fabric, and I felt that a new type of fabric that is trickier to handle was challenge enough. She is far more experienced with, and confident on, my regular machine so I decided to stick to that.
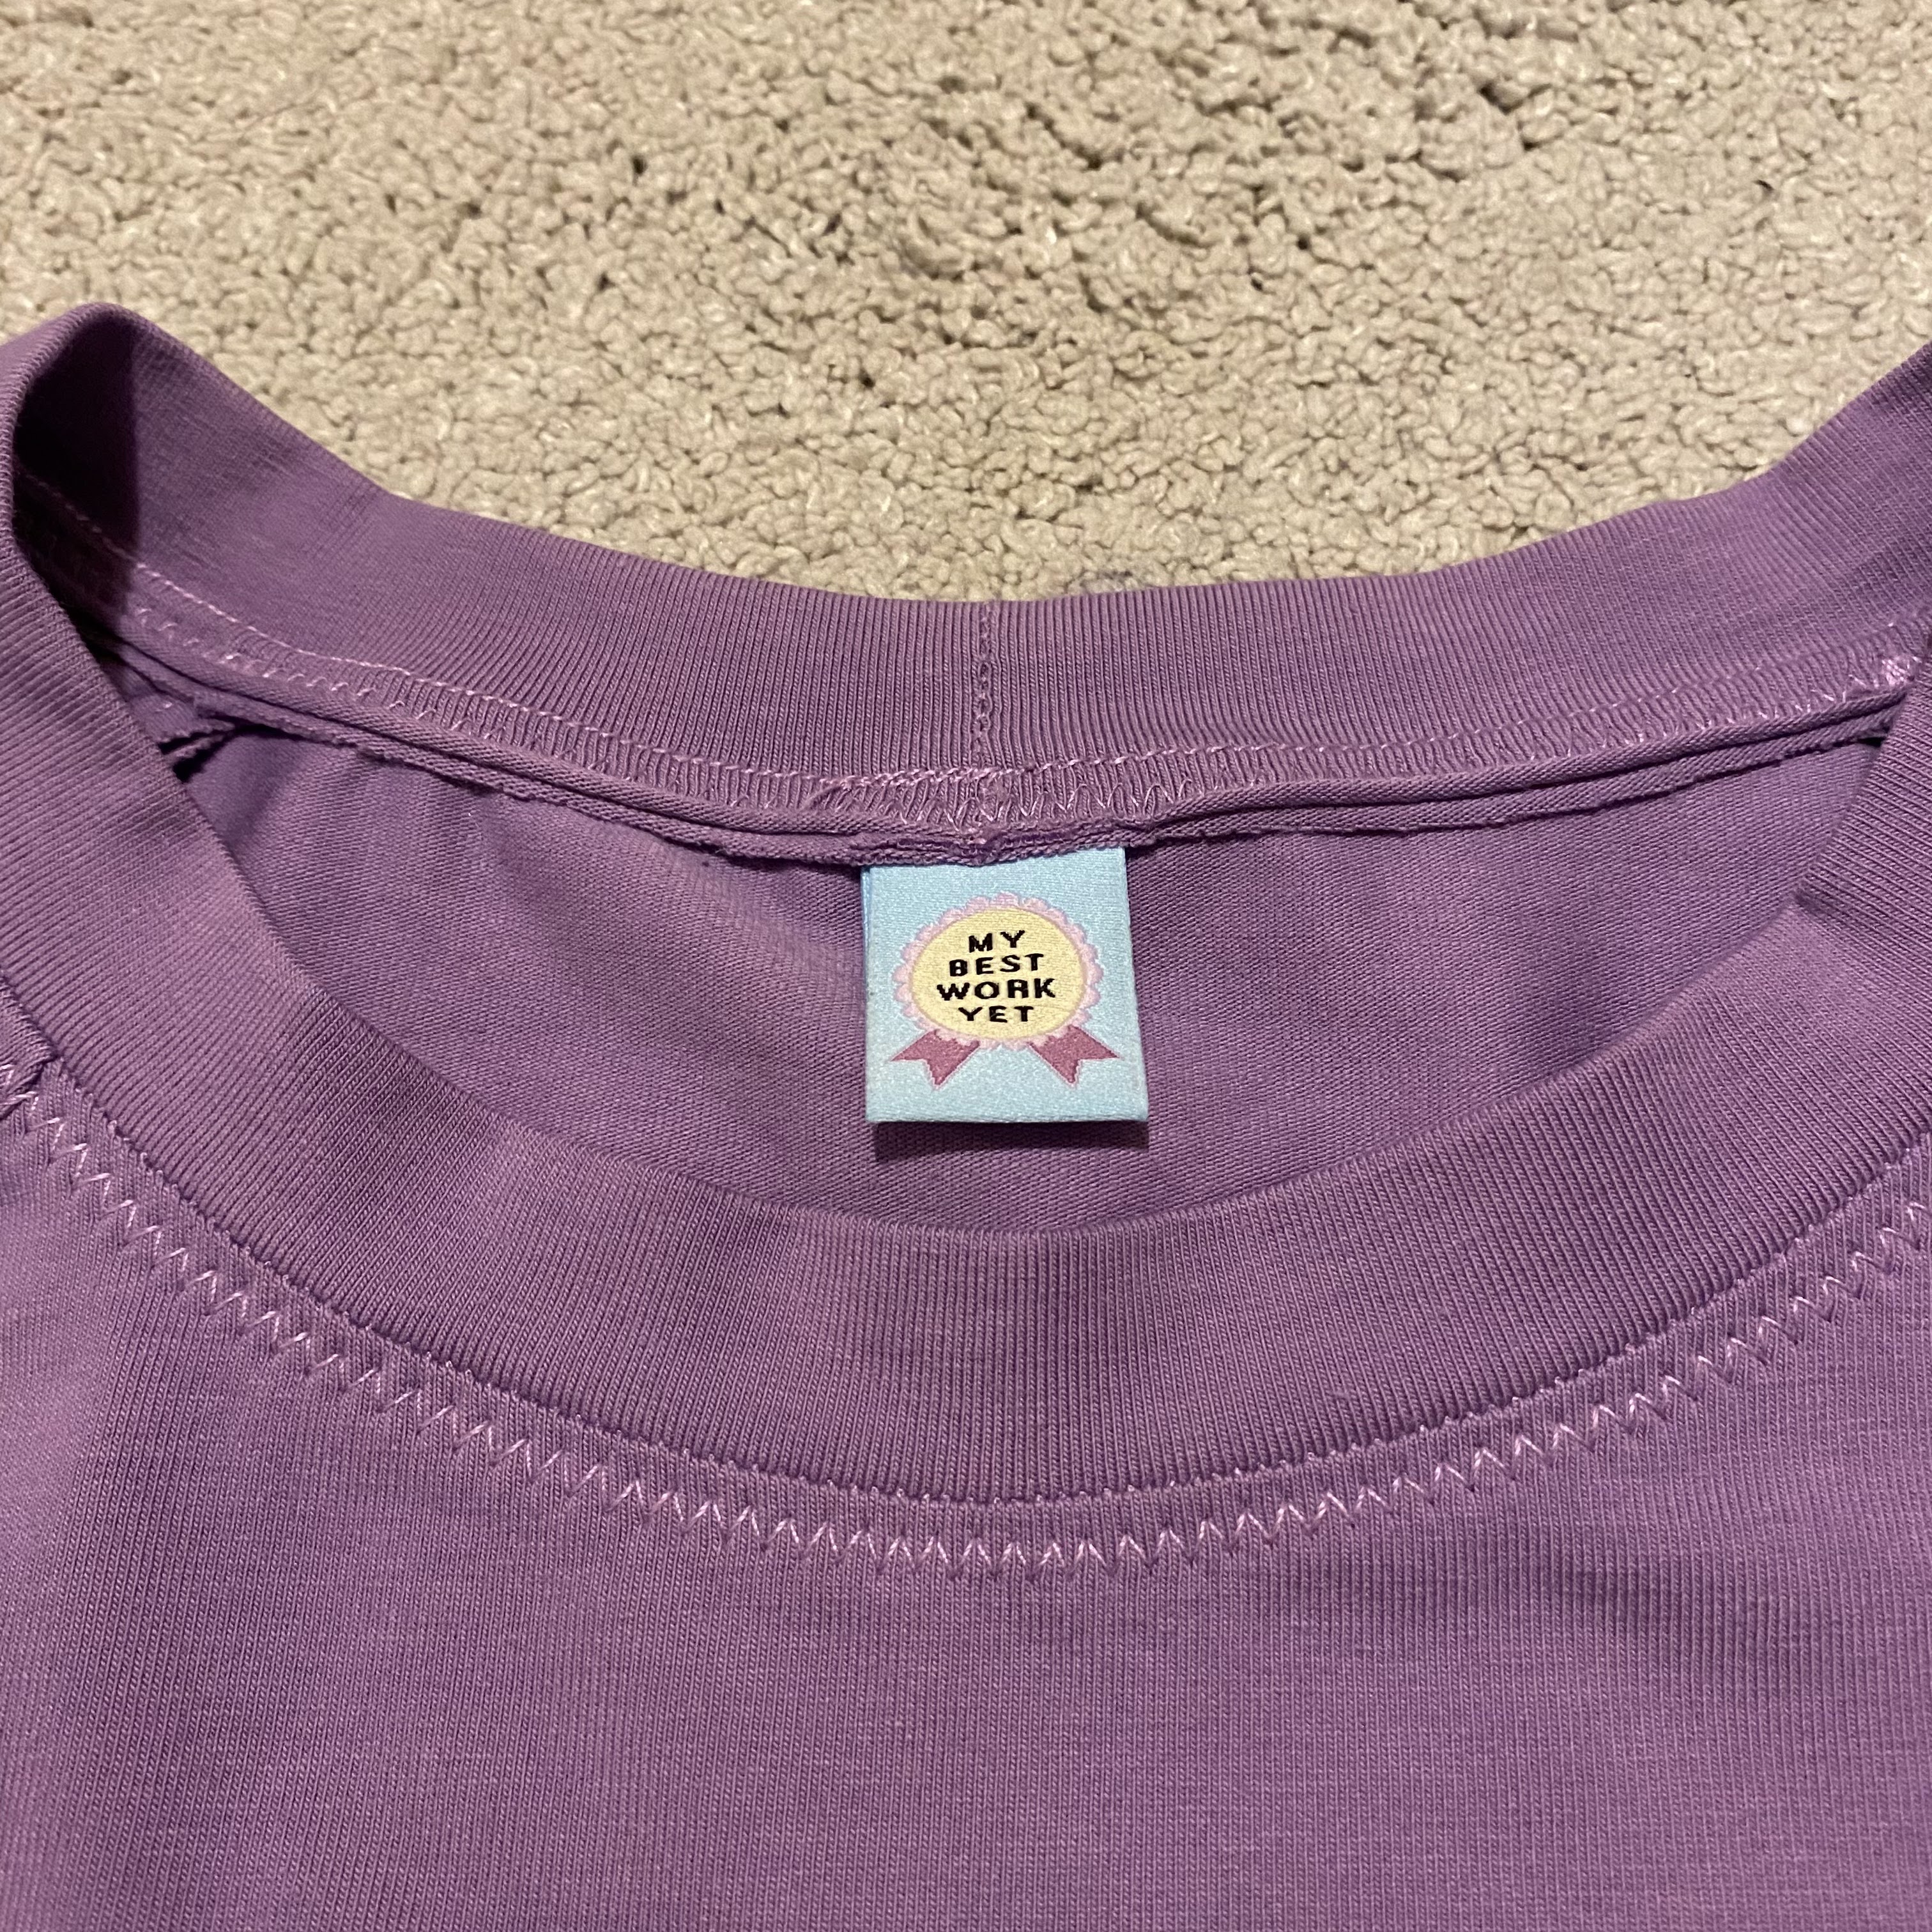
I pinned all the seams for her, and she stitched them all using a new-to-her stitch (the lightning stitch). So there was a blend of new and familiar elements at play. I also decided to do the neckband myself, because pinning and stitching a neckband into the neck hole of a child-sized garment is super tricky! I felt that if the neckline looked a bit of a mess, it might put her off from wearing the finished item. Doing the neckline myself kind of felt like a risk; would she feel less ownership of the project if I did a major part of it without her? I decided to engage her in that step instead by getting her to choose a cute label to insert so she could tell what is the back at a glance. She picked this 'My best work yet' label from Kylie and the Machine: perfect in both context and colouring.
Tip #4: Add a fun, unique design element
As seasoned garment sewers, we know the joy of getting to wear garments we have customised to our own specifications. Everywhere we go in our me-mades, we are free from the risk of turning up somewhere wearing the same garment as someone else! That's really powerful, and something we can use to our advantage when teaching kids to sew. Find ways for them to express themselves further by making little additions to the overall design. We did that with this project with the back neck label, but labels can be inserted into or applied onto the garments pretty much wherever they choose. Ribbons, braids, buttons, contrast panels or pockets are all opportunities to let the child's wield their design prowess and 'own' this project/garment further.
I have a little collection of iron-on patches collected from all over the place, predominantly so I can mend my kids' clothes super quickly when a whole appears. My daughter had a good rummage through them and selected a patch to apply to her T-shirt, and decided where she wanted it to be. Her choice was linked to a narrative she had about the character she would personify when wearing the garment. But obviously it doesn't have to go that deep!
Tip #5: Get it off the machine and into their wardrobes as quick as possible
My daughter had no interest in hemming the garment, so I did that whilst she was at school. Then one final press and it was done! I could have done this quicker to be honest, but you want to capitalise on the pride and accomplishment of a completed project and make it available for them to wear as soon as possible.
Tip #6: Tell everyone they made it
Whenever my daughter is wearing this T-shirt, I make sure to tell whoever we're with that she made it herself. Cue lots of 'Oh, wow! Well done! That's really impressive's, and therefore external validation. Refrain from listing the various steps you, yourself actually did, and remind them of the work they put into it, e.g. 'You sewed all those seams so neatly and stuck to the seam allowance so well', etc.
Did my daughter love this whole project? No. Was there a lot of moaning at various stages? Yes (I managed to keep mine internal though). Was this a gorgeous, bonding experience? Maybe a little bit. Has she declared she wants to sew her entire wardrobe going forwards? No. But I do think/hope that she feels more agency over what she wears now, with the knowledge (and proof!) that she can make (most of) a T-shirt. I don't know when we'll embark on another project like this, but when she mentions a desire to do so, I'll be ready to try this formula again. I will help her build on her skills further, project after project, until she barely needs me (blub)!