Welcome to my monthly 'Free Pattern Friday' feature, where I road test a free sewing pattern or tutorial: sometimes a children's one, sometimes an adult's one. I try to publish these posts every first Friday of the month, timed to provide inspiration for those who plan to get their sew on over the weekend. I firmly believe that, if you pick your projects carefully, sewing doesn't have to be a crazy-expensive way to clothe yourself and your family. Thanks to all the amazing pattern designers who have offered up their hard work for us to enjoy for free.
Like last month, the free pattern that I've road tested for this post is one that I've written about on here before. Think of it as my duty to remind people of the really good free patterns, in case they are now in a position in which the pattern in question would benefit them. There's also the possibility that you are a new visitor to this blog and don't have an intimate knowledge of my back catalogue of posts!
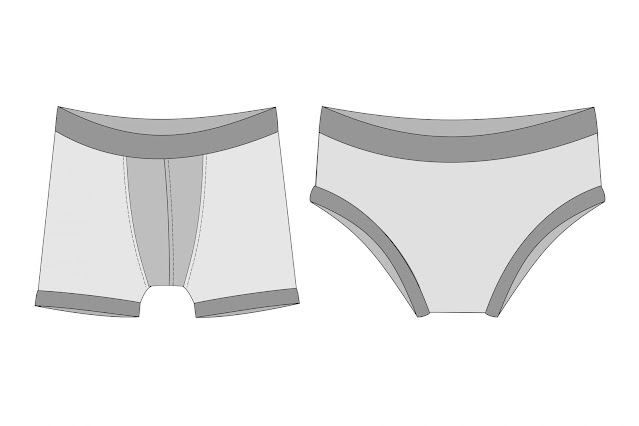
Anyways, this excellent free pattern is the Speedy Pants pattern by Waves and Wild. I first reviewed it in 2019 after making a million pairs of the briefs version, back when Waves and Wild were called Made by Jacks Mum. Then I reviewed it two years later in 2021, including both the briefs AND the boxers versions. Today I don't have much to add to that review, but I'd like to talk about how the pattern can be used and adapted to get EVEN MORE use from it!
But before we start, we must take a moment to thank Waves and Wild for sharing this pattern with the sewing community for free. It really is an excellent resource for sewers-on-a-budget in particular, and has fantastic potential for using scraps and leftovers of jersey to make incredibly useful items that will see TONS of wear. My son has been using some of his pairs at least once a week for 2.5 years now... You can access this pattern via the shop/cart on their website. Whilst you're there, I also recommend checking out their PB Swim Shorties pattern.
Why & how might you want to alter or adapt this pattern?:
Fabric limitations:
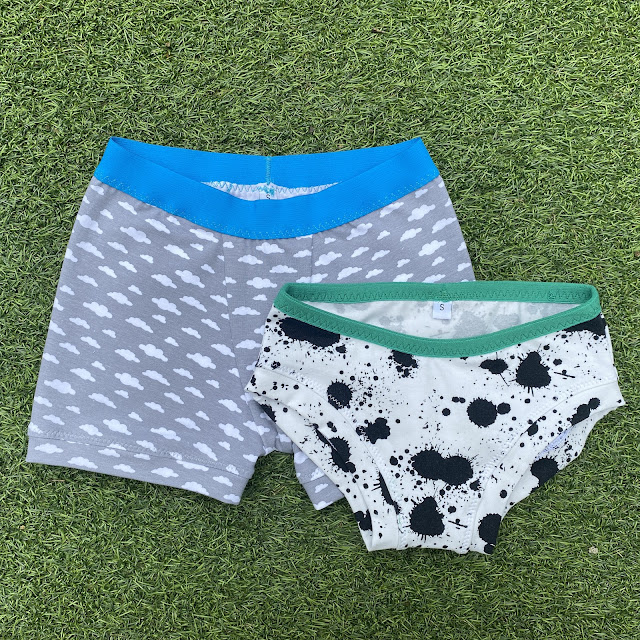
Both the boxers and briefs that I've made that you see here were made from fabric scraps that I picked up at a fabric swap in January. The scraps were clearly leftover from garment projects and you could see where other pattern pieces had been cut out, resulting in some weirdly-shaped remains. Neither of the bundles of scraps contained sufficient fabric to cut the long waistband. A contrast waistband cut from a different fabric was an option (as you can see here!) but I've been scrap-busting so hard that my stash no longer contains jersey scraps of sufficient dimension. Therefore, I decided to use elastic instead for the waistband. I used flat elastic for the boxer style, which I applied around the top edge using a three-step zigzag stitch. For the briefs style, I used some wide, fuzzy fold over elastic. Both elastics were already in my stash, but both had previously be purchased on eBay.
If you're limited in fabric, another option for cutting the boxer version is to add side seams. I've done that previously and it works very well. Lots of undies have side seams anyway, so it doesn't look or feel like a weird location to have a seam.
Style preferences:
Another reason for adding elastic rather than making a fabric band to finish the waist edge might be if you're aiming for a more 'shop bought' look. My kids really aren't bothered about such things, but if yours are concerned about that, elastic will definitely look less home made.
You might also choose to use elastic to finish the leg holes of the briefs. If you were using fold over elastic, you wouldn't need to alter the pattern at all.
Comfort and fit:
I found the waistline on the briefs version a little 'flat'. Therefore, I added a little height at the centre back along the waistline, grading out to the original height at the side seams (incidentally, I did this for the PB Swim Shorties pattern also).
For the boxers version, if comfort is of particular concern, I would recommend following the optional direction to top stitch down the front gusset seam allowances. And for both versions, I'd also recommend top stitching down the seam allowance of the leg bands. On previous pairs where I didn't top stitch that down, the leg bands often flip up which might be uncomfortable for some kids.
If you're making the briefs version for girls, you might wish to narrow the gusset part of the pattern. I did that on previous pairs for my daughter and I think they fit her a bit better because of it.
Would I make this pattern again?
Try and stop me!


No comments:
Post a Comment