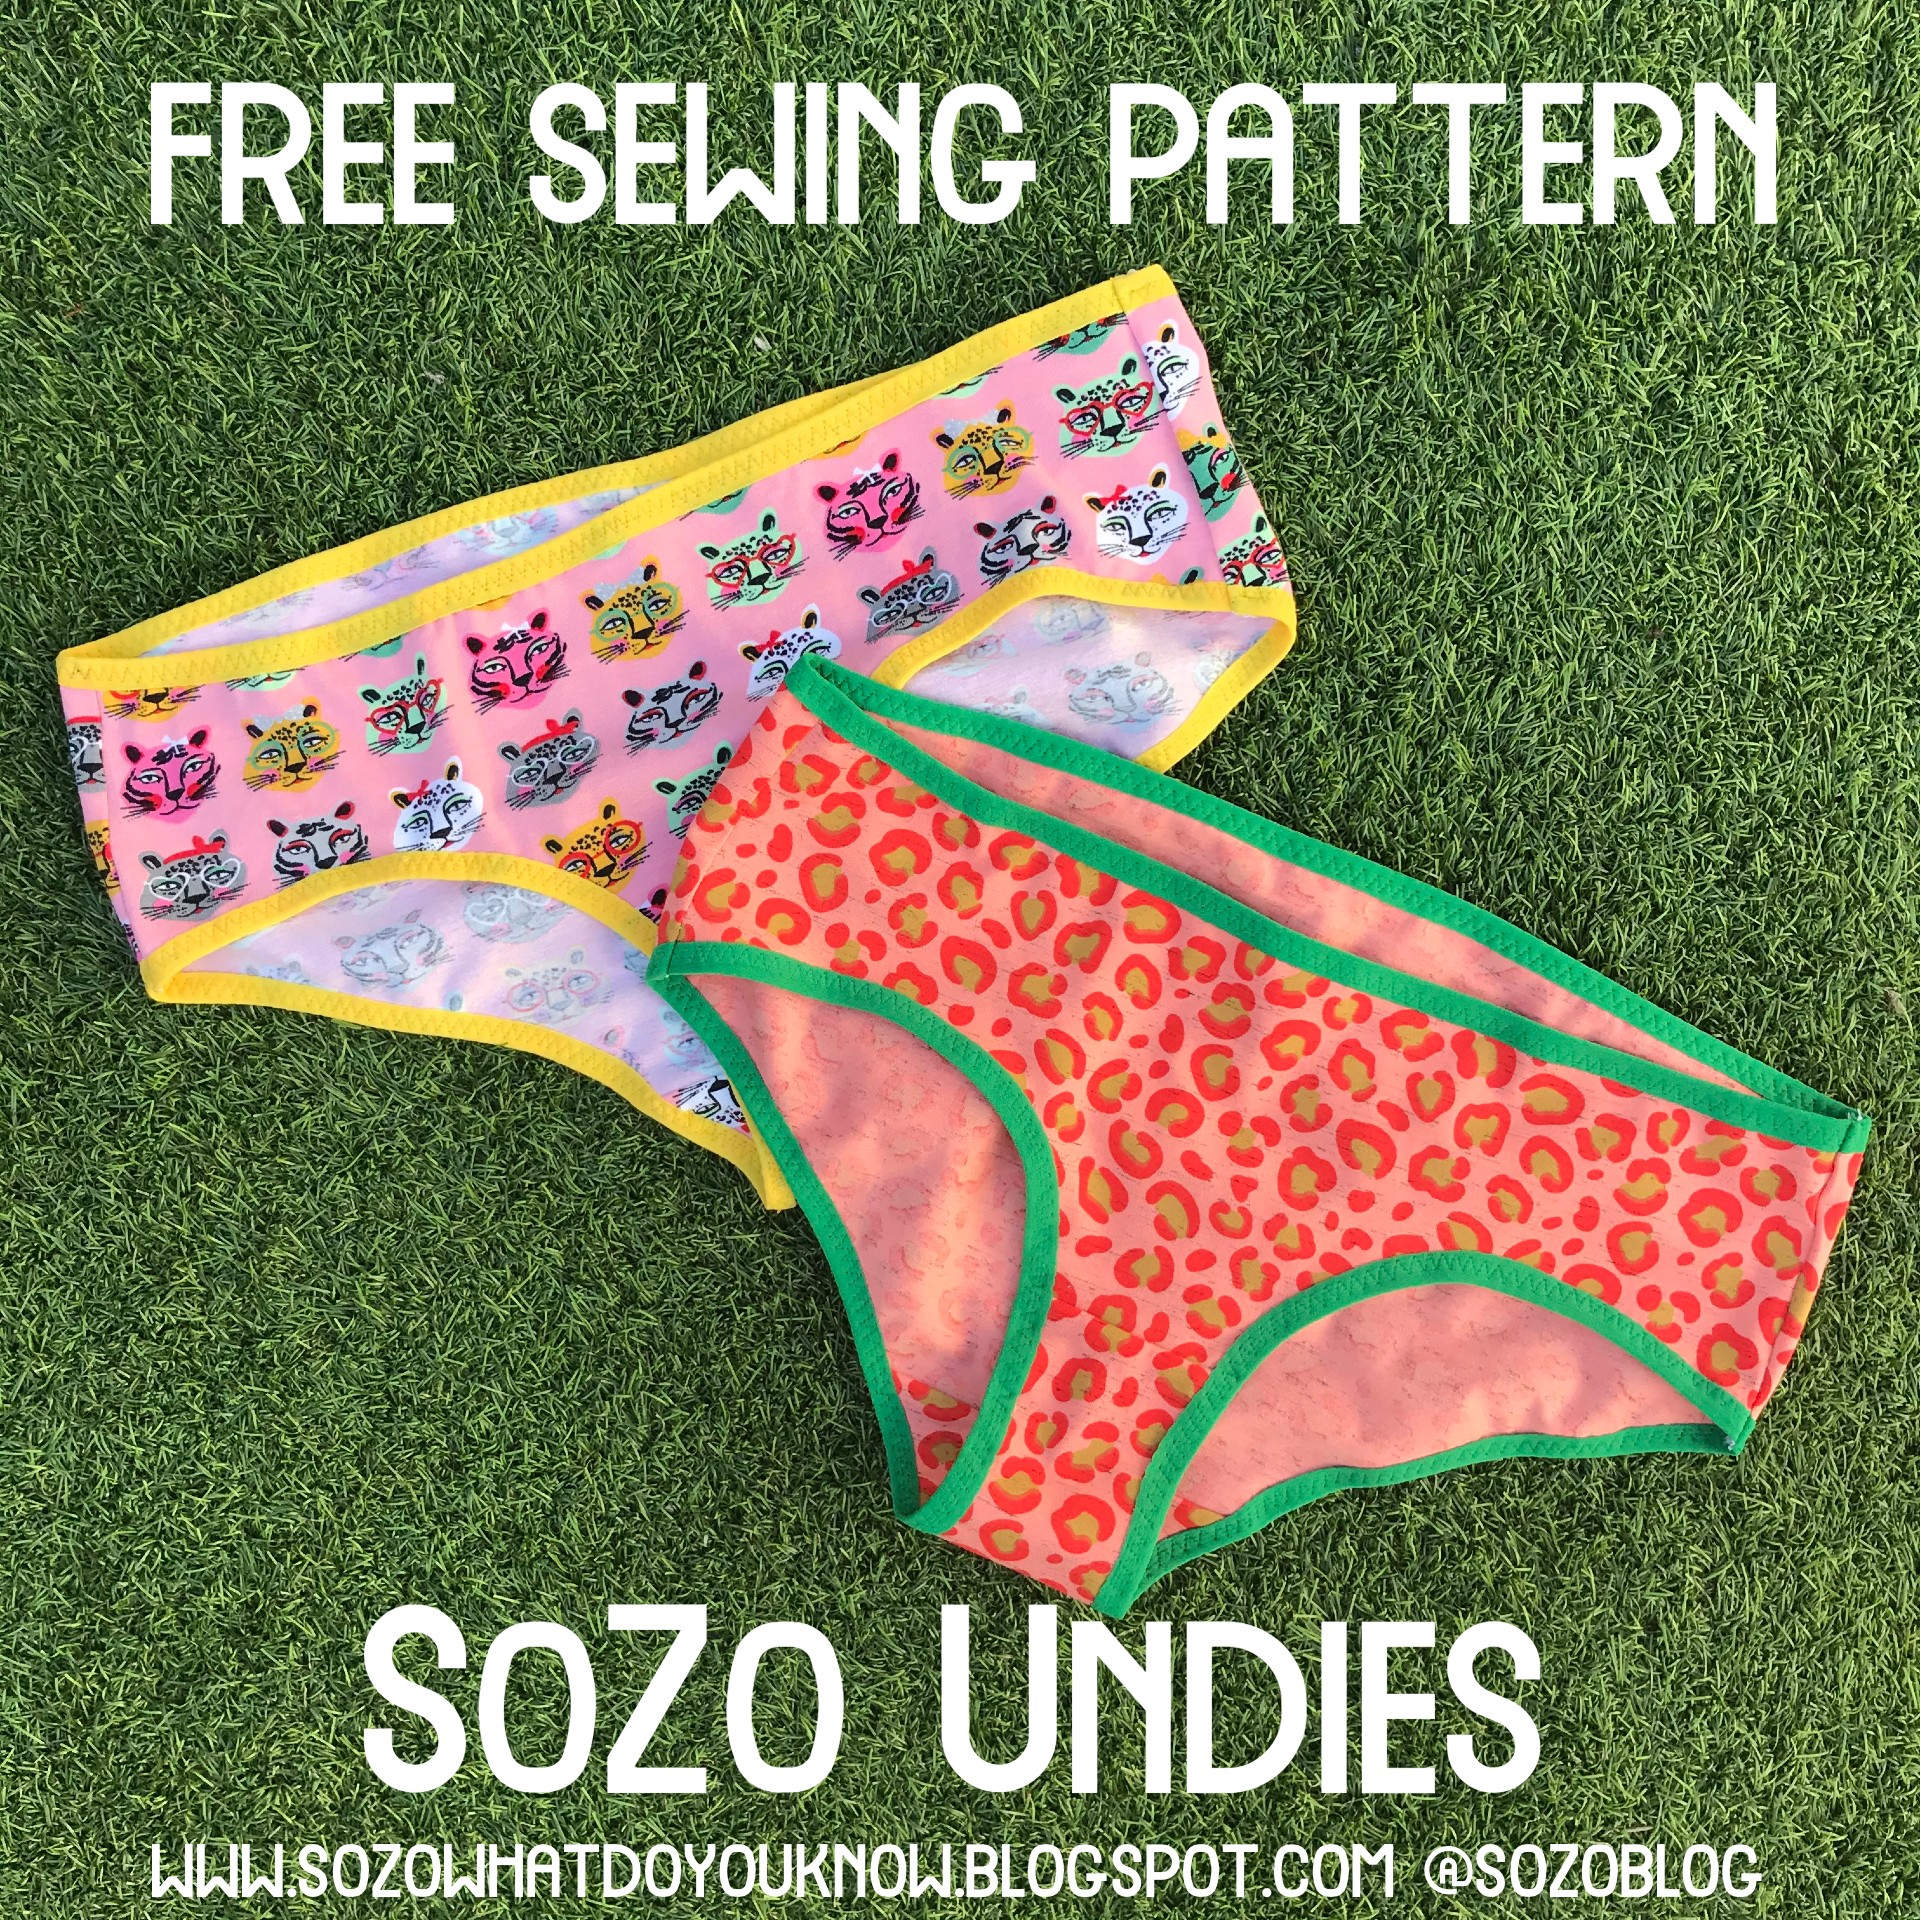
Tuesday, 1 June 2021
Mini Nova Jumpsuit
Thursday, 13 May 2021
Free SoZo Undies Sewing Pattern: Updated and Re-released!!!
I am very happy to announce that my free undies pattern that I originally released nine years ago has had a major overhaul and is now newly available! The main three changes are:
- It's been graded to cover full hip measurements of 32" to 50", that's TEN sizes!!!! This is a major improvement on the original five sizes. A 32" full hip is the average measurement for a 13 year old. I wanted the pattern to cover teen sizing because A) there are very few free sewing patterns (or paid for patterns, for that matter) that cover older children and teens so I wanted to help redress that a little, and B) I hope that this might be a fun project for teens getting into sewing to try for themselves.
- Included in the pattern and instructions are two methods of construction: the classic version (as per the original pattern) and the enclosed gusset (AKA the burrito method) version. The classic version is slightly less time consuming and slightly less fiddly to make. However, some people prefer the look of the enclosed gusset version, and it allows for more scrap-busting opportunities.
- The instructions are vastly improved with a better layout and much more detail. Each step is illustrated with large colour photos. Also present is lots of information about fold over elastic and how to use it is. For me, the most significant improvement is that the instructions now contain detailed measurements for the elastic required for each size AND an improved method of application which should help you achieve a successful, comfortable fit on your first attempt. I now feel confident calling this a beginner friendly project.
Sunday, 9 May 2021
How to Use Fold Over Elastic (FOE)
This week, all being well, I will be re-releasing my free pants/undies/knickers pattern. It's been expanded and vastly improved, both the pattern itself and the instructions. In the latter, I include a section explaining fold over elastic and how to use it, which may be new to some sewists . I thought that it might also be useful for people if I shared that section here on this blog also to reference, whether you plan to try the free SoZo Undies pattern, another undies pattern or some other project that features fold over elastic. If you decide to use FOE (I'll be using that abbreviation going forwards) for a project with seams stitched using an overlocker/serger, you will need to use a regular sewing machine to apply the FOE. In the case of my undies pattern, it will be applied along the leg hole edges and the waist edge. But let's go back to the beginning...
What is FOE?
Fold over elastic is flat and has a visible line that runs down the centre to help you fold it in half. It can be found in a variety of widths. For my free undies project, I recommend using FOE that is 16mm - 20mm wide when flat. The narrower the elastic, the more fiddly it is to apply. If you are new to using it, try to buy some that is 18mm or 20mm wide and practice before using it on your undies project.
FOE is available in a whole rainbow of gorgeous colours, shades and textures, and can even be found with patterns printed or woven in. Solid coloured FOE often has one matt and one shiny side, so you can decide which you prefer to be visible.
How to apply FOE:
**If you are new to using FOE, I STRONGLY advise that you have practise applying it to some scrap jersey fabric before working on your undies project. When buying your FOE, remember to order extra for practising if necessary.**
Place a section of FOE down on a surface laying vertically, wrong side up. Position some jersey on top of the left half of the FOE with the raw edge of the jersey sitting along the central line of the elastic.
Fold the elastic in half so the raw edge is enclosed. You are about to sew through this sandwich to keep it in place with the fabric’s raw edge permanently enclosed. I find it easier to start off my row of stitches by sewing through elastic only before the fabric is introduced into the sandwich, so try leaving a few centimetres of elastic free at the beginning.
To make sure the elastic and jersey remain stretchy, you need to select a stretch stitch on your machine. I recommend using the three-step zigzag stitch. This stitch is sometimes also called the tricot stitch or the serpentine stitch. It comprises three tiny straight stitches per zig and per zag. The three-step zigzag stitch is commonly used in underwear manufacture, both domestically and industrially, because it allows a lot of stretch but also provides more stability and a flatter finish than a regular zigzag stitch. The only drawback of the three-step zigzag stitch that I’ve found is that those tiny straight stitches make it a real pain to unpick if you make a mistake!
Begin by stitching through both layers of elastic, and then as you get to the jersey, through the elastic-jersey-elastic sandwich, removing the pins as you go. After every few centimetres of stitching, stop and readjust the next section of jersey and FOE as necessary before continuing.
This is the basic technique for applying FOE. Things get a little trickier in the undies project because we will also be going round the curve of the leg holes, and giving the FOE a little stretch as we stitch. To make these undies, you will be applying FOE that is shorter in length than the measurement of the leg hole edges and waist edge that you’re stitching it to. I will show you how to pin the elastic evenly to the edges. Then you will need to give the FOE a little tug with your right hand as you stitch through the three layers to get a neat result. But get the hang of the basic application technique described above and you’ll be ready to tackle this project!
Why can I buy FOE?
FOE is wildly available at many/most sewing shops and haberdashers. Recently I have used FOE from Craft and Thrift and Plush Addict (both based in UK).
Thursday, 1 April 2021
Me-Made-May 21!
Can you believe it time to talk about another Me-Made-May challenge?! As you may recall, last year I was in two minds about even mentioning MMM because of the stresses and strains that the global pandemic was bringing to most people's lives and head spaces. However, it turns out that a gentle version of the challenge was EXACTLY what so many people found that they needed after all!
It gave so many of us a reason to put on clothes that made us feel positive, proud and 'ourselves' each morning, rather than staying in pyjamas or chucking on grotty loungewear again. It encouraged us to re-focus a little on our love of garment making, and learn some lessons throughout the month that helped our practice going forwards. And if we chose to participate in the community aspect of the challenge by sharing and/or checking out photos of fantastic handmade garments, it helped us feel connected to other participants at a time when connection was so desperately needed. I'm sure that most participants would agree with me when I say that Me-Made-May 2020 ended up being a wonderful, beautiful, positive little ray of light during a very difficult year.
And what of 2021? How are we all feeling a year later? We're all clearly so very far from living 'normal' lives still. What role can the Me-Made-May challenge play for the global community of makers this year? I feel that there's a quiet, gentle hopefulness about this year, and participating in MMM could be a wonderful part of that. So much has changed since 2019, and if we choose to, we can use the challenge to explore who we are now, and who we want to be as 2021 continues to unfold...
Personally, I plan to use May 2021 to consciously reconnect with my handmade wardrobe, and subsequently reconnect with myself. I want to enjoy a month-long celebration of creativity with the rest of the beautiful online making community. And I REALLY hope you'll join me.
What IS Me-Made-May?
- MMM is a personal challenge to wear your handmade items more often, or in different ways, to help you improve your relationship with your handmade wardrobe.
- It is entirely personal: you can set the specifications of your challenge as you wish so that it will help YOU. Think about what you would like to improve and/or learn about what you wear.
- You do your challenge for the duration of May.
- It's entirely up to you whether you wish to keep your challenge entirely to yourself, or share some or all of it with others. If you wish to share the odd (or daily!) photo or comment on social media, please use the hashtag #memademay2021 so other participants can find you and cheer you along.
- which of your current handmade items make you feel the happiest (and therefore perhaps how best to spend your garment-making time in the future)
- which of them need to be repaired, altered, upcycled or passed on
- the colours that suit you and the ones that don't
- new combinations that may help you get more use from the items you've made
- which silhouettes and garment styles best suit your day-to-day life, as well as your body and personal taste
- new garment styles, patterns, fabrics, yarns or colours worn by others that you are excited to try for yourself
- how others wear and style the same patterns you own differently
- what different fabrics or yarns others have tried when making patterns you own
- some new online friends
- some new makers' accounts to follow that inspire you
Ok, I want some of that too, what do I do now?
You need to think about the specifics of your challenge. Think about what you'd like to achieve/improve/learn by the end of the month, and what you can do throughout the month to make that happen. Normally, I ask participants to fill out a pledge and post it in the comments of this post. If you would like to do that, awesome. If you'd like to share it on Instagram or anywhere else, then also awesome:
'I, (insert name or username here), pledge to (insert specifics of your challenge here) throughout May 2021'
So as an example, here's mine:
'I, Zoe aka @sozoblog, pledge to wear only handmade garments in unique combinations as much as possible throughout May 2021'.
If you have any questions or queries, please email me at sozoblog (at) g mail dotcom, or message me on IG @sozoblog. Please remember, if you do want to take part, be as gentle and kind to yourself as possible, in many ways the world is still broken after all. DO NOT beat yourself up if you wake up on 1st May and think, 'actually, no, I want to stay in my non-me-made pyjamas all day after all'!. This is meant to be fun, useful and affirming!
Sunday, 28 March 2021
The Joy of Sewing for Children: Guest Post on Moonbow Fabrics
I’ve been sewing most of my own clothes and blogging about it for about 13 years now. I had
my daughter seven years ago, and then a little boy a few years after that.
I LOVE sewing clothes for them, as well as for me, and although sewing processes are the
same, no matter the size of the garment, I find that the rewards are slightly different.
Sewing Satisfaction
Watching your kids running around and playing, completely care-free, whilst wearing clothes
that you’ve made, is a really wonderful feeling. I’m not exactly sure why it brings so much
satisfaction and joy, but it does.
The kids don’t even need to be your own. I’ve received just as much satisfaction from
making something for someone else’s child, as long as the garment was appreciated and
actually worn.
Making, Re-using, Recycling
These days, it’s very unlikely that those of us with kids who like to sew for them will make
all of our children’s clothes. My children have always been dressed in a combination of hand-
me-downs, charity shop finds and mum-made garments.
There are times when you fall into the slipstream of another family with an older child, and
the hand-me-down clothes flow steadily in your child’s direction.
However, when that flow slows down or dries up, and gaps in your child’s wardrobe appear,
adding some handmade items can be really pleasing.
Advantages of Knit Fabrics
Most of the garments I make for my children are from knit fabrics. Comfort and lack of
restriction are my priorities when it comes to their clothing.
Luckily, the kids’ garments that receive the most use/abuse, and are therefore harder to come
by second-hand (I’m looking at you T-shirts, leggings, joggers) take relatively little time and
energy to sew.
I love that there are so many fantastic, fun prints available on kid-friendly base cloths such as
Jersey, French Terry and Sweatshirting.
With a handful of tried-and-tested basic patterns in your arsenal, you can whip up a fabulous-
looking new garment in the space of a nap time or evening.
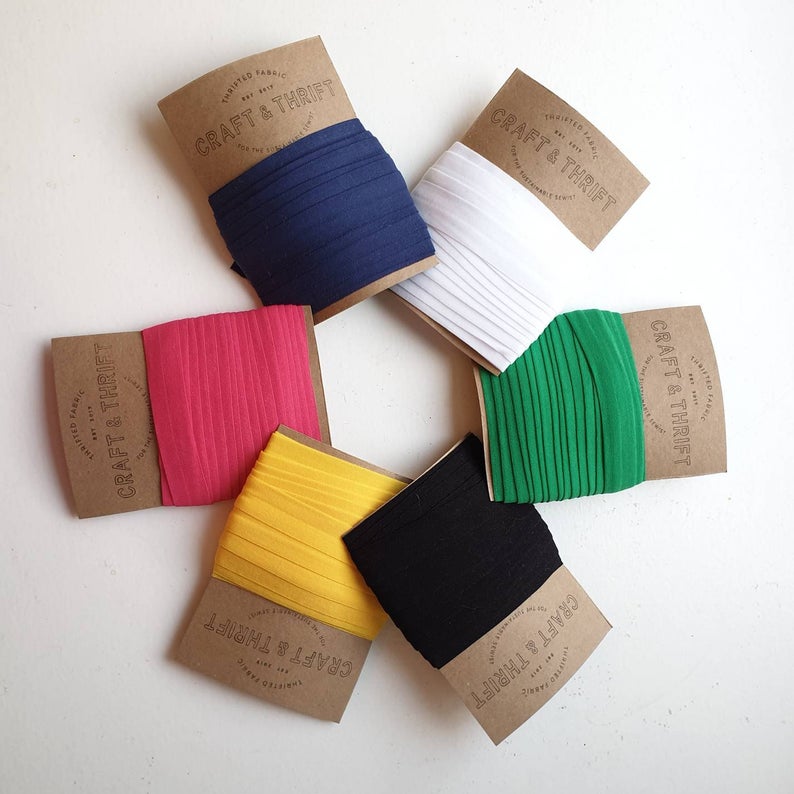
And if, like me, your sewing budget is limited and/or you like to consider the environmental
impact of buying new fabric, it’s good to remember that a little can go a long way.
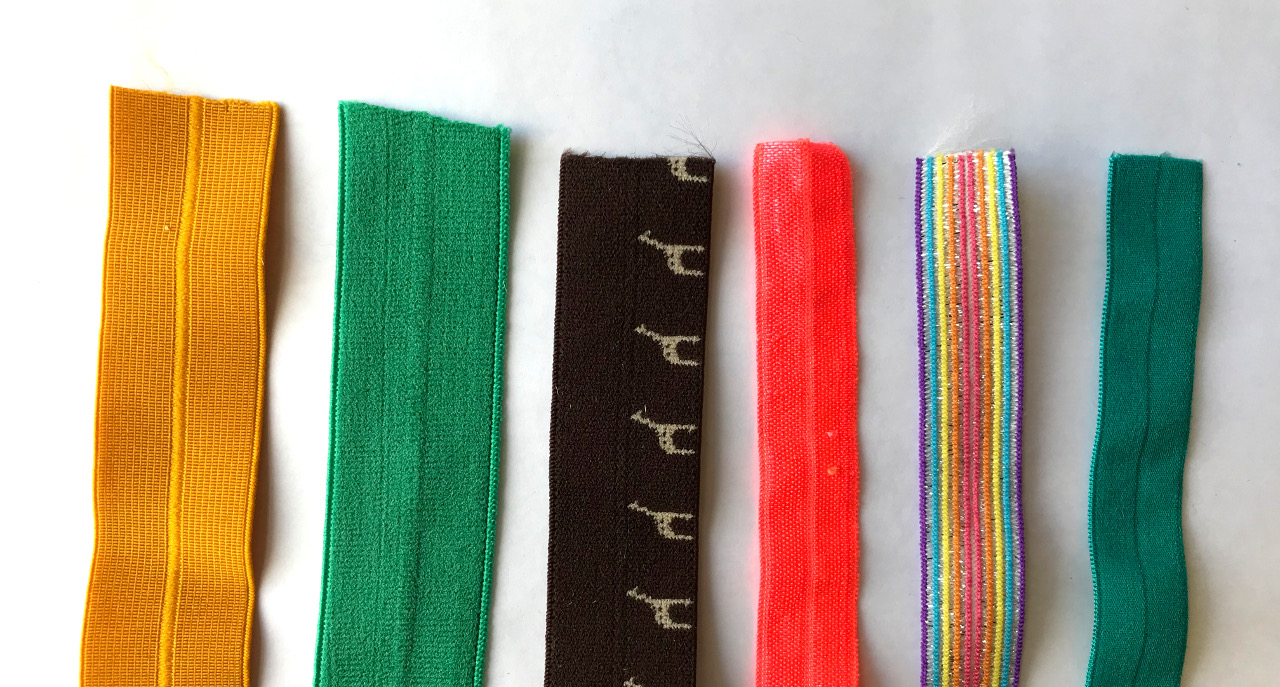
Combining fun printed fabrics with plain/solid fabric within the same project can give a
really cool, unique finished item.
I also often harvest fabric from unwanted adult garments and use up my leftover jersey from
other sewing projects when making kid’s clothes too.
Home-sewn vs Shop Bought
Unlike for previous generations, affordable, mass-produced, children’s clothes are easy to
come by these days. But I invariably find that my handmade contributions, made with care
from good quality fabric, tend to look better for longer.
The fabrics I use don’t rapidly become brittle and scratchy, or start to pill as quickly. Neither
do the colours fade after just a couple of washes. My home-sewn leg and sleeve seams don’t
twist as readily as their factory-made counterparts tend to either.
Sizing and Fit
And whilst we’re on the topic of comparing shop-bought to handmade, I can’t avoid
mentioning sizing.
My experiences of mass-manufactured kids’ clothes sizing range from confusing to
maddening. What is written on the label frequently bears little resemblance to the actual size
the garment will fit.
Many garment manufacturers seem set on labelling all their products at least one size smaller
than they actually are, and who has the strength or patience to get their kid to try something
on before buying it?!
When we make clothes for our kids, we can take their measurements in the comfort of our
own home (when they are distracted by Peppa Pig perhaps).
By comparing their measurements to the pattern size charts, we have a much clearer idea of
how that garment is going to fit.
Custom Fitting
Plus once we have their measurements, we can easily combine sizes as necessary for a
custom fit, just as so many adult-garment sewers have to.
For those dressing children with a skinnier or stockier frame than the ‘average’, this can be a
game changer.
When my daughter was a toddler, she was very long and thin. I was able to combine different
sizes for the width and length, thus making her leggings and joggers that both fit properly at
the waist and reached her ankles AT THE SAME TIME.
Developing Personal Style
My final and favourite reason for sewing my children’s clothing is so I can make things that
align with my children’s personalities and preferences.
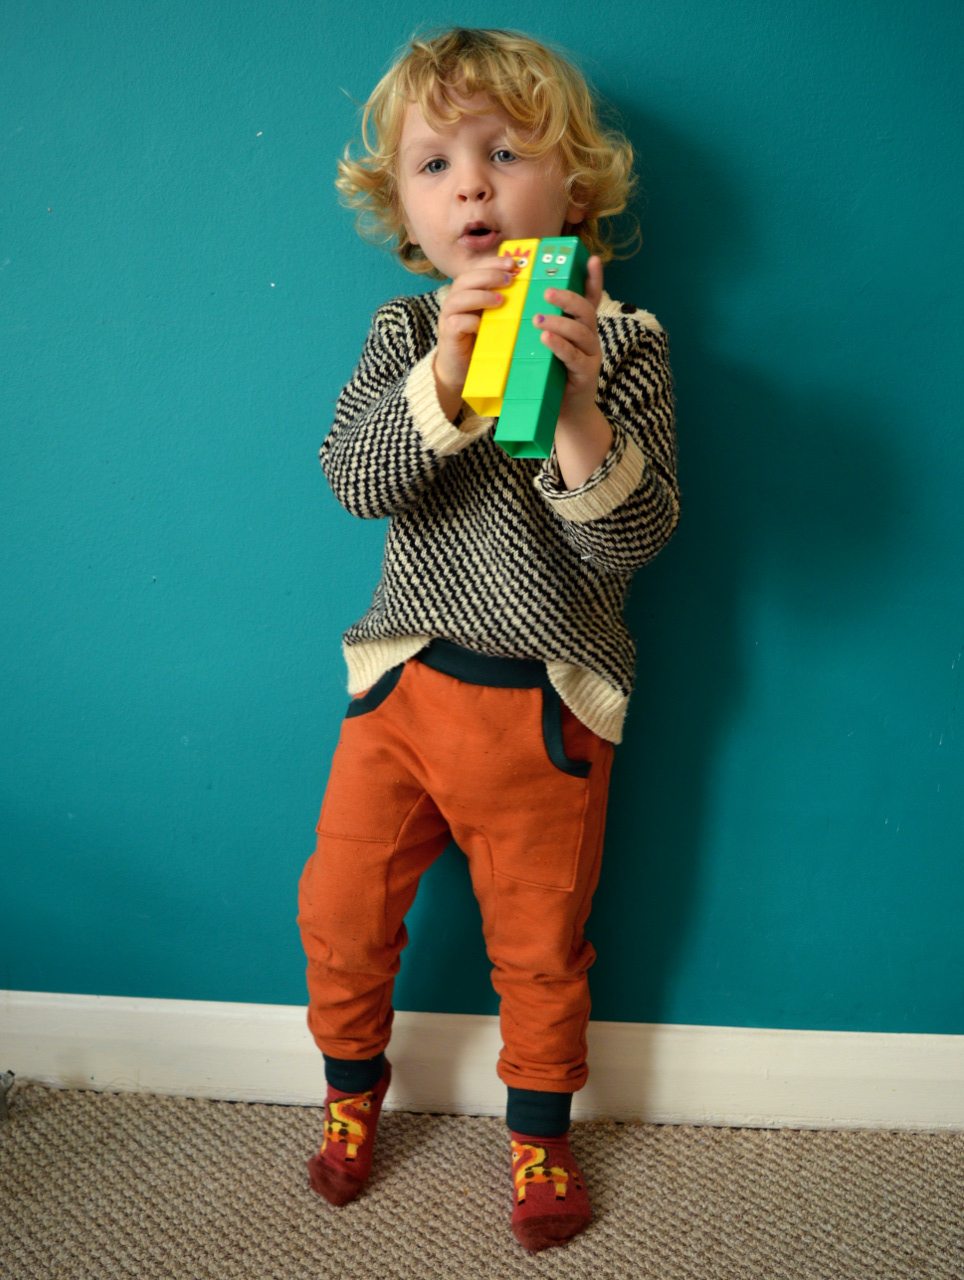
For my four-year-old son, that currently means just keeping the fabric within the orange-and-
red spectrum.
However, my seven-year-old daughter already has VERY clear ideas on personal style. These
days, garment projects for her are more of a collaborative effort.
While I must admit that relinquishing complete control of the decisions was hard at first, I am
the first to acknowledge the benefits of bringing kids on-board.
For one, garments are less likely to be rejected when kids get a say in what we make for
them. And secondly, by allowing them choice in the way their clothes turn out, we are
helping them to see themselves as designers, not merely consumers.
I hope that by the time my children become adults, they will be finding fun, escapism, joy
and value in the process of making, whatever form that takes… although sewing is best!
Friday, 5 March 2021
Free Pattern Friday: Kid's Clementine Nightie
- Experiment with shortening or lengthening the bodice, skirt and/or ruffle pieces to create different looks and proportions.
- Create a V at the neckline on the front and/or back.
- Use three different fabrics, one each for the bodice, skirt and ruffle. A tonal effect would look amazing!
- Shorten the skirt piece a lot and omit the ruffle to make a peplum top (I plan to try this).
- Make it in needlecord or denim and add cute patch pockets to the skirt, or even one on the front of the bodice.
Tuesday, 2 March 2021
Josie Bra Experiment
Bras. The final frontier. Well, MY final frontier, anyway. I've been sewing for over twenty years, making my own clothes for about thirteen, yet until this weekend I had never made a bra. Catherine from Clothes and Sewing blog (sorry, can't find the link ATM) even challenged me to make a bra a couple of years ago! (And who can resist a challenge?!) Yet, I still hadn't made one.
Let me explain why. You see, my body has been through two pregnancies and breastfed two babies (the second one for 19 months). My once-pretty-nice-if-I-say-so-myself boobs are now somewhat deflated. They need structure to give them a decent shape, and to keep them from resting on my stomach! Having tried a few different RTW bra styles, I always end up going back to basically the same style of bra from M&S. It's a super plain, T-shirt bra with underwires and moulded foam cups. My boobs seem to have specific requirements so I never thought I could sew myself a decent bra that would give me a good fit and be comfortable. At least not without spending a lot of time, effort and money on several failed attempts first. But the fact that this post includes photos of a bra on my dress form would indicate that something changed my mind and I have, in fact, made my first bra.
Over lockdown I noticed that my regular bras were cutting in to me in various places and just don't feel as comfortable as they used to. I'm not sure if they always felt like this and lockdown has just made me super sensitive to anything uncomfortable, or if my body has changed in some way. Certainly my bras are no longer brand new, but if anything, I expect age would make them looser and I'd feel them less rather than more.
I love the Made My Wardrobe patterns, and I started eyeing up the beautiful, comfy-looking, jersey confections made using the Josie bra (and pants) pattern. I always thought that jersey-type bras (rather than moulded foam type bras) were for women with smaller, perter busts. However, some of her models are full-busted and look quite supported in the images (see above). Then Lydia, owner/designer of Made My Wardrobe, announced a free workshop supporting the pattern and it just felt like the stars were aligning for me to make a damn bra...
Fabric and haberdashery:
Made My Wardrobe stock some beautiful kits including everything you need to make a lacy bra and pants set. However, I couldn't justify shelling out for the whole set when I wasn't entirely convinced this plan was going to work out. Then a recent sort out of my jersey scraps led me uncover some really thick, stable jersey leftover from some jogging leggings I made a while ago. If ever there was a jersey that could give my saggy boobs sufficient support, I felt that it was this stuff! The Josie pattern can be made with a combo of jersey and lace, or jersey alone. I'm not massively into lacy undies, so taking the more simply jersey-only option whilst using what I already had suited me fine.
Several months ago, I bought some lovely teal/peacock coloured fold over elastic from Plush Addict whilst I was ordering my rainbow webbing. I've been really happy with their FOE in the past, and wanted to make my webbing order more worth the postage. I ordered the metal ring and bra closure from Made My Wardrobe whilst buying the PDF version of the pattern.
Pattern and workshop:
Having never made bras before, I was super interested to discover what all the pattern pieces looked like and how they went together. This particular bra pattern consists of just four pattern pieces, including a choice of narrower or deeper under band. The narrower option fastens with a hook and eye bra closure; the deeper is simply seamed together to form the band. I knew the deeper option wouldn't work with my high natural waist, plus I wanted the adjustability of the bra closure. As well as the under band options, whether or not you use lace and which type of elastic you go for all combined gives you the ability to make heaps of different variations from the same pattern.
I never usually take part in sewalongs or follow online pattern workshops, at least not at the time that they are released. However, I felt that the timing of this one was auspicious, so even when Lydia had to delay the workshop by a couple of weeks, I prevented myself from jumping ahead and did another little sewing project whilst I waited for it to begin. The workshop is free (you can make a donation) and is still available to access via the website . It's split into four parts and was released over four days. For me, the most useful section was the first where she demonstrated the various techniques for applying fold over and plush/picot elastics. I'm no stranger to either, but it was interesting to learn a new-to-me application method.
For my bra, I used only fold over elastic (rather than plush elastic or a combo of the two), and I ended up having to unpick parts where applying the FOE (which is wider than plush/picot) was causing problems. For example, the front strap pattern pieces just seemed too narrow to be able to stitch the FOE to both sides as per the method described in the video and pattern instructions. I was able to fudge it a bit and it looked ok in the end.