Showing posts with label patchwork. Show all posts

Thursday, 25 May 2023

Patchwork Denim Quilted Jacket


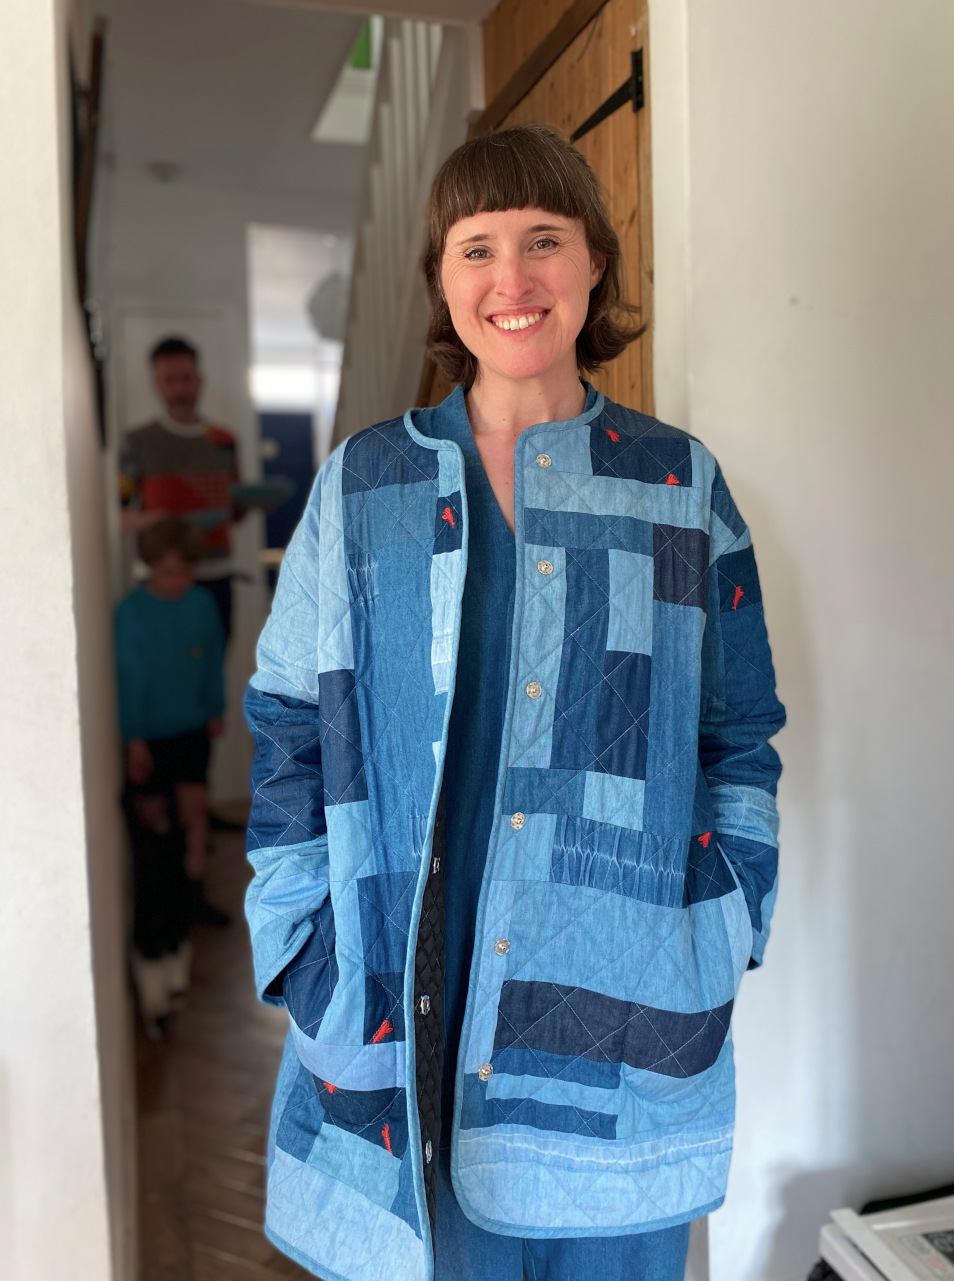
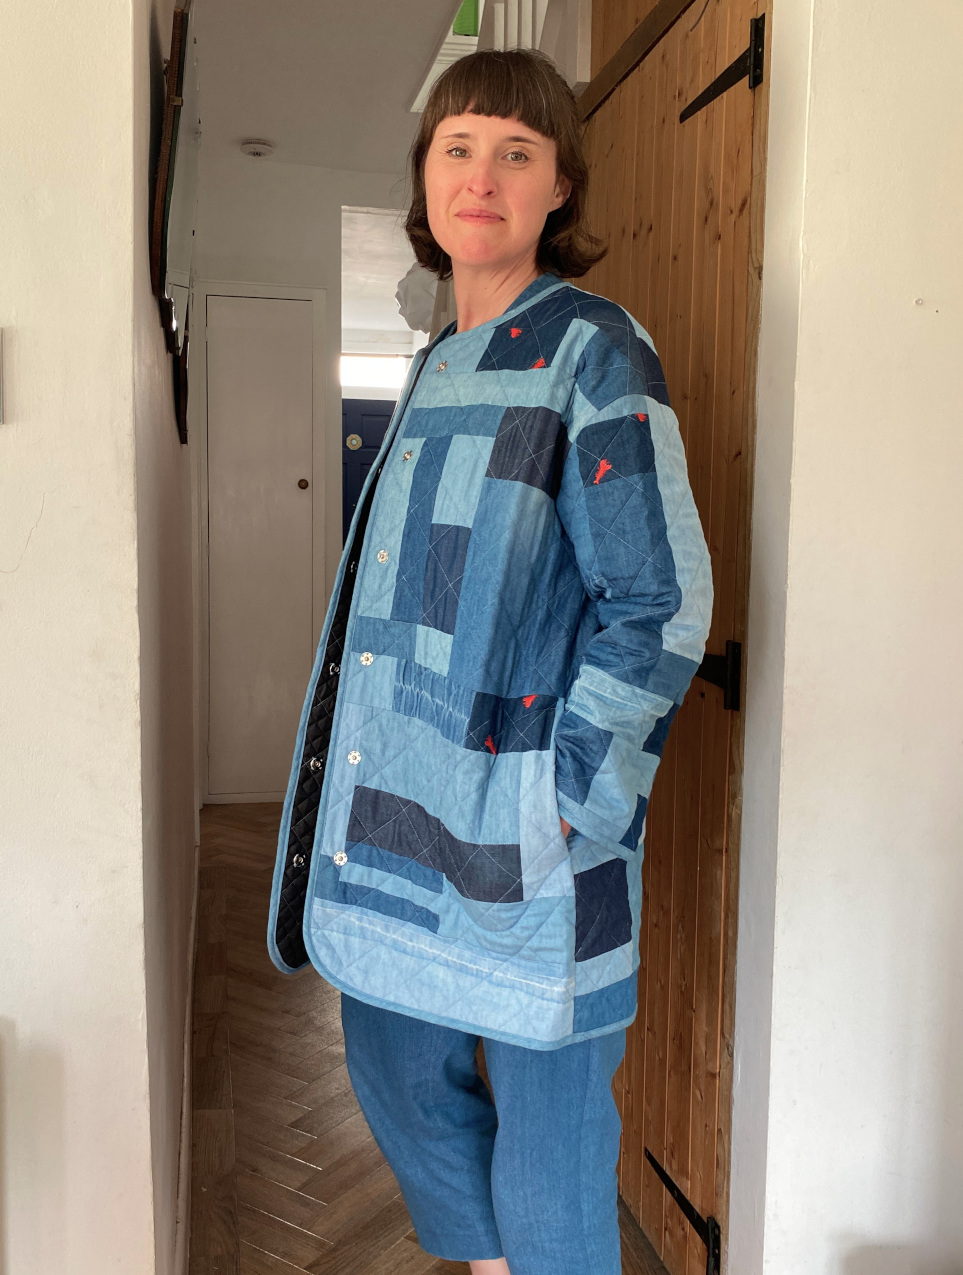
She's done! The jacket with the ridiculously long (but descriptive!) name is complete. This project has been in the works, to some degree, for about two years. That is about how long I've been consciously collecting scraps of this lightweight denim with a view to combining them somehow. 

As I've mentioned all over the place many times, I'm currently obsessed with the possibilities of combining scraps and leftovers to make clothes. Fabric scraps and leftovers from sewing projects are a fantastic resource, but they can build up so quickly. Before you know it, they are spilling out of the box you assigned them, and threaten to take over whatever sewing space you have. But pausing your garment-making activities (if, like me, that's the main thing you're into) just to bust out some little projects to use some of them up, seems like a waste of time and energy. I'm far more interested in applying creativity and resourcefulness to work them into garment projects. 


Fabric:

So I can't exactly pin-point when the idea for this specific garment was born, but when I realised that I had everything I needed to make it happen, I got started on it almost immediately. This jacket has hoovered up a large carrier bag of scraps of 4oz washed denim. Some of that 4oz denim was in the form of scraps from my previous sewing endeavours, some came from the scrap bin at work (including the washed denim with embroidered lobsters!), there were two unworn tunic-y garments, plus the legs from my daughter's woven joggers (which had, in fact, been made from another previously attempted garment projects), also all made from the same type of fabric. I just really love this soft, lightweight washed denim from Fabric Godmother (it comes in three colour ways but this is my fave), which is clear by how many previous garment projects I've made from it over the years. I'm so happy that the finished jacket includes my Tova top, which I wore A LOT during my second pregnancy (proof!). This project also sits very neatly, both in terms of  practicalities and in spirit into the Last Sewist Standing challenge. The only thing I needed to buy to make this happen was thread. 


Pattern:

I settled on the Fibre Mood Molly jacket pattern to use as the basis for this project, not least because I already own it! I chose to lengthen it so the garment would A) use up more of the denim, and B) so it would perform a slightly different function in my wardrobe than my other quilted jacket. I traced out the jacket pieces in my size, then laid them out on the remnant of pre-quilted lining that I was planning to use, and moved the pieces around to work out how much longer I could make them so they still fit. I made sure each piece would have 5cm additional space all the way round to accommodate any shrinking or distortion from the quilting process. 


Patchwork:

To create the actual patchwork, I took my scraps and leftovers and cut them into random rectangles. I took two rectangles that both had an edge a similar length, and stitched them together. Once I had a bunch of pairs, I then found another shape, or pair of shapes, to add to each pair. I kept building it up like that, until I had 'clusters' of rectangles that could be added to each other to make overall shapes that were big enough to fit the pattern pieces on. You can see some of these clusters forming in this Instagram post. At many points, I had to cut some 'custom' shapes to fill in gaps. This was where the actual garments came in particularly handy. I also made an enormous amount of bias binding from the larger of the tunic garments. I planned to bind all the seams inside, as well as round the outside edges, so I knew I'd need A LOT. Obviously I still didn't make enough initially, and had to go back and make more. 

When stitching the patchwork, I used the edge of the machine foot as the seam allowance guide, so it was probably about 7mm. I pressed all the seam allowances open so they'd sit nice and flat, but didn't bother the finish the raw edges because the were going to be hidden by the lining. 


Quilting:

As I say, the lining from my stash that I planned to use was already quilted. With the patchwork panels pinned to the roughly-cut out lining pieces, I stitched along every third row of the quilted lining, so the lining was my guide. I used a walking foot on my machine and really took my time to re-pin after every row to avoid any weirdness in the quilting. I used Gutermann rPET recycled thread for all the quilting and binding, and this project took an embarrassing number of reels to complete! I'm not super happy about that aspect of my 'more sustainable' garment project. 

Construction:

With the pieces quilted and properly cut out, I began construction of the actual garment. All seams were first stitched, then bound with my self-made binding. I also added a cute KATM label that I've been hanging onto for yonks for a special project such as this. 


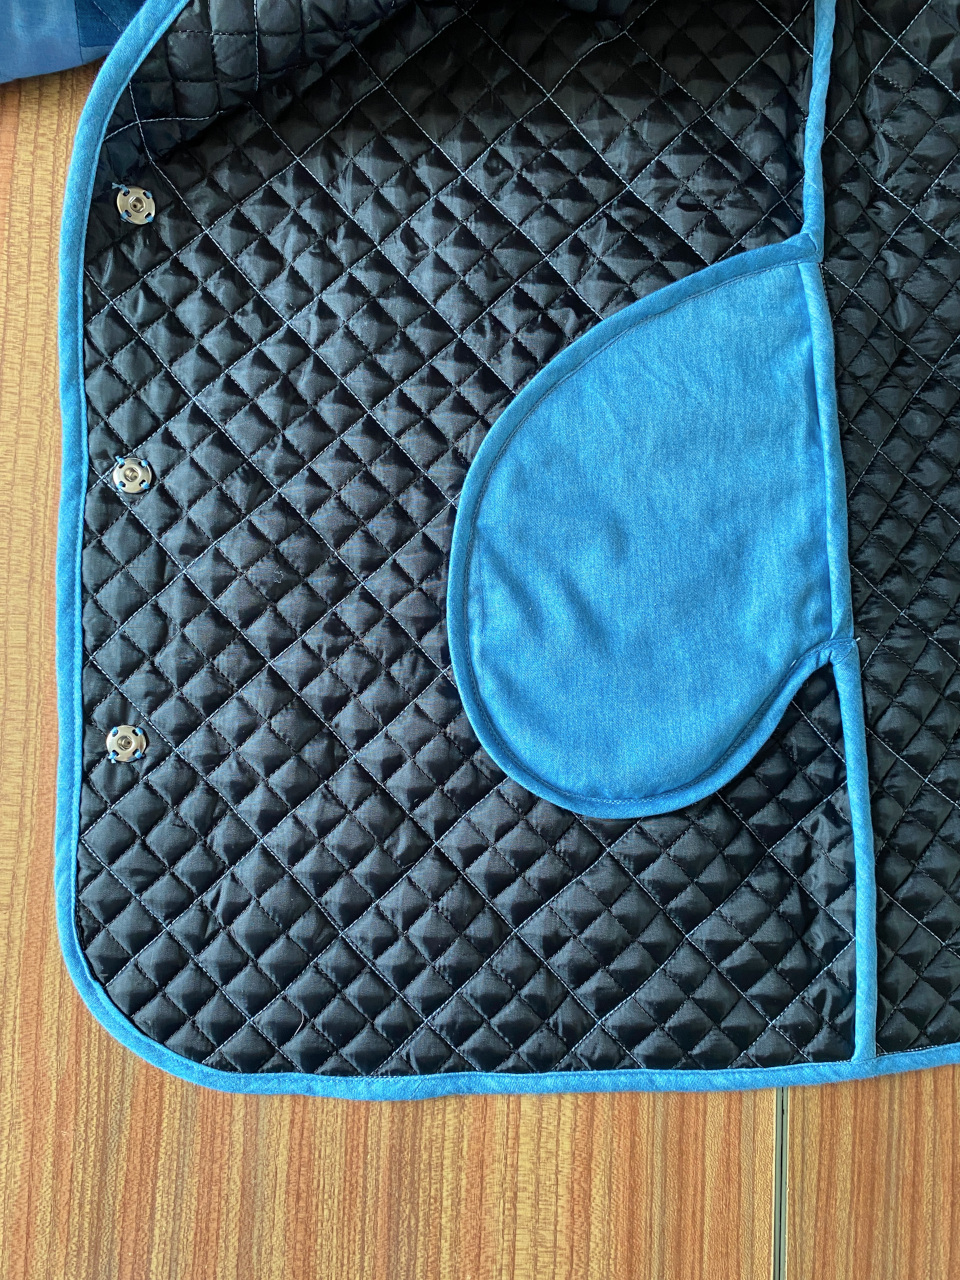
Towards the end of the jacket construction I had to make a call on pockets. The original Molly pattern has simple patch pockets, although not a particularly good-looking shape, IMO. I considered drafting and applying my own patch pockets, but I thought that might disrupt the patchwork on the front panels. Instead, I drafted in-seam pocket bags to make pockets inserted into the side seams. This was a real head-scratcher because I've never made in-seam pockets with completely bound edges before. In the end, I just went for it and it worked out pretty well. I then decided to stitch the pocket bags to the front jacket panels around the edges to keep them in place and give them more stability when in use. I really like the way their shape is visible from the outside if you know where to look. 


The last decision was about fastenings. I considered both traditional sew-on press studs and the set-in type of press studs that I used for my Tamarack jacket. An Instagram poll revealed that the majority of my followers thought the latter was the best option. However, when I went to get them out, I discovered I didn't have quite enough of the back pieces. Because I can't buy haberdashery and still remain in the heavy weight category the Last Sewist Standing challenge, I went with the traditional press studs from my stash, and I actually really like the look of the hand sewn element. 


Thoughts:

I feel triumphant having finished this project! I'm surprised by how similar the outcome is to my original vision, despite winging it the whole time. I love the look of the patchwork. It's got a real abstract, arty vibe, rather than looking like I cut up a quilt, so hopefully it won't look really dated in a year or two. The weight of the garment is also really nice: perfect for late spring and early autumn (plus any rubbish days that summer may throw at us). I also feel great about this project because it's made good use of pieces of fabric that an earlier version of me might have just chucked out. And of course I love that I didn't have to buy anything, other than thread. So. Much. Thread. 

I hope this project inspires others to have a rummage and see what scraps and leftovers they can use for garment making. Using as much of the fabric we purchase is the best way to honour the time, energy, resources and labour that went into its production. 
 

Monday, 16 January 2023

Scrappy Knit Cardigan


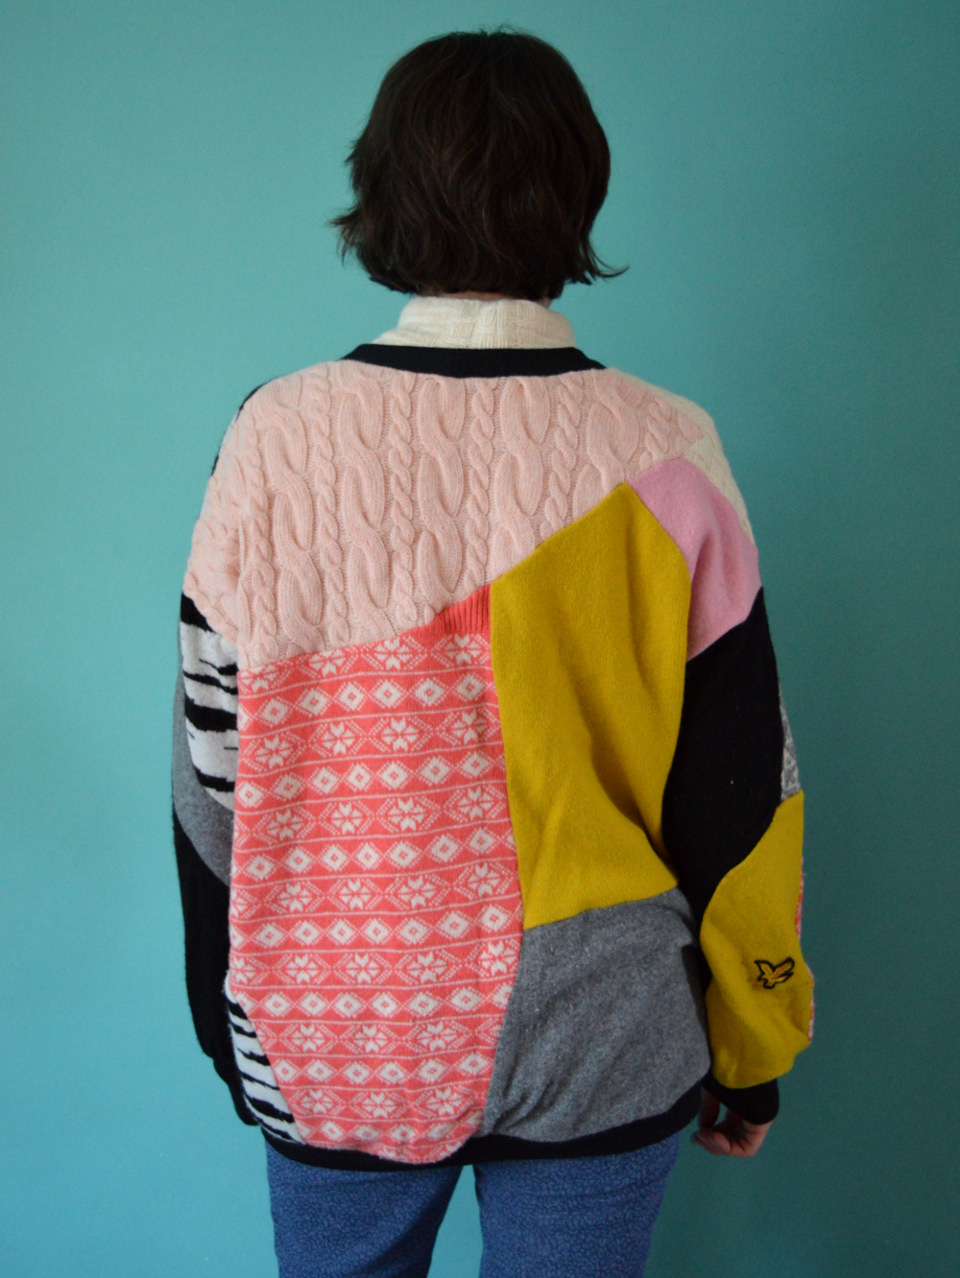
This is a recently completed project that is the result of an idea that I just couldn't shake. Inspired by the success of Pat's scrap busting Apollon sweatshirt (which in turn was inspired by the success of these scrap busting jersey tops) the thought popped into my brain that I could apply the same idea to actual knit fabric.     I am very interested in clever ways to reuse old garments, and am always looking to bulk out my chilly-weather clothing selection, which is pretty limited. So I cleared the decks of other projects and decided to have a play. 


I have a big bag of old knitwear garments and scraps: items that are moth eaten, felted, misshapen or badly pilled, plus scraps of knit fabric that can be bought by the metre. Some of the knit garments I've had in my stash for over a decade, that I've harvested bits from for other projects, mainly mittens over the years. I was keen to reduce the volume of my knit stash and claw back some space in my airing cupboard. 

I started out my selecting pieces that made a fairly pleasing colour palette. The chartreuse colour is my favourite. I previously used some of that moth-eaten jumper to make myself some mittens. I made sure to use include every last scrap of that garment in this project. There's quite a lot of pink in this project, which is NOT a colour I ever usually wear, but with the other bold colours, I think it looks ok and the over all effect is graphic and fun. 


As for the piecing, part of my goal was to try to be as economic with each piece as possible and be left with very few unusable scraps. I cut along the seam lines of some of the knit garments to access as much of the fabric as possible. I let the resultant shapes guide the forms and I jigsawed them together over the course of a few evenings until I had sections large enough to fit my pattern pieces on. 


The pattern I used at the base of this projects was the Jamie cardigan by Ready to Sew, which I adapted slightly to my preferences. I used some black Ponte Roma for the neck band, and black ribbing for the cuffs and waistband. I like how the solid black of these pieces creates a kind of frame for the colours and patterns within. 

As you may have noticed, this cardigan features some basket weave type knit that I also used to make the polo neck top I'm wearing here. I'm enjoying the 'alternative twin set' look! It's also nice to have a bold, fun garment to wear when the weather is freezing. Any addition of colour in the winter is welcome. 

Friday, 21 February 2020

Patchwork Scrap-buster Scout Tee


Right, I hope you're sitting comfortably because I've got a lot to say about this project. First up, I feel I need to get this out of the way: I'm not sure that I like this top, or if I'll get much wear from it. But, that atypically doesn't bother me about this project. I'm trying to be as sustainable in my sewing as possible, so usually making a well-made, well-fitting garment that will have a long life and sees lots of use is the ultimate goal. However, this top is the product of two different trains of thought, and going on those little 'journeys' were more important and useful to me than if I'll wear this particular garment very much. 


On to these two trains of thought. The first one was to scratch an itch that I've had to try piecing together scraps and leftovers of fabric and use them to make a wearable garment, without (fingers crossed) it looking like a quilt. I've been collecting inspiration on this Pinterest board, and paying particular attention to Lauren from Elbe Textile's amazing pieced-together creations on her IG account (@elbe_textiles). When I found that Lauren had written an excellent blog post about how she approaches patchwork clothing projects, I got the push I needed to finally give it a go. 


I feel really strongly that everyone who is lucky enough to be living comfortably in a developed nation should try to reduce the amount of textile waste we are each responsible for. And that includes us sewers/sewists who make some, or all, of our own clothes. According to Patrick Grant on the GBSB, up to a third of the fabric we buy for each sewing project gets wasted. This is, of course, a higher percentage per garment than a mass produced item, which, in terms of textile waste, kind of takes the sheen off my smugness about shunning fast fashion! Like a lot of sewers who are interested in slow-sewing, my goal is to buy fewer pieces of fabric, but of a higher quality. And finding ways to utilise more than two-thirds of those lengths of fabric is of growing importance. 

But I don't want to be wasting my sewing time, or those pieces of leftover fabric, making random accessories or homeware items: sewing for the sake of it just to feel that I used up as much of my fabric as I could. My main passion is garment sewing, and I've used scraps and leftovers a lot for making kids' clothes previously. However, not all my scraps lend themselves to children's wear, nor do my kids need lots of scrap-busting new clothes all the time. So the time has come for me to explore combining scraps and leftovers within adult garment projects. 


The second train of thought that this project helped me work through, was a sense of low-level frustration caused by the feeling that that my sewing is not actually very creative. Most of my sewing projects follow this formula: match a piece of fabric with a sewing pattern that someone else has designed, then make a couple of tweaks to improve the fit, and rely on the instructions, plus my sewing-muscle memory, to achieve a nice finish. Then I parade the finished garment about IRL, and share it on my blog and Instagram feed, and usually enjoy receiving a few nice comments about it (because, like most people, I'm an approval junky). Yet I've been feeling that my involvement in the success of the garment is somewhat limited, and seeing as sewing is my main form of expression, that's pretty depressing. So this project was also about being more deeply involved in the look of my finished garment; by semi-creating the fabric that I cut the pattern pieces from, I was ensuring that I got a garment that was entirely unique.  


So for those who may be interested, here's how I approached this project on a practical level. First, I took out all my scraps and leftovers, and put them in groups according to fabric type. The result of that produced two decent piles: one of leftover viscose fabrics, and another of cotton lawn type leftovers. I was more keen to use the viscose pieces, as generally they are less useful for pocket bags, facings, hankies and such. I found that four  of the pieces combined made a nice teal/rust, shades-of-autumn-y colour story. Next, I took Lauren's advise and cut them into random squares and rectangles using a set square and rotary cutter, being as mindful as possible of the grainlines. 

I picked the Scout tee pattern by Grainline Studio to use because, having made several before, I know that the fit is lovely and pairs well with other pieces in my wardrobe (I wear this one all the time in the summer). Plus, it'd provide a good, plain canvas for some (potentially-bonkers) patchwork fabric. I played around with positioning the rectangles together to make a big enough shapes to fit the front and back pattern pieces on. It look a long time, mainly because I was working with a very limited amount of fabric, and it involved quite a bit of recutting and rejigging. I stitched the shapes together using a 1cm seam allowance. but decided to use my pinking sheers rather than overlocker to finish the raw edges to A) save time, and B) reduce the bulk created by the seams. Squeezing the sleeve shapes out of the last of the fabric scraps was a real challenge. 


I wish I'd taken a photograph, but at the end of this project, I was virtually left with dust! That was intensely pleasing, seeing as one of the motivators for this project was to use up dormant, seemingly-unusable pieces of fabric. In the same vein, I kind of view this garment as a 'free project', because I associate the cost of these fabrics with the original garment projects. In a sense, I've created value from a pile of weird-shaped scraps that otherwise no longer held value. This project was also the epitome of slow-sewing, because a 'regular' Scout tee project from virgin fabric would usually take me an evening to make, whereas this took the best part of a week's worth of pockets of sewing time. 

As I say, I don't know if I'll wear this top very much, although I definitely plan to give a good run when the weather warms up in the hope that I fall in love with it. One of the reasons that I do want to wear it a lot, is that I hope it sparks thoughts, and even conversations, about waste and repurposing within sewing, and perhaps more broadly. I want it, in some small way, to contribute to a sea-change in how we view and behave towards the materials we consume. At the very least, I hope that a few of the people who come to my sewing classes, and anyone else who sews and happens to see me IRL, get inspired to hold on to their leftovers (if they have the space), and get creative with how they use them in the future. 

Have you tried to make patchwork clothing? Have you seen anyone IRL or on the internet who has done so particularly successfully, in your opinion? Please tell all! 

Sunday, 11 June 2017

Scrap-busting Patchwork Duvet Cover


My last blog post was pretty lengthy, so in the name of equilibrium, this one's going to be a bit shorter. I'm pleased to finally share with you a patchwork duvet cover that I made for Dolores that (I'm sure won't surprise you) took AGES. Of course it took ages to prepare and sew, but it also took ages because I decided to make it not long before I was due to give birth to Frankie, so it ended up being put on hold for yonks whilst we went through the fire-fighting early days (weeks, months) of life with a new baby.

(image source: Mrs M's Curiosity Cabinet)

The seed of the idea to make the duvet cover actually came from an exhibition I visited in 2015 called 'Fashion on the Ration' at the Imperial War Museum, London. Mrs M has written an excellent explanation of it here if you're interested to know more. During the Second World War in the UK, clothing and fabric were rationed, scarce and expensive, so a woman had made the patchwork house dress pictured above during the second world war from scraps of fabric she already had. I didn't linger on the dress for long during the exhibition, but afterwards I found myself thinking back on it, and the circumstances surrounding its creation. 

A year later I found myself in a bit of a pickle. My tiny sewing space was drowning in scraps and small pieces of lovely fabric that I didn't want to put in the textile recycling, and I thought a fair bit about how to use them up in fun and useful projects. A few months after that, Dolores started potty training and it became apparent that we needed another set of bed linen to cope with the inevitable accidents. There was nothing suitable in my fabric stash, then an equation began to emerge: I needed a big piece of pretty fabric, I had lots of small pieces of pretty fabric, could I make the small pieces of pretty fabric into one big piece of pretty fabric, like the house dress's creator had done? 


Most of the fabric is quilting-weight ish cotton that was largely either leftovers from my previous garment making projects, or the small and weirdly-shaped flotsam and jetsam from sample work I'd completed for the window displays for the Village Haberdashery. I used some plain white shirting from my stash for the reverse, and finished the bottom edges with some bias binding, which also reinforced where the press studs then went. I didn't bother to finish the raw edge of the patchwork inside, and after a several rounds of laundering, all is well. Looking at these pictures brings back a memory of sitting in my pants cutting out the hundreds of squares with my blunt rotary cutter in last summer's heat with my enormous, awkward belly getting in the way!


Thoughts:

At a couple of points during the project, I wondered if I should add some wadding and extra rows of stitching and call it a quilt instead. Then all that work could be called an 'heirloom', rather than just a duvet cover, right?! But that would have failed to meet my aim of creating something easily washable. So instead, like the creator of the house dress, I spent many woman-hours creating something that is everyday-useful, and also quite special. 

Related Posts Plugin for WordPress, Blogger...