Showing posts with label Speedy pants. Show all posts

Friday, 3 May 2024

Free Pattern Friday: Kid's Speedy Pants Altered


Welcome to my monthly 'Free Pattern Friday' feature, where I road test a free sewing pattern or tutorial: sometimes a children's one, sometimes an adult's one. I try to publish these posts every first Friday of the month, timed to provide inspiration for those who plan to get their sew on over the weekend. I firmly believe that, if you pick your projects carefully, sewing doesn't have to be a crazy-expensive way to clothe yourself and your family. Thanks to all the amazing pattern designers who have offered up their hard work for us to enjoy for free.


Like last month, the free pattern that I've road tested for this post is one that I've written about on here before. Think of it as my duty to remind people of the really good free patterns, in case they are now in a position in which the pattern in question would benefit them. There's also the possibility that you are a new visitor to this blog and don't have an intimate knowledge of my back catalogue of posts! 

Anyways, this excellent free pattern is the Speedy Pants pattern by Waves and Wild. I first reviewed it in 2019 after making a million pairs of the briefs version, back when Waves and Wild were called Made by Jacks Mum. Then I reviewed it two years later in 2021, including both the briefs AND the boxers versions. Today I don't have much to add to that review, but I'd like to talk about how the pattern can be used and adapted to get EVEN MORE use from it! 


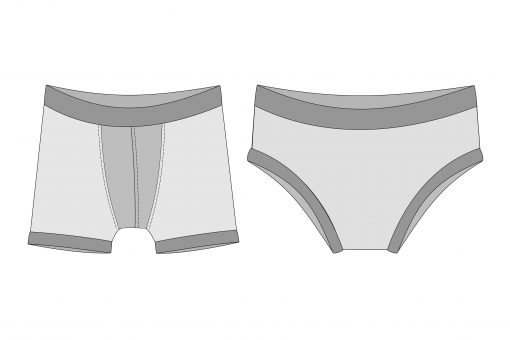
(image source: Waves and Wild)


But before we start, we must take a moment to thank Waves and Wild for sharing this pattern with the sewing community for free. It really is an excellent resource for sewers-on-a-budget in particular, and has fantastic potential for using scraps and leftovers of jersey to make incredibly useful items that will see TONS of wear. My son has been using some of his pairs at least once a week for 2.5 years now... You can access this pattern via the shop/cart on their website. Whilst you're there, I also recommend checking out their PB Swim Shorties pattern


Why & how might you want to alter or adapt this pattern?:


Fabric limitations:

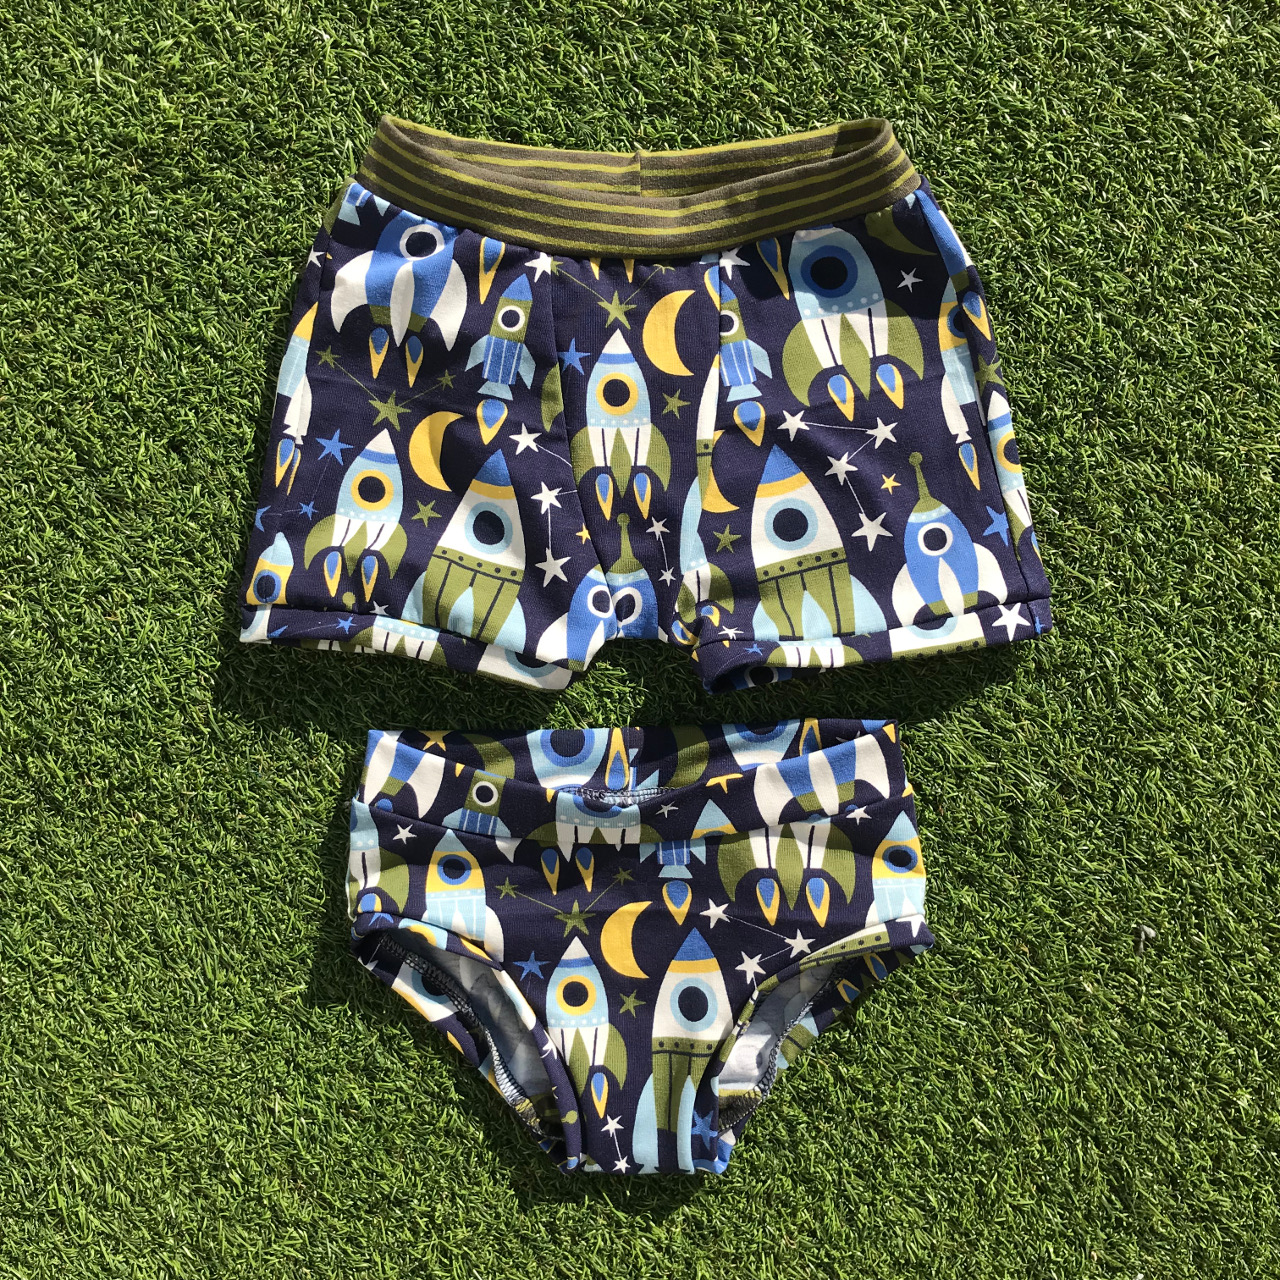
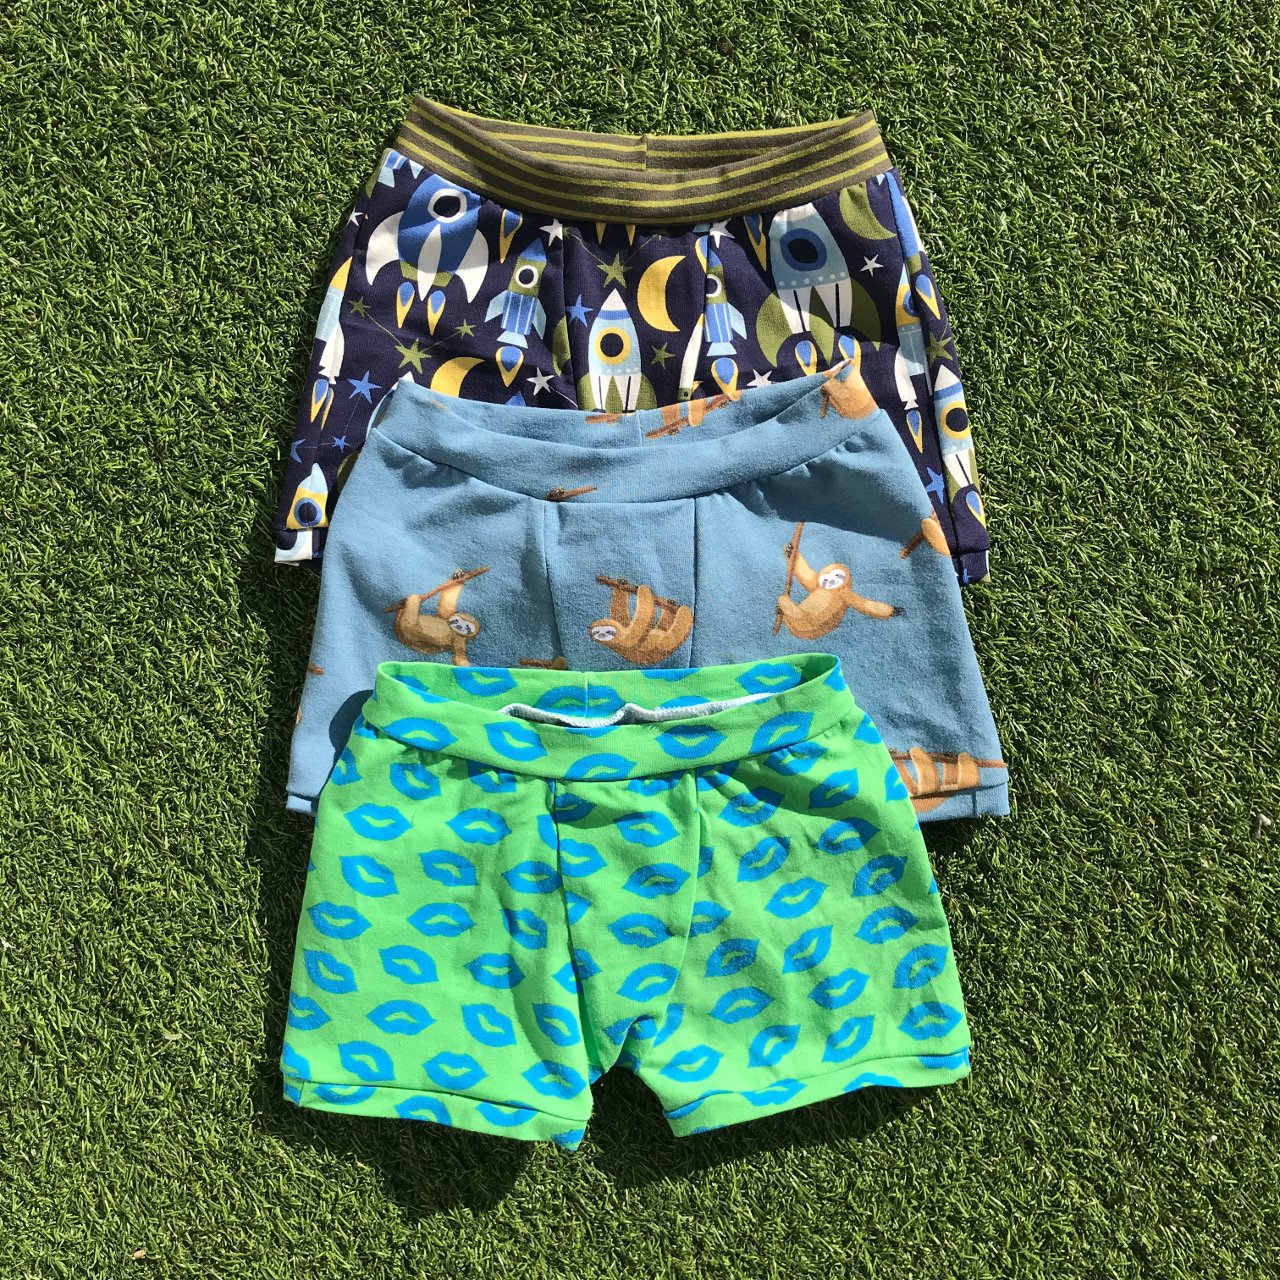
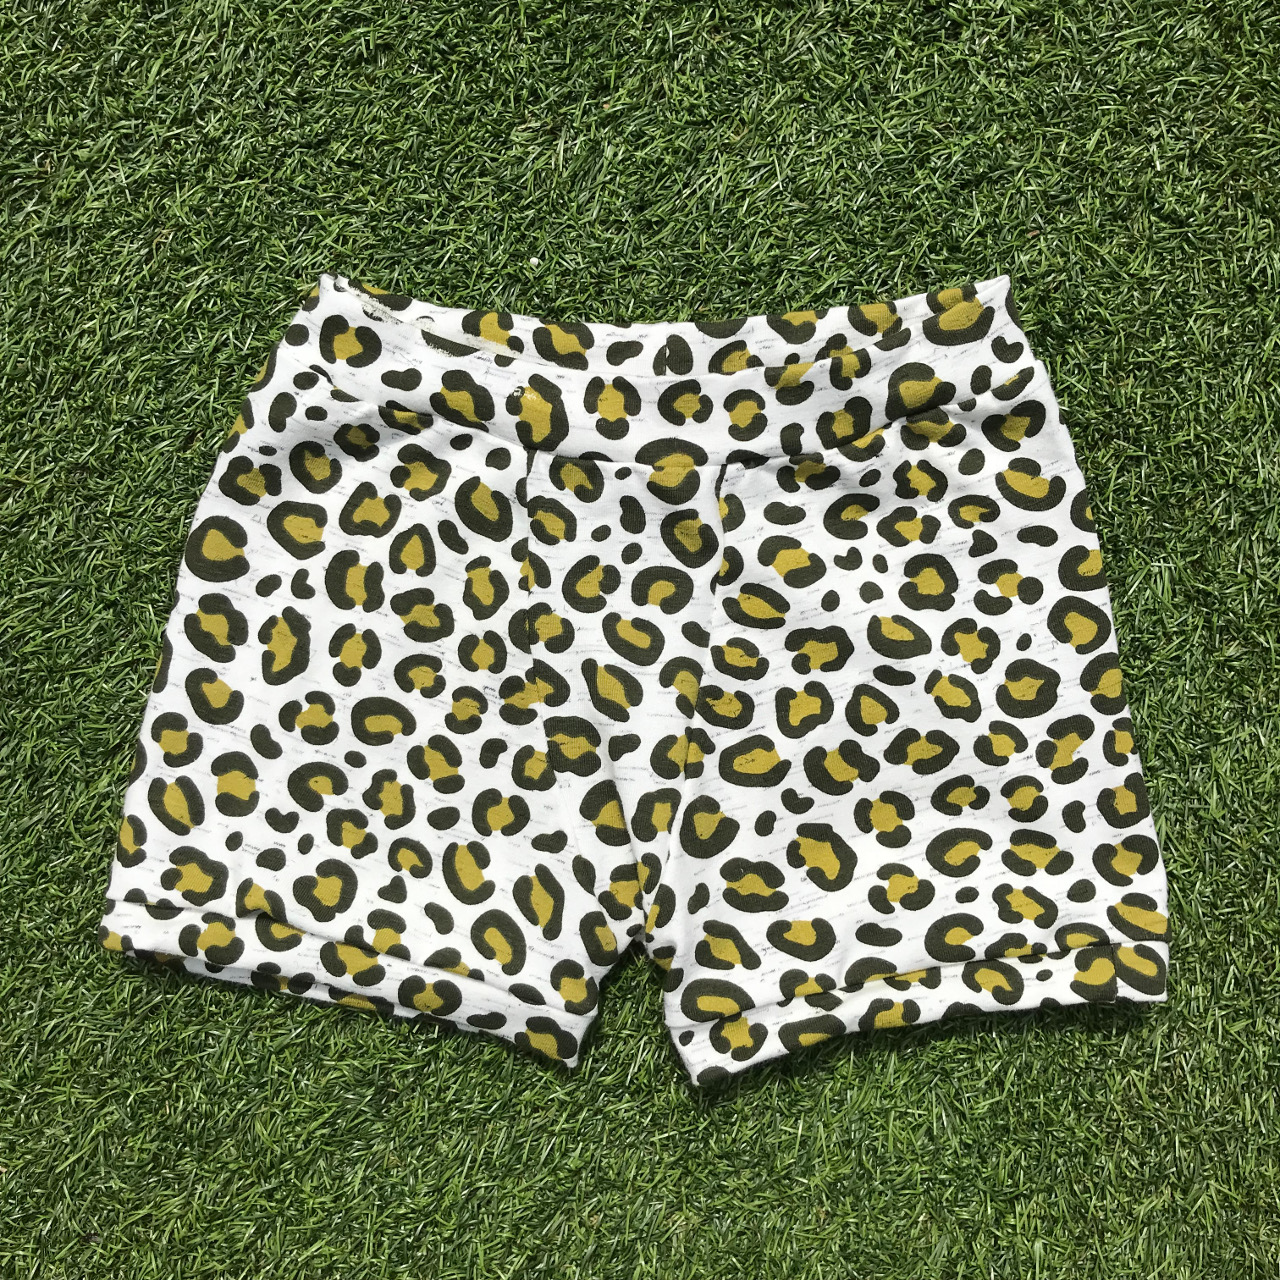
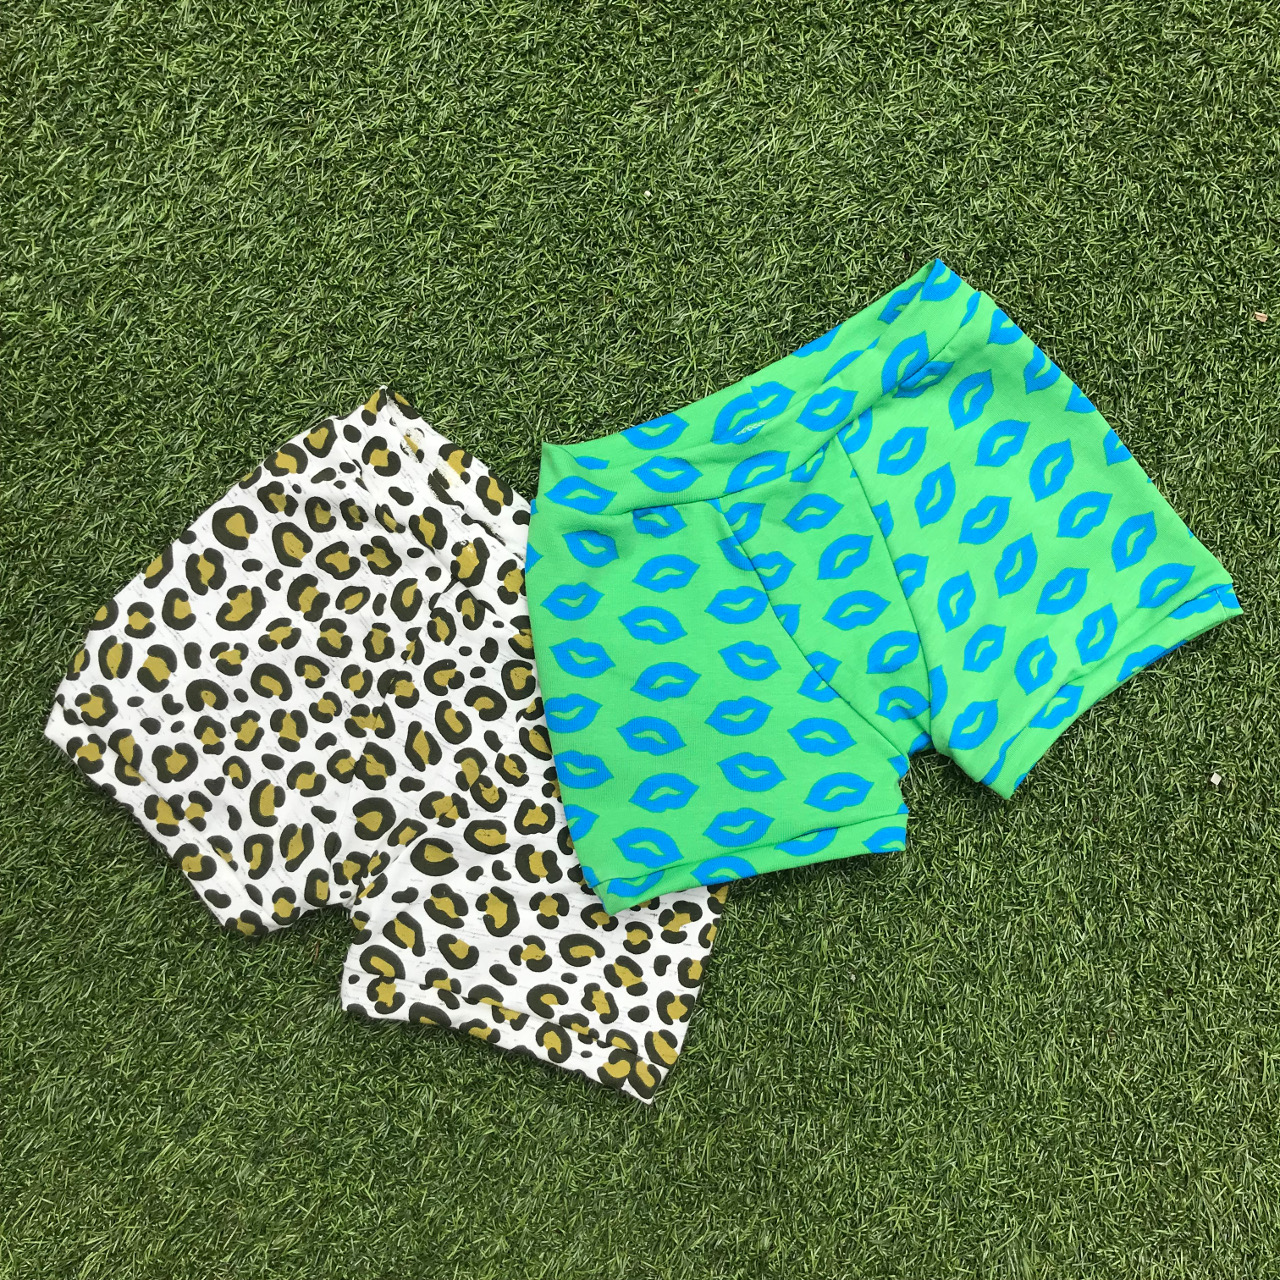
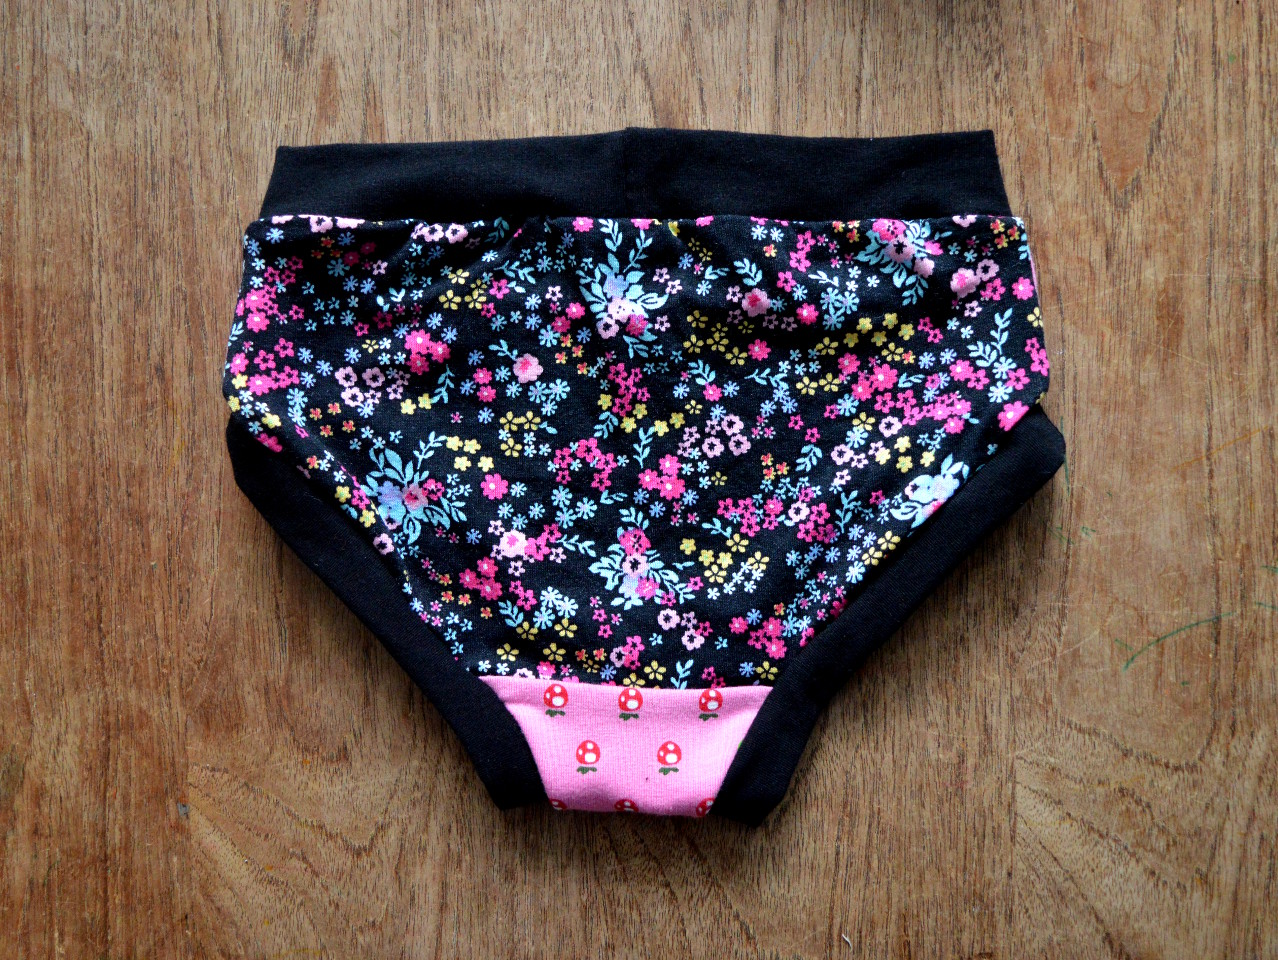
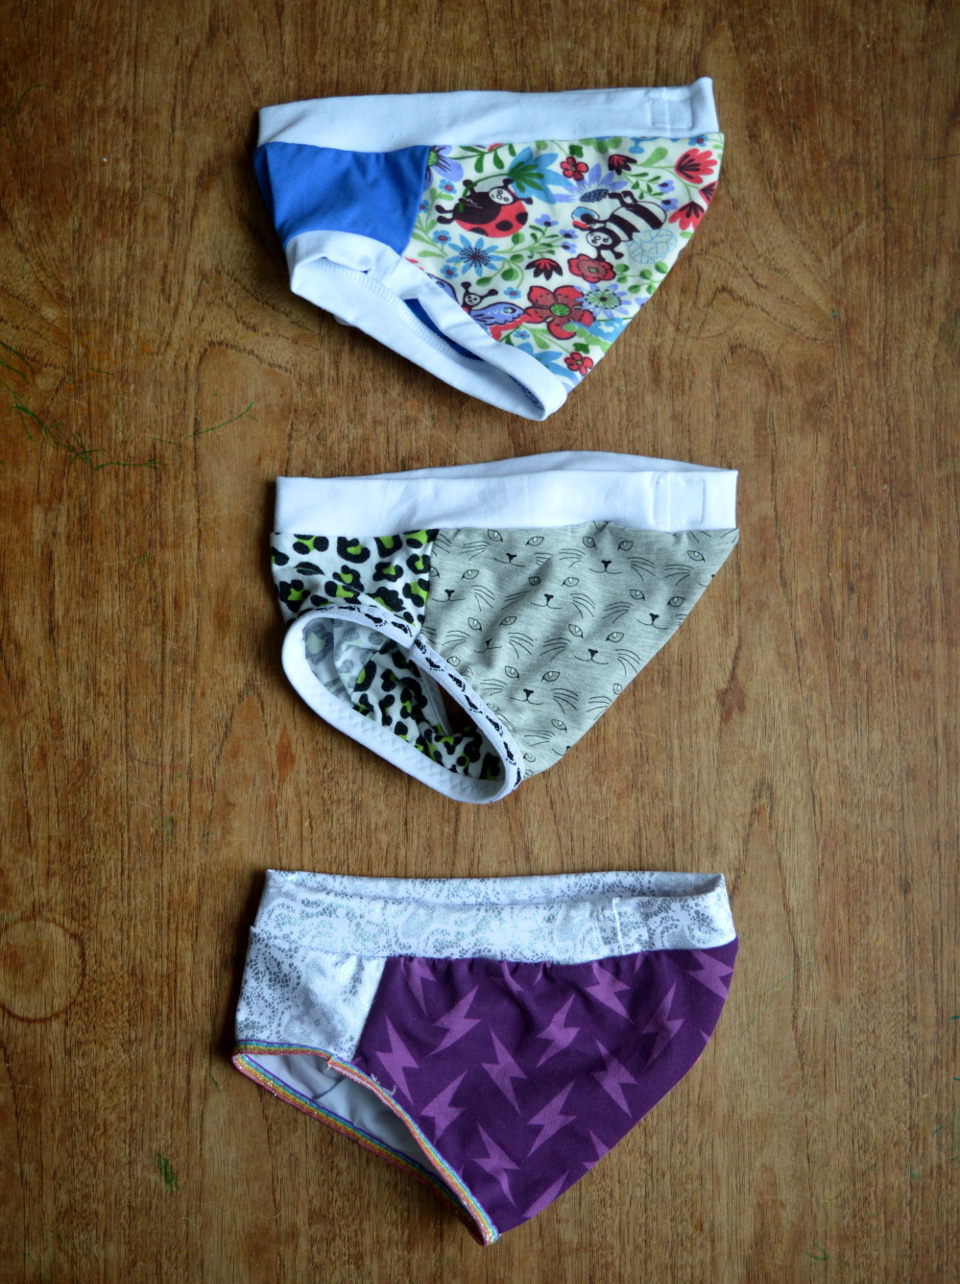
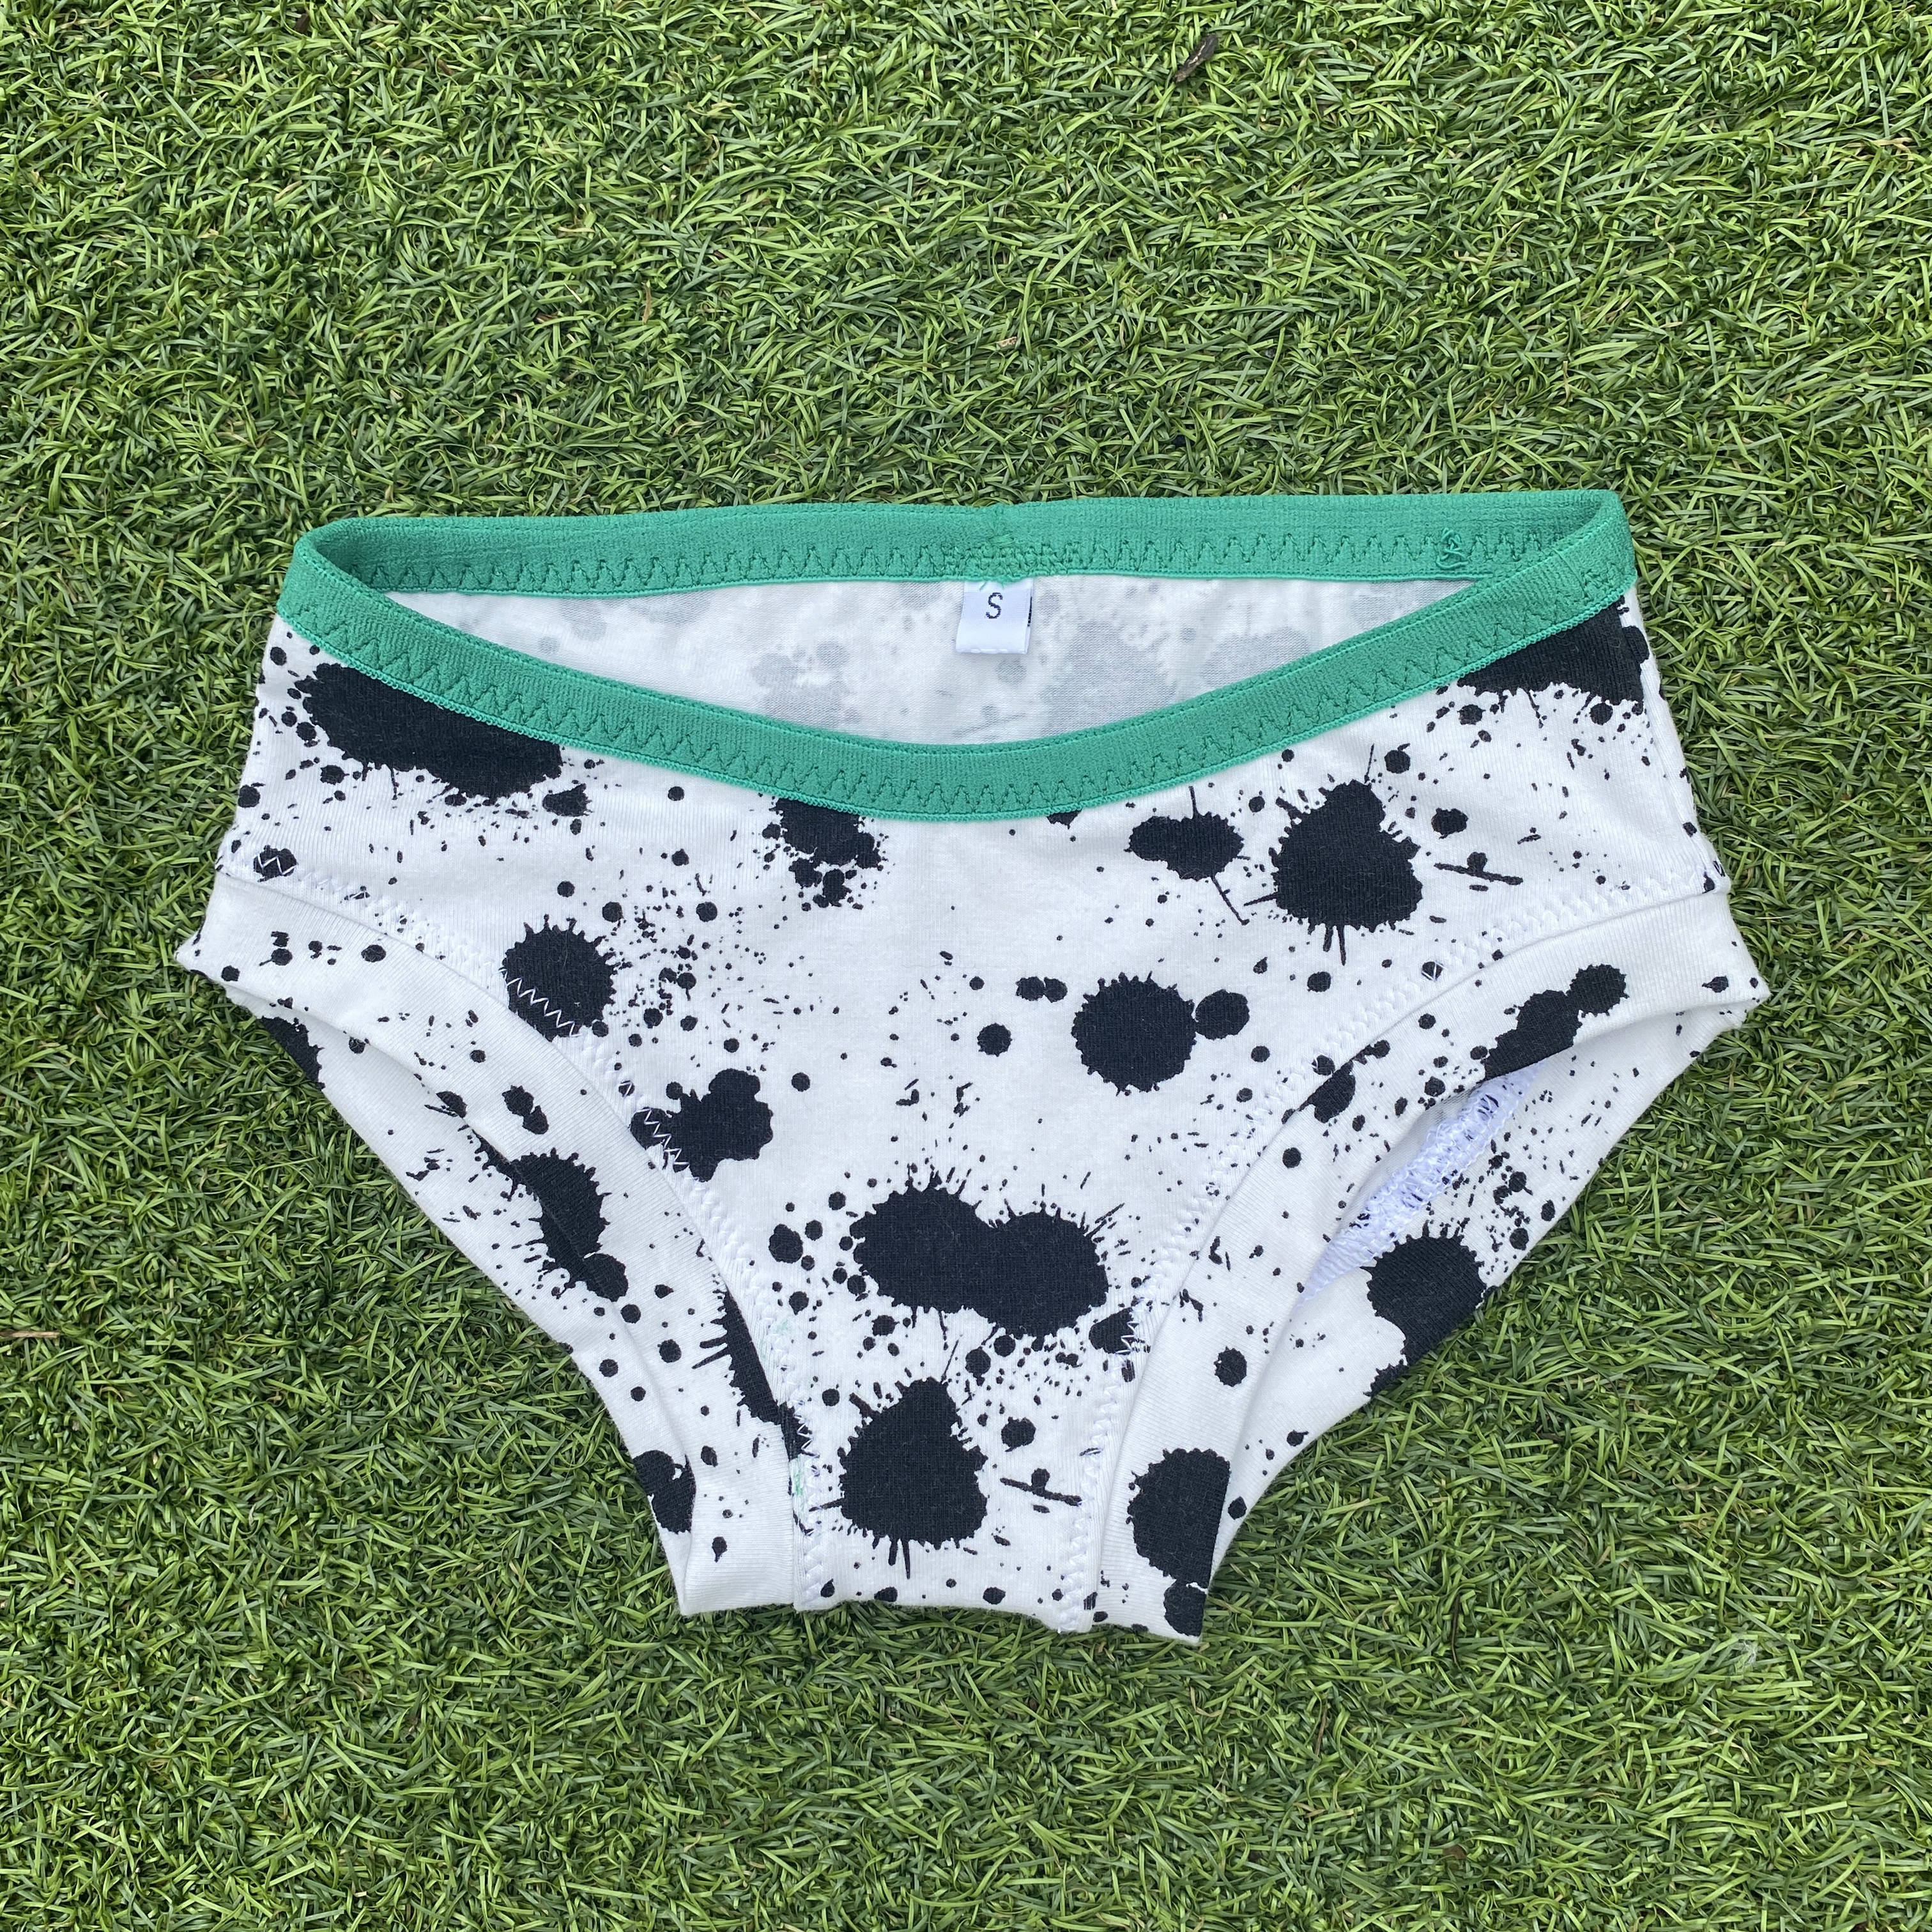
Both the boxers and briefs that I've made that you see here were made from fabric scraps that I picked up at a fabric swap in January. The scraps were clearly leftover from garment projects and you could see where other pattern pieces had been cut out, resulting in some weirdly-shaped remains. Neither of the bundles of scraps contained sufficient fabric to cut the long waistband. A contrast waistband cut from a different fabric was an option (as you can see here!) but I've been scrap-busting so hard that my stash no longer contains jersey scraps of sufficient dimension. Therefore, I decided to use elastic instead for the waistband. I used flat elastic for the boxer style, which I applied around the top edge using a three-step zigzag stitch. For the briefs style, I used some wide, fuzzy fold over elastic. Both elastics were already in my stash, but both had previously be purchased on eBay. 

If you're limited in fabric, another option for cutting the boxer version is to add side seams. I've done that previously and it works very well. Lots of undies have side seams anyway, so it doesn't look or feel like a weird location to have a seam.


Style preferences:

Another reason for adding elastic rather than making a fabric band to finish the waist edge might be if you're aiming for a more 'shop bought' look. My kids really aren't bothered about such things, but if yours are concerned about that, elastic will definitely look less home made. 

You might also choose to use elastic to finish the leg holes of the briefs. If you were using fold over elastic, you wouldn't need to alter the pattern at all. 


Comfort and fit:

I found the waistline on the briefs version a little 'flat'. Therefore, I added a little height at the centre back along the waistline, grading out to the original height at the side seams (incidentally, I did this for the PB Swim Shorties pattern also). 

For the boxers version, if comfort is of particular concern, I would recommend following the optional direction to top stitch down the front gusset seam allowances. And for both versions, I'd also recommend top stitching down the seam allowance of the leg bands. On previous pairs where I didn't top stitch that down, the leg bands often flip up which might be uncomfortable for some kids. 

If you're making the briefs version for girls, you might wish to narrow the gusset part of the pattern. I did that on previous pairs for my daughter and I think they fit her a bit better because of it. 


Would I make this pattern again?

Try and stop me!

Friday, 3 September 2021

Free Pattern Friday: Kids' Speedy Pants (Boxers AND Briefs Edition)


Welcome to my monthly 'Free Pattern Friday' feature, where I road test a free sewing pattern or tutorial: sometimes a children's one, sometimes an adult's one. I publish these posts every first Friday of the month, timed to provide inspiration for those who plan to get their sew on over the weekend. I firmly believe that, if you pick your projects carefully, sewing doesn't have to be a crazy-expensive way to clothe yourself and your family. Thanks to all the amazing pattern designers who have offered up their hard work for us to enjoy for free.

Today I'm writing about a free pattern that I've road tested and written about before, nearly two years ago in fact. I've also included it in a number of free pattern round up blog posts, plus I spoke about it in episode 4 of my new podcast, Check Your Thread. It's such a great pattern, and potentially so useful for parents/carers who like to sew, that I'm not even sorry that I bang on about it so much! We are, of course, talking about the Speedy Pants pattern by Waves and Wild (formerly Made by Jacks Mum). You can access the pattern by adding them to the cart on their site (you won't be charged), as well as via the Waves and Wild Facebook Group (I believe) and at the bottom of their regular newsletter, which I've subscribed to. 

My previous post about this pattern can be found here, a lot of which I've copy-and-pasted into this one. However, I talked about only the briefs style in that post, and now that I've had a chance to try out the boxers style (both are included in the pattern, see spec drawings below), I've included more details about that version in this post. Thanks heaps to Waves and Wild for making this gem of a pattern available for free. 


(image source: Waves & Wild)

Pattern type:

As previously stated, the Speedy Pants pattern download includes briefs and boxers styles. Both styles are finished with strips of fabric which form the waist and leg bands: no elastic required. Each pair could be made entirely on an overlocker, however instructions for using a regular sewing machine are also included. 

The briefs pattern consists of a front piece, a back piece, a gusset, plus the dimensions to draft your waistband and leg band pieces. The boxers pattern is one main pattern piece that is cut on the fold at the centre back. There is also a front gusset piece (not seamed in the centre like the spec drawing above suggests, however), and the dimensions to draft your waistband and leg band pieces. 

The pattern files consist of instructions, print a home pattern pages, A0 pattern page as well as projector files. The print at home version (I haven't checked the A0) features the layers function, so you can print out only the size you require. 


Sizing info:

Both styles are graded to a generous size range of 6-12 months to 12 years. I've made countless pairs of these undies now across a variety of sizes, and find the fit pretty accurate, age-wise. That said, looking back at the original post I wrote about this pattern, I've realised that most of the pairs I made for my daughter when she turned six are still in regular rotation close to two years later! I think that the fabric bands tend to 'give' more than the traditional elastic used in undies-making, particularly over time with repeated wear and laundering. Therefore, these undies might have a longer lifespan than shop-bought undies.


Fabric info:

The fabric suggestion for this pattern is 4-way stretch jersey. I'd go further and say that a decent elastane/Lycra/spandex content is essential for the bands so that they hold their shape for more than a handful of wears, and generally advisable for the other pieces too for maximum comfort. As I highlighted in my Favourite Scraps Projects podcast episode, this is an excellent pattern to use if you have scraps of jersey to use up.

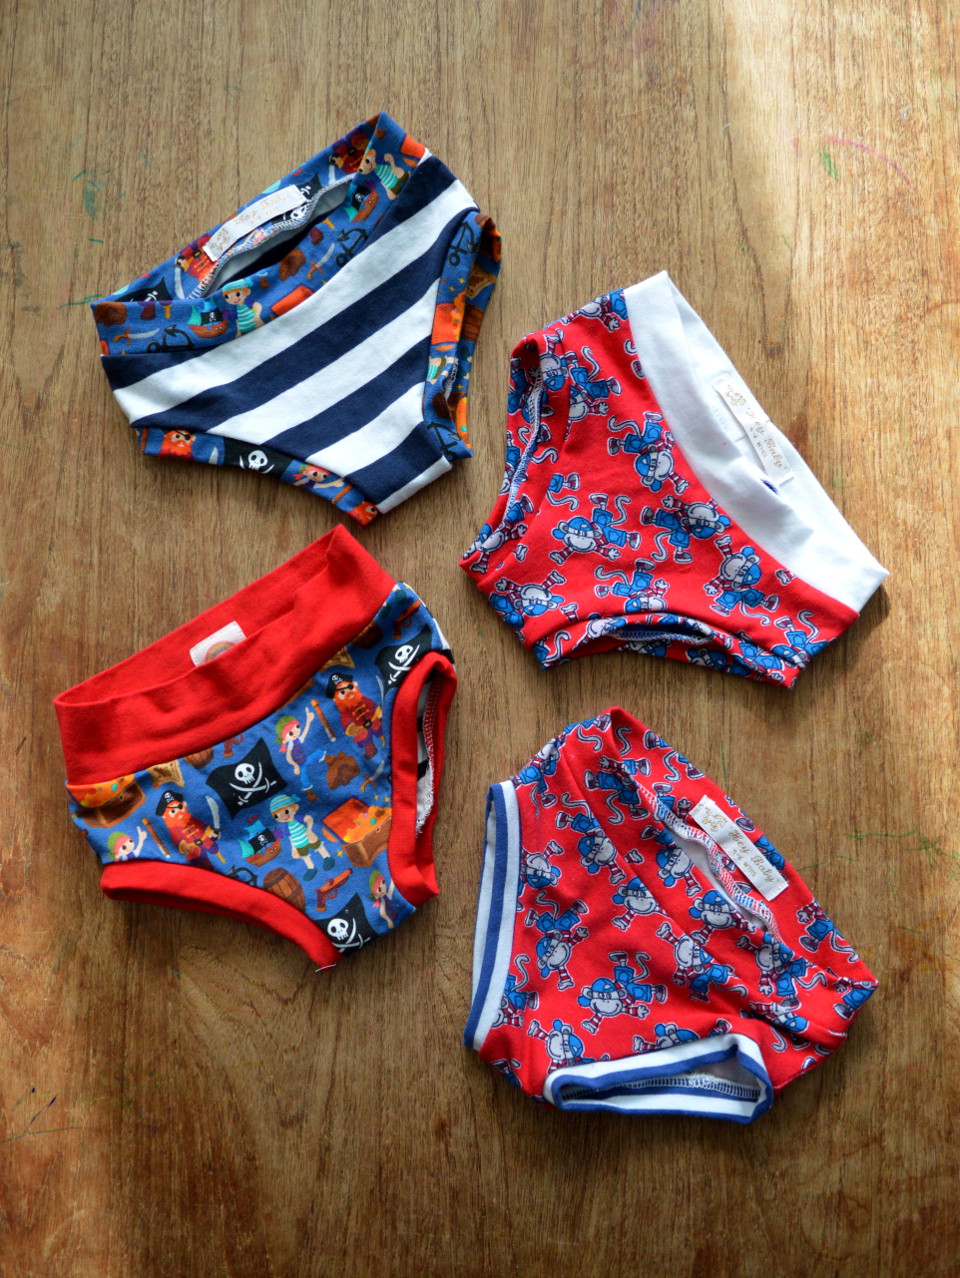
Because I've made so many pairs of undies using the briefs version of this pattern, I've been able to do plenty of experimenting and collecting of data to see how different jerseys behave (or don't) over time. By now I think I've got a fairly good idea of what's going to work well and have a long life. The way I approach selecting fabric for this pattern is to begin by dividing all my jersey scraps into three piles: 1) single jersey with great stretch and recovery (mostly cotton/elastane blends) that I know will be perfect for these pants, the band pieces HAVE to be made from this category, 2) other jerseys that will be ok for the fronts, backs and gusset, especially if they're combined with fabrics from the first pile, and 3) all the jerseys that were too thin and drape-y, or with poor stretch and recovery that are NOT suitable for this project. Then I see what I can use up and what fun combos can be made. However, as you can see, most of the pairs I've made using the boxers version so far consist of only one fabric all over because I had some larger pieces in my stash to use up. The boxers pattern doesn't lend itself quite so well as the briefs version to scrap busting because of that one main pattern piece. However, I have made side seams in a couple of these pairs so the pattern pieces could fit on smaller pieces of fabric. 


Findings:

As you can probably tell, I'm so happy to have found this pattern! The pattern itself is well produced, and the instructions are illustrated with step-by-step photos and easy to follow. The wide size range should see most kids through to when they start to wear adult sizes. So if you have a big enough jersey scraps bin, plus sufficient will and patience, you may never need to look elsewhere for kids' pants again. 

Clearly, making these pants is addictive, but I must admit that making a massive batch in one go can get a bit much. Pinning tiny leg bands into tiny leg holes can definitely start to get old. Instead, I would recommend making a pair or two every now and again, as a palette cleanser between larger sewing projects perhaps. That's one of the reasons that I always make them a size or two in advance: so there's no need to panic-batch sew a whole stack of pants.

My little boy hasn't started wearing these boxers yet so I haven't had any feedback, but I wonder if hemming the leg holes rather than finishing them with bands might be more comfortable. I know my husband didn't like a pair I made him years ago that had a banded hem. I think for future versions I'll try lengthening the legs of the boxer style pattern and hemming the bottom edges instead of the bands, which will reduce the fiddle-iness also! 

For my previous pairs using the briefs version of the pattern, I made a couple of tweaks to the fit. For both Frankie and Dolores, I ended up raising the waistline at the centre back fold by 1cm, blending the curve down to the original waistline by the side seam. And for Dolores, I found that the gusset area was too wide: there was just too much fabric there. To amend this, I narrowed the front and gusset pieces by 0.75cm-ish where it was needed, therefore narrowing it by 1.5cm-ish in total. I found for Frankie that this wasn't necessary. 

The only other point I'd suggest is to include some kind of label or loop of ribbon so they can identify the back quickly.


Customisation ideas:

  • Try piecing together smaller pieces of really small pieces awesome fabrics until the sections are big enough to cut the pattern shapes out of (I think this would work better for the briefs style)
  • Use swim Lycra to make swimming trunks or bottoms
  • If you have some thin and soft enough, replace the leg hole bands on the briefs version with fold over elastic or special undies elastic
  • As mentioned above, consider lengthening the legs of the boxer style pattern and hemming the bottom edges instead of adding bands
  • Use width, soft elastic around the top edge instead of a fabric band for a more 'shop-bought' look, if that's what you're after


Would I make it again?

OF COURSE. I have already used this pattern to make what feels like a trillion pairs of little undies. And now that I've busted out the boxers style as well, I have renewed interest in making heaps more! 


Friday, 4 October 2019

Free Pattern Friday: Kids' Speedy Pants


Welcome to my monthly 'Free Pattern Friday' feature, where I road test a free sewing pattern or tutorial: sometimes a children's one, sometimes a women's one. I publish these posts every first Friday of the month, timed to provide inspiration for those who plan to get their sew on over the weekend. I firmly believe that, if you pick your projects carefully, sewing doesn't have to be a crazy-expensive way to clothe yourself and your family. Thanks to all the amazing pattern designers who have offered up their hard work for us to enjoy for free.

There are, no doubt, many people who believe that life is too short to sew their kids' underwear. Clearly, I am not one of them. My argument for doing so is threefold: 1) kids' pants are an excellent scrap buster for jersey scraps leftover from other projects, and even really small pieces can be used, 2) if you have the pattern prepped already, you can easily cut out and make a pair in half an hour, which is wonderful if you want come away from a short sewing session with a completed item, and 3) your investment of sewing time and effort will be well rewarded by the hundreds of wears the finished item will get. 

My little girl has grown out of the pants pattern I previously used for her, so I was thrilled to discover the Speedy Pants pattern by Made by Jack's Mum, which is free when you sign up for their monthly newsletter. With boxers AND briefs styles included, this may be the only pants pattern you will ever need for your kids. Thanks so much to Made by Jack's Mum for sharing their hard work for free. 

(image source: Made by Jack's Mum)

Pattern type:

As previously stated, the Speedy Pants pattern download includes briefs and boxers styles. Both styles are finished with strips of fabric which form the waist and leg bands: no elastic required. Each pair could be made entirely on an overlocker, however instructions for using a regular sewing machine are also included. As you can tell, I only made up the briefs pattern, so that's what I'll be reviewing here today. The briefs pattern consists of a front piece, a back piece, a gusset, plus the dimensions to draft your waistband and leg band pieces. 


Sizing info:

Both styles are graded to a generous size range of 6-12 months to 12 years. The pattern file includes the layers function, which I always really appreciate, so you can select just the size you require which saves on printer ink. I tried making the size 2 and size 3 for Frankie (who will turn 3 tomorrow at time of writing!), and the 3 definitely fit him better. He's not potty trained yet, but we did have a day where he wore these during which I was able to assess the fit. Dolores (who turned 6 today!) fits the size 6 perfectly with room to grow. 


Fabric info:

The fabric suggestion for this pattern is 4-way stretch jersey. I'd go further and say that a decent elastane/Lycra/spandex content is essential for the bands so that they hold their shape over a number of wears, and generally advisable for the other pieces too for maximum comfort. 

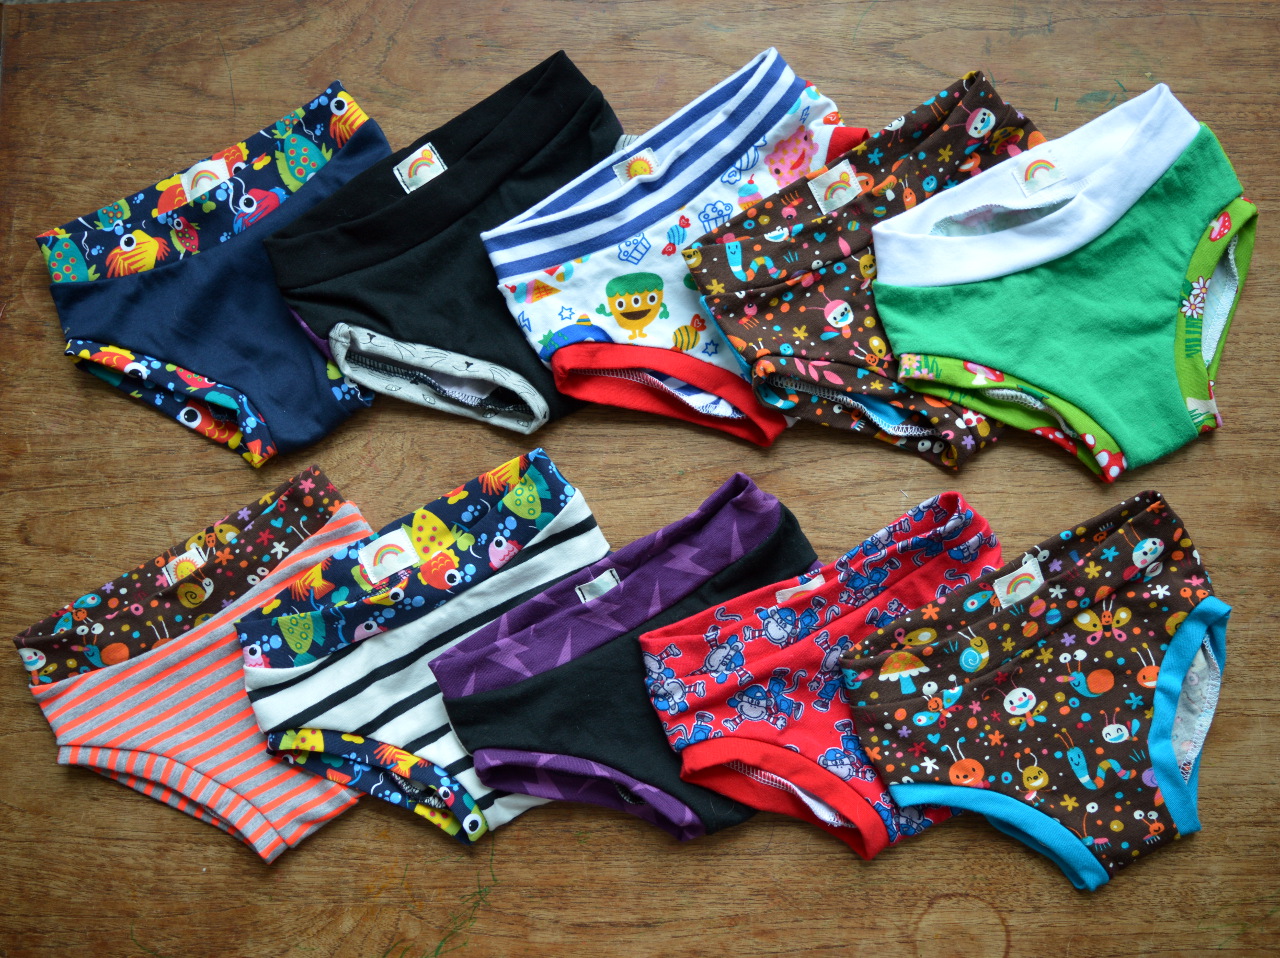
I really like it when pattern designers encourage people to use scraps to make their patterns from, and this is the perfect pattern to do that with. As you can see, I went to town busting my scraps! I've made many pairs of pants for my daughter previously from a very similar pattern to this, so I've been able to do plenty of experimenting and collecting of data to see how different jerseys behave (or don't) over time. By now I think I've got a fairly good idea of what's going to work well have have a long life. I have an embarrassingly large tub of jersey scraps, so I began by dividing it into three piles: 1) good quality jersey (mostly cotton/elastane blends) that I know will be perfect for these pants, the band pieces HAVE to be made from this category, 2) other jerseys that will be ok for the fronts, backs and gusset, especially if they're combined with fabrics from the first pile, and 3) all the jerseys that were too thin and drape-y, or with poor stretch and recovery that are NOT suitable for this project. I then had a lot of fun making crazy fabric combos. 


Findings:

As you can probably tell, I'm so happy to have found this pattern! The wide size range should see most kids through to when they start to wear adult sizes (Made by Jack's Mum also sells adult versions of both the boxer and briefs style patterns). So if you have a big enough jersey scraps bin, plus sufficient will and patience, you may never need to look elsewhere for kids' pants again. Clearly, making these pants is addictive, but I must admit to getting fed up by the end! Pinning tiny leg bands into tiny leg holes can definitely start to get old. Therefore I advise against making a whole year's worth of pants for two kids within a week. 

The pattern itself is well produced, and the instructions are illustrated with step-by-step photos and easy to follow. I did end up making a couple of tweaks to the fit, however. For both Frankie and Dolores, I ended up raising the waistline at the centre back fold by 1cm, blending the curve down to the original waistline by the side seam. And for Dolores, I found that the gusset area was too wide: there was just too much fabric there. To amend this, I narrowed the front and gusset pieces by 0.75cm-ish where it was needed, therefore narrowing it by 1.5cm-ish in total. I found for Frankie that this wasn't necessary. 

As you can see, for a few of Dolores's pairs, I tried using fold over elastic instead of fabric bands for the leg holes. However, only one of those pairs has found their way into regular rotation, the others she's declared too uncomfortable. I found the patience to replace the FOE with fabric bands on one of the pairs during #alteritaugust. The only other point I'd just to add is to include some kind of label or loop of ribbon so they can identify the back quickly. 


Customisation ideas:

I don't have much for you today with this pattern, however:
  • Try adding seams to the front piece so you can include panels of super-tiny, awesome fabrics (I tried that with the black pair pictured above so I could include a teensy sample of vegetable print jersey)
  • I'm wondering if these patterns could be used with swimwear Lycra to make swimming bottoms?
  • If you have some thin and soft enough (see 'Findings' above), replace the leg hole bands on the briefs version with fold over elastic or special undies elastic


Would I make it again?

YESSSSS. I have already printed out the size 4 and size 7 briefs pattern pieces and stuck them down on cardboard so I can start making undies for both my kids in their future sizes. I'm hoping that if I can keep on top of making a couple of pairs every few weeks, I'll make even more of a dent in my jersey scraps tub. 

I gave Frankie the choice of which style I would make him. He chose the briefs, probably because he recognised that style as being the most similar to what his big sister wears. However, I'm hoping he'll let me try the boxer style for him too some day so I can have fun experimenting with that pattern too. If I do, I will of course report back. 
Related Posts Plugin for WordPress, Blogger...