Bras. The final frontier. Well, MY final frontier, anyway. I've been sewing for over twenty years, making my own clothes for about thirteen, yet until this weekend I had never made a bra. Catherine from Clothes and Sewing blog (sorry, can't find the link ATM) even challenged me to make a bra a couple of years ago! (And who can resist a challenge?!) Yet, I still hadn't made one.
Let me explain why. You see, my body has been through two pregnancies and breastfed two babies (the second one for 19 months). My once-pretty-nice-if-I-say-so-myself boobs are now somewhat deflated. They need structure to give them a decent shape, and to keep them from resting on my stomach! Having tried a few different RTW bra styles, I always end up going back to basically the same style of bra from M&S. It's a super plain, T-shirt bra with underwires and moulded foam cups. My boobs seem to have specific requirements so I never thought I could sew myself a decent bra that would give me a good fit and be comfortable. At least not without spending a lot of time, effort and money on several failed attempts first. But the fact that this post includes photos of a bra on my dress form would indicate that something changed my mind and I have, in fact, made my first bra.

Over lockdown I noticed that my regular bras were cutting in to me in various places and just don't feel as comfortable as they used to. I'm not sure if they always felt like this and lockdown has just made me super sensitive to anything uncomfortable, or if my body has changed in some way. Certainly my bras are no longer brand new, but if anything, I expect age would make them looser and I'd feel them less rather than more.
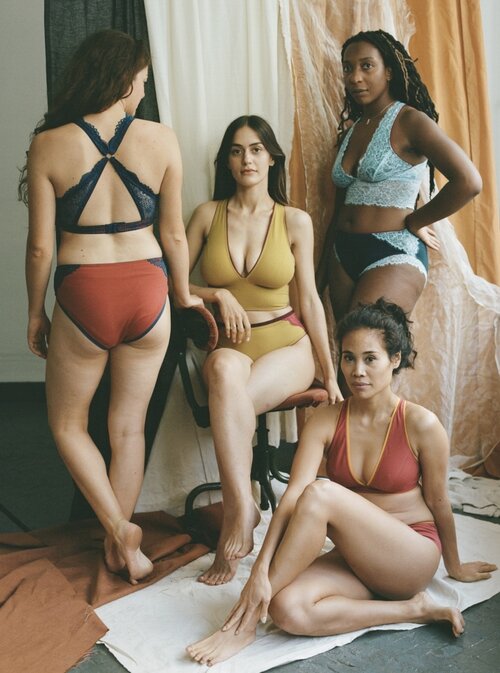
I love the Made My Wardrobe patterns, and I started eyeing up the beautiful, comfy-looking, jersey confections made using the Josie bra (and pants) pattern. I always thought that jersey-type bras (rather than moulded foam type bras) were for women with smaller, perter busts. However, some of her models are full-busted and look quite supported in the images (see above). Then Lydia, owner/designer of Made My Wardrobe, announced a free workshop supporting the pattern and it just felt like the stars were aligning for me to make a damn bra...
Fabric and haberdashery:
Made My Wardrobe stock some beautiful kits including everything you need to make a lacy bra and pants set. However, I couldn't justify shelling out for the whole set when I wasn't entirely convinced this plan was going to work out. Then a recent sort out of my jersey scraps led me uncover some really thick, stable jersey leftover from some jogging leggings I made a while ago. If ever there was a jersey that could give my saggy boobs sufficient support, I felt that it was this stuff! The Josie pattern can be made with a combo of jersey and lace, or jersey alone. I'm not massively into lacy undies, so taking the more simply jersey-only option whilst using what I already had suited me fine.
Several months ago, I bought some lovely teal/peacock coloured fold over elastic from Plush Addict whilst I was ordering my rainbow webbing. I've been really happy with their FOE in the past, and wanted to make my webbing order more worth the postage. I ordered the metal ring and bra closure from Made My Wardrobe whilst buying the PDF version of the pattern.
Pattern and workshop:
Having never made bras before, I was super interested to discover what all the pattern pieces looked like and how they went together. This particular bra pattern consists of just four pattern pieces, including a choice of narrower or deeper under band. The narrower option fastens with a hook and eye bra closure; the deeper is simply seamed together to form the band. I knew the deeper option wouldn't work with my high natural waist, plus I wanted the adjustability of the bra closure. As well as the under band options, whether or not you use lace and which type of elastic you go for all combined gives you the ability to make heaps of different variations from the same pattern.
I never usually take part in sewalongs or follow online pattern workshops, at least not at the time that they are released. However, I felt that the timing of this one was auspicious, so even when Lydia had to delay the workshop by a couple of weeks, I prevented myself from jumping ahead and did another little sewing project whilst I waited for it to begin. The workshop is free (you can make a donation) and is still available to access via the website . It's split into four parts and was released over four days. For me, the most useful section was the first where she demonstrated the various techniques for applying fold over and plush/picot elastics. I'm no stranger to either, but it was interesting to learn a new-to-me application method.
For my bra, I used only fold over elastic (rather than plush elastic or a combo of the two), and I ended up having to unpick parts where applying the FOE (which is wider than plush/picot) was causing problems. For example, the front strap pattern pieces just seemed too narrow to be able to stitch the FOE to both sides as per the method described in the video and pattern instructions. I was able to fudge it a bit and it looked ok in the end.
The videos are beautifully produced, and Lydia talks through the steps in a clear and relaxed way. It was all very visually appealing and inspiring. There were a couple of times when I wished she'd have gone into a little more detail, and I found not being able to ask questions during the video frustrating! Plus, it would also have been good to have got some really clear, close-up shots of the pieces after some of the steps and technique demos. But it really was nice to feel the additional support of the designer as you embarked on the project.
The bra itself came together surprisingly quickly, and before long I had a finished item in my hands. I feel that some of the steps could have used a bit more explanation, for example, what to do if you find the ends of the under band too wide for your bra closure. But it you've been sewing for a while, you can probably figure out some solutions yourself. After an initial trying on session, I went back and made a couple of adjustments. I unpicked the bra closure on both sides and reduced the length of the under band by 1cm at each end to make it tighter. I also shortened the front straps by a small amount to make it feel more supportive.
Thoughts and result:
It probably doesn't need pointing out, but this dress form in no way resembles my actual body, so the fit on this dress form is very different to how it looks on my body. I'm not really loving my body very much at the moment, and I didn't feel comfortable modelling the bra myself and having pictures of it on the interwebs. So I'm sorry that I was unable to give potential-Josie bra makers a more accurate idea of how it might look on an actual person.
Well, after my first 'bra-making-journey', did I end up with a wearable bra? No. Sadly, I didn't. I wore it all Sunday, and aside from the initial vague discomfort that I reckon is caused by simply wearing a new shape of bra, the shape of it just isn't right for my boobs. As I mentioned at the top, my boobs are a bit deflated from breast feeding, and a bit 'spongey' compared to their previous fullness. The front edge of the straps/cups pushes along each boob, giving a kind of double-boob effect that neither looks nor feels nice. If I had applied the elastic more loosely along these edges, they wouldn't give me sufficient support, so I must conclude that this shape just doesn't work for the boobs that I'm currently sporting. It's also worth noting that the straps sit closer to your neck than most bras, which means the straps will be visible if you are wearing a top that doesn't have a tight crewneck or high neck.
However, I DID love making it! My IRL sewing pal, Naida, is obsessed with making bras and I now see why. She's tipped me off to some other patterns that might work better for my shape, so when I have sufficient funds, I think I'll dive in again and hopefully have something useful at the end of it. So even though this bra didn't work out, I got the first non-functioning bra under my belt that I always predicted that I'd have to make, and it didn't cost too a lot in time and money.